24
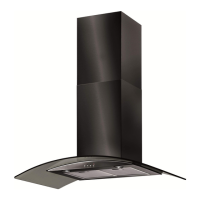
12) Using an 8 mm drill bit, drill out two holes on the pencil markings
that you made in step 11. Insert rawl plugs into the holes and then
use a screwdriver to secure the fixing bracket to the wall.
o Refit chimney section C to the hood and fix it onto the hood
using the two screws that are supplied.
o Secure the top of chimney section C to the fixing bracket, using
the screws provided.
o Slide chimney section D inside of chimney section C. Then
secure the upper bracket to the wall, using the same method as
you have just used to secure the lower bracket.
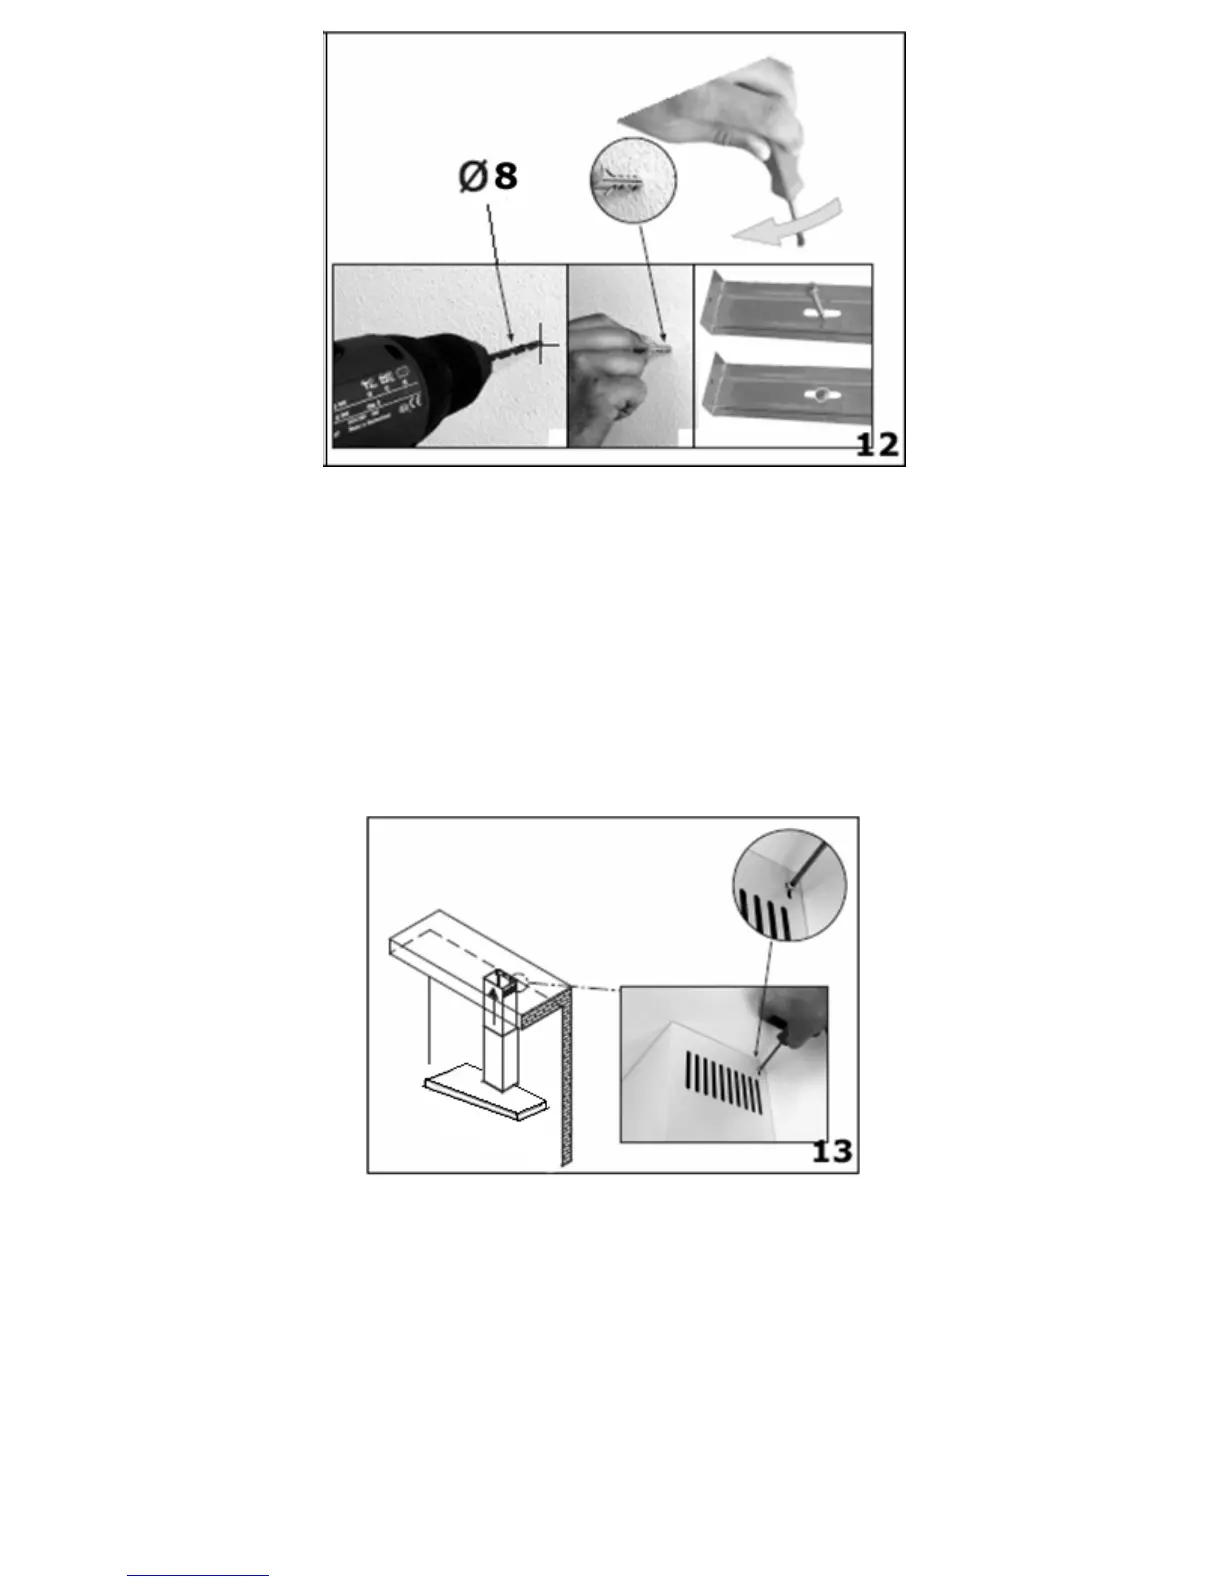
13) Lift chimney section D up to the ceiling and secure it to the fixing
bracket using the screws provided.