Follow
• Press “FOLLOW” to enable the follow teaching function. You can select the song to be learned by pressing the
number buttons or the “+/-” buttons.
• The keyboard will light up according to the main notes, indicating what notes should be played. The keyboard
will wait for you to play the correct notes before continuing.
• Press “START/STOP” or “FOLLOW” to stop the learning mode.
Ensemble
• Press “ENSEMBLE” to enable the ensemble teaching function. You can select the song to be learned by
pressing the number buttons or the “+/-” buttons.
• The keyboard will light up according to the main notes, indicating what notes should be played. The keyboard
will wait 3 seconds for you to play the correct notes (for the correct duration) before continuing.
• Press “START/STOP” or “ENSEMBLE” to stop the learning mode.
One-Key
• Press “ONE KEY” to enable the one-key teaching function. You can select the song to be learned by pressing
the number buttons or the “+/-” buttons.
• The keyboard will light up according to the main notes, indicating what notes should be played. The keyboard
will continue playing even if you make mistakes.
• After the song is finished, the same song will start again.
• Press “START/STOP” or “ONE KEY” to stop the learning mode.
Playing Demonstration Songs
• The keyboard has 50 pre-programmed songs, numbered “00” to “49.”
• Press the “DEMO SONG” button to play all demo songs in order. Press the “DEMO SONG” button again to stop
playing the demo song.
• Press the number buttons or “+/-” buttons during demo mode to select a demo song.
• You can change the timbre of the demo song by selecting the “TIMBRE” button while the demo song is playing,
and selecting the timbre in the same way as normal.
• Press “START/STOP” or press “DEMO SONG” to stop playing the demo song.
| 5
Using Power Adapter
Do not use any other power supply adapter other than the one supplied with this unit. Connect one side to the
power supply socket on the back-panel and the other side to an outlet. Note: the input voltage should be
compatible with the outlet power.
Headphone Jack
• Turn o keyboard before connecting external speakers or audio devices to keyboard. Connect these devices via
the “PHONES/OUTPUT” port on the back of the keyboard.
• Insert headphones (not included) into the “PHONES/OUTPUT” jack on the back of the instrument. The speaker
will automatically turn o when headphones are in use. WARNING: Hearing loss can occur if headphones are
used at too high of a volume.
Mic Input and Audio Input
• You can connect a microphone (not included) via the “MIC” port to use with the keyboard.
• You can play audio through the computer speakers. To do so, first turn o the keyboard. Plug in your device to
the keyboard via the “AUDIO INPUT” jack. Then, turn on the keyboard.
Playing Music from an External Device
• Insert a USB flash drive into the “UDISK” port behind the keyboard. The keyboard only supports USB drives up
to 32GB.
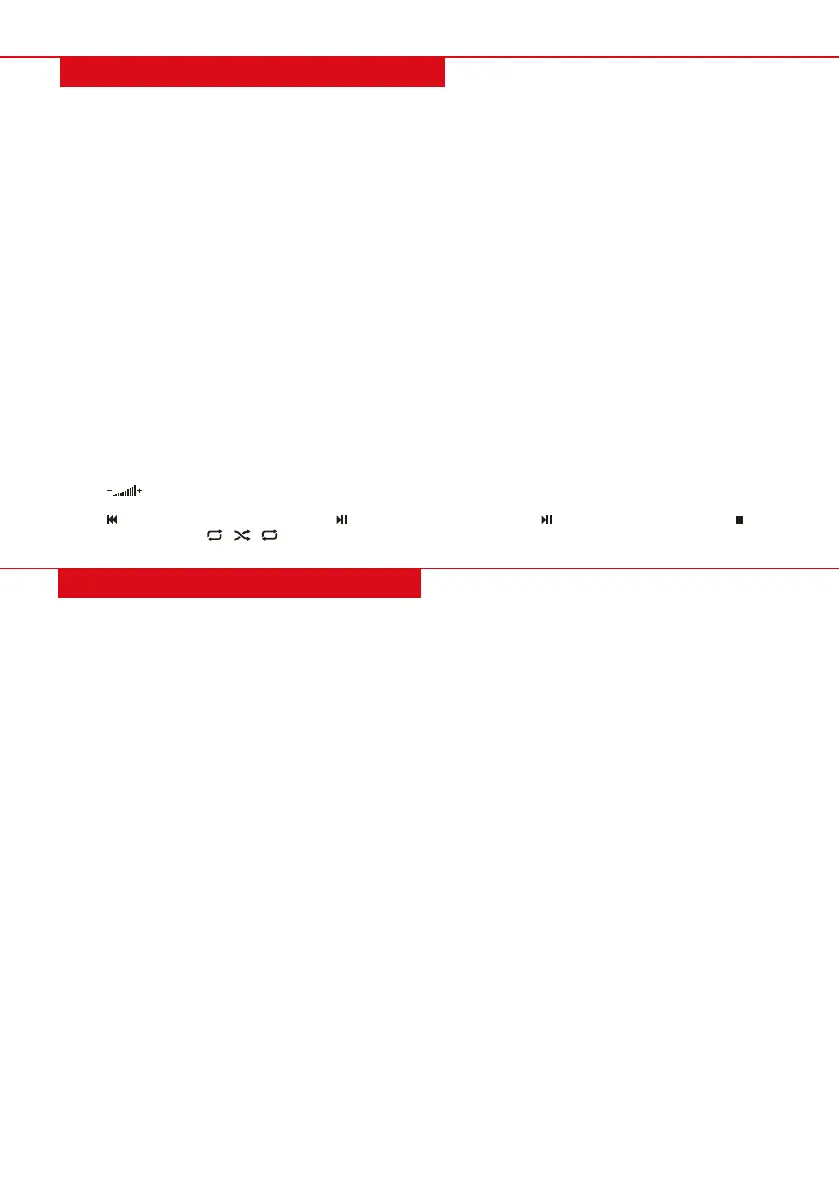
• Press to adjust the volume.
• Press to go to the previous track, press to go to the next track, press to play/pause a track, press to
stop the audio. Press / / to cycle through continuous, random, or single playback.
Press “POWER ON/OFF” to turn on keyboard. The LED display will light up and show the preset tempo: “120.”
Light-Up Keyboard
The keyboard features a light-up function. Light hints can be provided while in the learning, playing, and demo
song modes. Press “KEY LIGHTING” to enable or disable the lighting mode.
Master Volume Adjustment
• Press “MASTER VOL +” or “MASTER VOL -” to increase or decrease the overall volume.
• Press both buttons at the same time to reset the volume to default.
• Master volume can also control the accompaniment volume.
Accompaniment Volume Adjustment
• Press “ACCOM VOL +” or “ACCOM VOL -” to increase or decrease the accompaniment volume.
• Press “ACCOM VOL +” or “ACCOM VOL -” at the same time to reset the volume to default.
Timbre Selection
• There are 255 pre-programmed timbres, labeled from “000” to “254”.
• To select the timbre at any time, press “TIMBRE and” “tnE” will show on the display. Select the timbre by
pressing the corresponding numbers or the “+/-“ buttons.
Playing Percussion
There are 61 keyboard percussions pre-programmed into the keyboard. Press “KEYBOARD PERCUSSION” to
change the keyboard to a percussive instrument. Press the button again to stop this function.
BASIC PERFORMING METHOD
1
PERFORMANCE PREPARATION
 Loading...