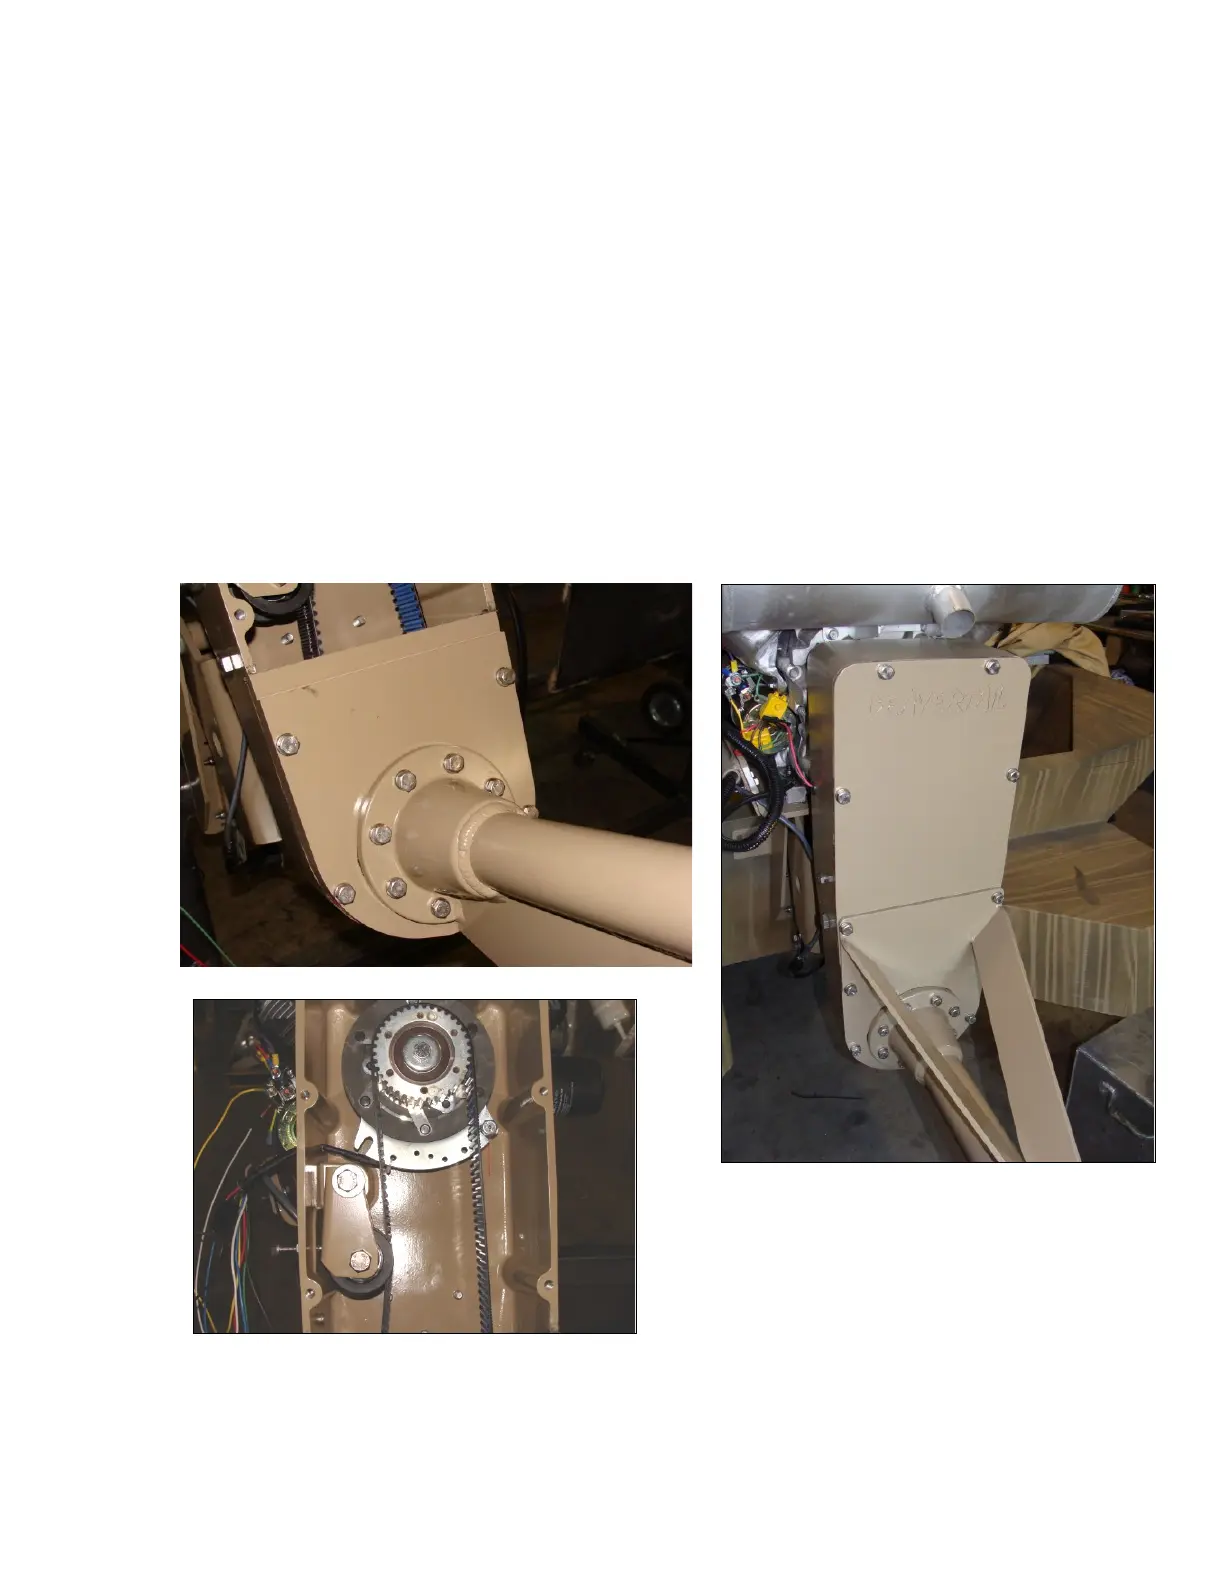
BELT REPLACEMENT
-REMOVE THE UPPER CASE COVER AND LOWER DRIVE CASE BOLTS WITH A 5/8” WRENCH.
-Clean the silicone sealer off the covers . Do not scrape it is not necessary to remove all the silicone, just
the large and thicker pieces. Put new sealer on the bottom case first which will fill any gaps. Wait to place
sealer on the top case until the new belt is in place and the bottom cover is installed.
-Place a new belt on the lower sprocket and slip the belt up and over the top sprocket, being careful so you
don’t wipe the silicone sealer from the bottom of the case.
-Insert bolts and tighten the bottom cover. Now tension the belt by tightening the idler pulley adjustment
bolt as described above. Turn the propeller to ensure the belt and sprockets are engaged before tensioning
the belt completely.
-When the belt tension is between 16-20 lbs check the belt alignment by rotating the prop several times.
The belt should be aligned on the clutch pulley. If it is either too far out or in, the bottom sprocket will
need to be adjusted in or out on the shaft. This is done by removing the two allen head bolts and then
inserting one into the third empty hole and tightening into the hole. The pulley will then be able to be
moved on the shaft. Once the pulley is adjusted the allen head bolts should be inserted back into the taper
lock and tightened.
-The drive should be waterproof. We recommend putting sealer on any bolts that are removed.
 Loading...