Step three: Turn on the rest of your lights and your avionics on the radio stack. To turn on the
avionics, reference the left side of the pilot’s panel and you will see one lone switch labeled
“Radio Master” (figure 7). This is your avionics master switch labeled in the style things were
named back in the era this aircraft was constructed. Once you toggle this switch on you should
see the avionics on the radio stack turn on. To operate the two Garmin GPS/Moving Map
Comm/Nav radio units, you must read the separate manuals provided in your aircraft’s folder in
FSX.
Step four: Now you are ready to taxi. You should know how to use the FSX menus for radio
interaction and control. So, do what you need to do to taxi to the runway. Line up for takeoff
and apply brakes. Throttle up to 2100 RPM’s with the brakes applied and reference your
engine instruments (on the far right side of the pilot’s panel – yep they are just that
conveniently located in the real airplane also!). If all looks good, release the brakes and
smoothly apply full power. Note: the plane will require significant degrees of rudder inputs to
maintain runway centerline. This is how it really is. How do you learn to do it accurately and
keep on centerline? Three words: Practice, Practice, Practice!
Step five: See the airspeed gauge. The red line (called the red radial) on the airspeed gauge at
the 80 KIAS mark is your Vmc (minimum control airspeed on single engine). If you want to
learn all about the Vmc speed, you need to read the POH! When your airspeed reaches that
mark, rotate for takeoff. It’s a powerful airplane here, don’t try to zoom up like an F-15C! Keep
the pitch within five degrees up or you will see things happen you don’t want to see happen!
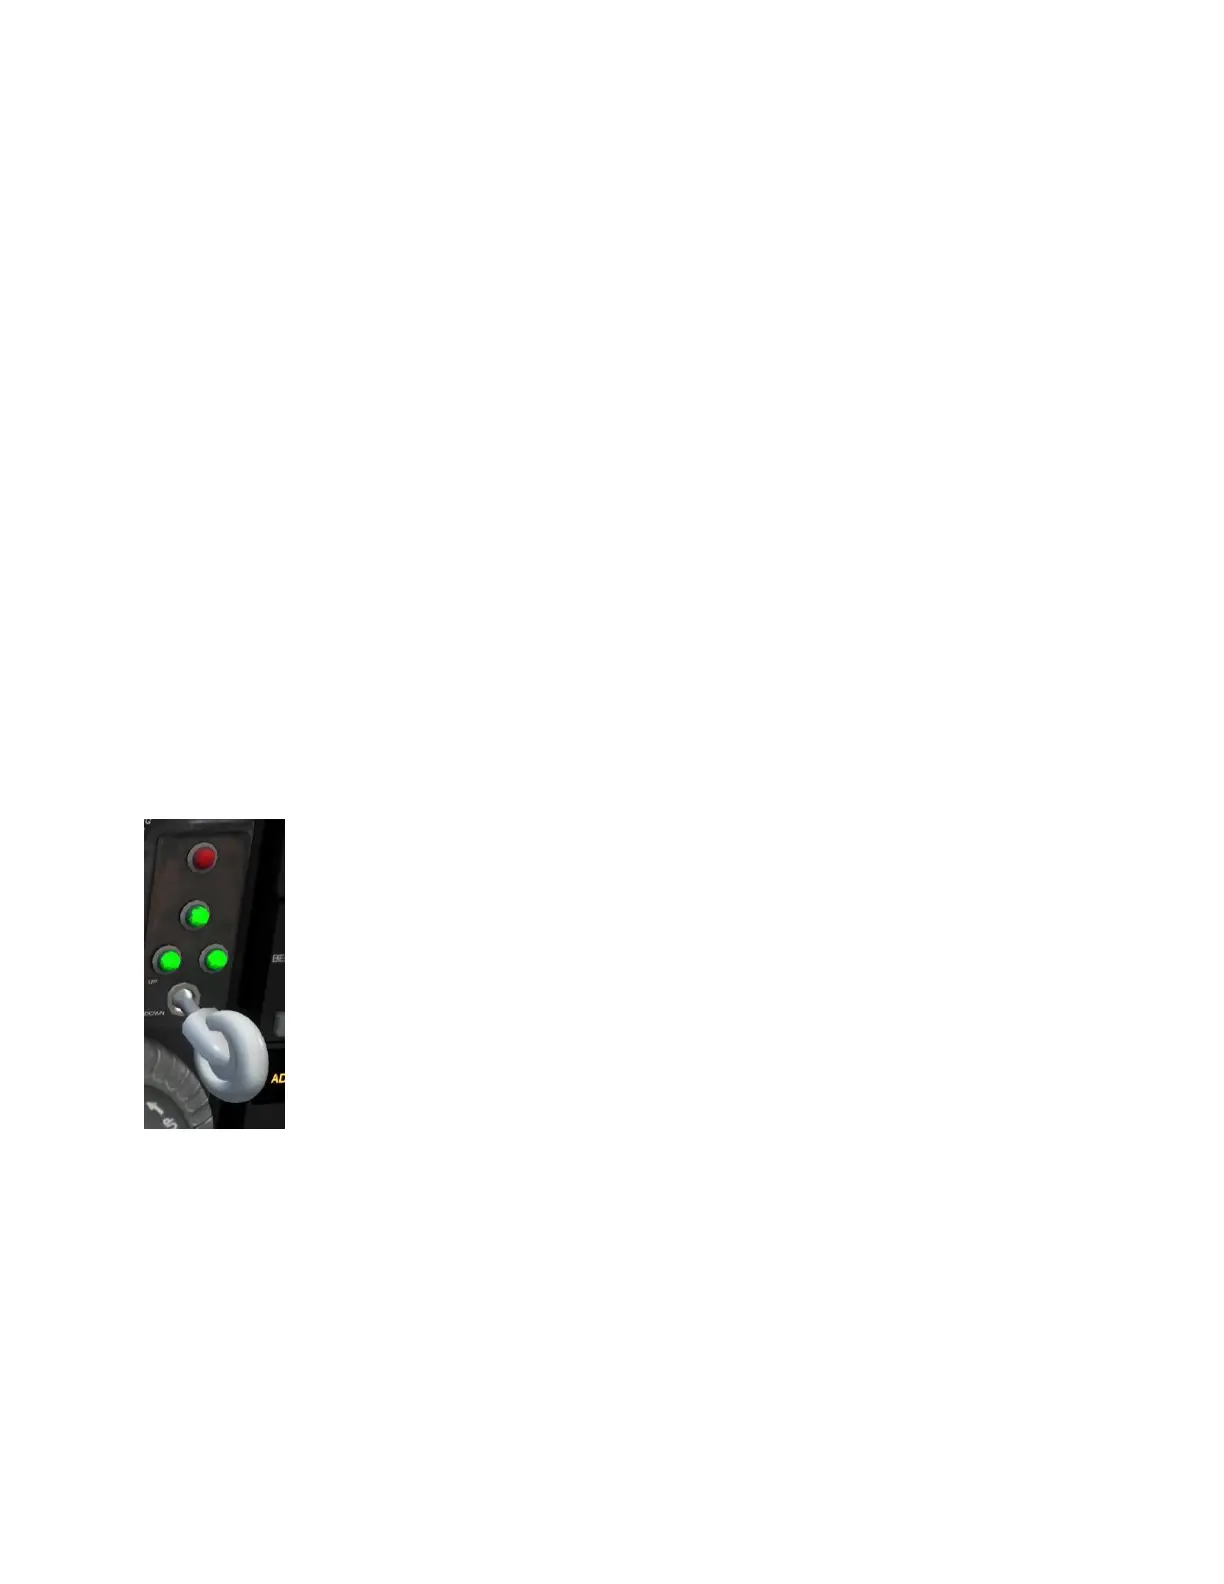
Step six: When you get airborne, you need to retract the gear. Locate the
gear handle (figure 8), which is located in a marvelously convenient and easy
to see location in the real airplane (putting tongue back in cheek now!). This
is why we allow you to hide the yoke bar! That gear lever is located on the
left half of the center console just below the mixture levers.
You can either cycle the gear using a physical controller button (the easy
way) or use your mouse to hover over top of the virtual knob in the VC,
left click and hold, then slide the mouse to toggle the handle up or down
way). Either way, the gear will retract. When the three green lights are
all illuminated, then it means all three landing gear are down and locked
and you can safely land on the gear. When the red light is illuminated, it
means the gear are “in transit,” meaning they are either moving up to retract or moving
down to extend. When all the lights are off it means the landing gear are fully retracted.
Step seven: Now you are flying, and frankly at this point if you want to understand all the
myriad of factors involved in properly flying a piston twin aircraft, you have no choice but to
read the POH. Because if we tried to explain it all here, then we’d duplicate the POH in about
all its slightly over 100 page glory! So, once again, please allocate the time to read the POH.