4
7
AV
5
8
0
6
9
-/--
OK
TV/TX
MENU
PP
16:9
HOLD
SUB
UPDATE
MIX
TV/PC
USE AS A PC MONITOR
Your LCD-TV equipment is provided with VGA inputs, it may be used as a PC
monitor as well.(Plug&Play)
A time delay is present during changing from Tv to Pc mode this normal and not
a fault.
Preparation
1 Plug one end of a VGA lead to the computer monitor
output and the other end to the VGA input on the back of the
TV.
2 To enter “PC” mode from TV mode press mix button
on remote control.
To exit "PC" mode press mix button on the remote
control, or select TV mode in the “TV selection” menu.
MIX
TV/PC
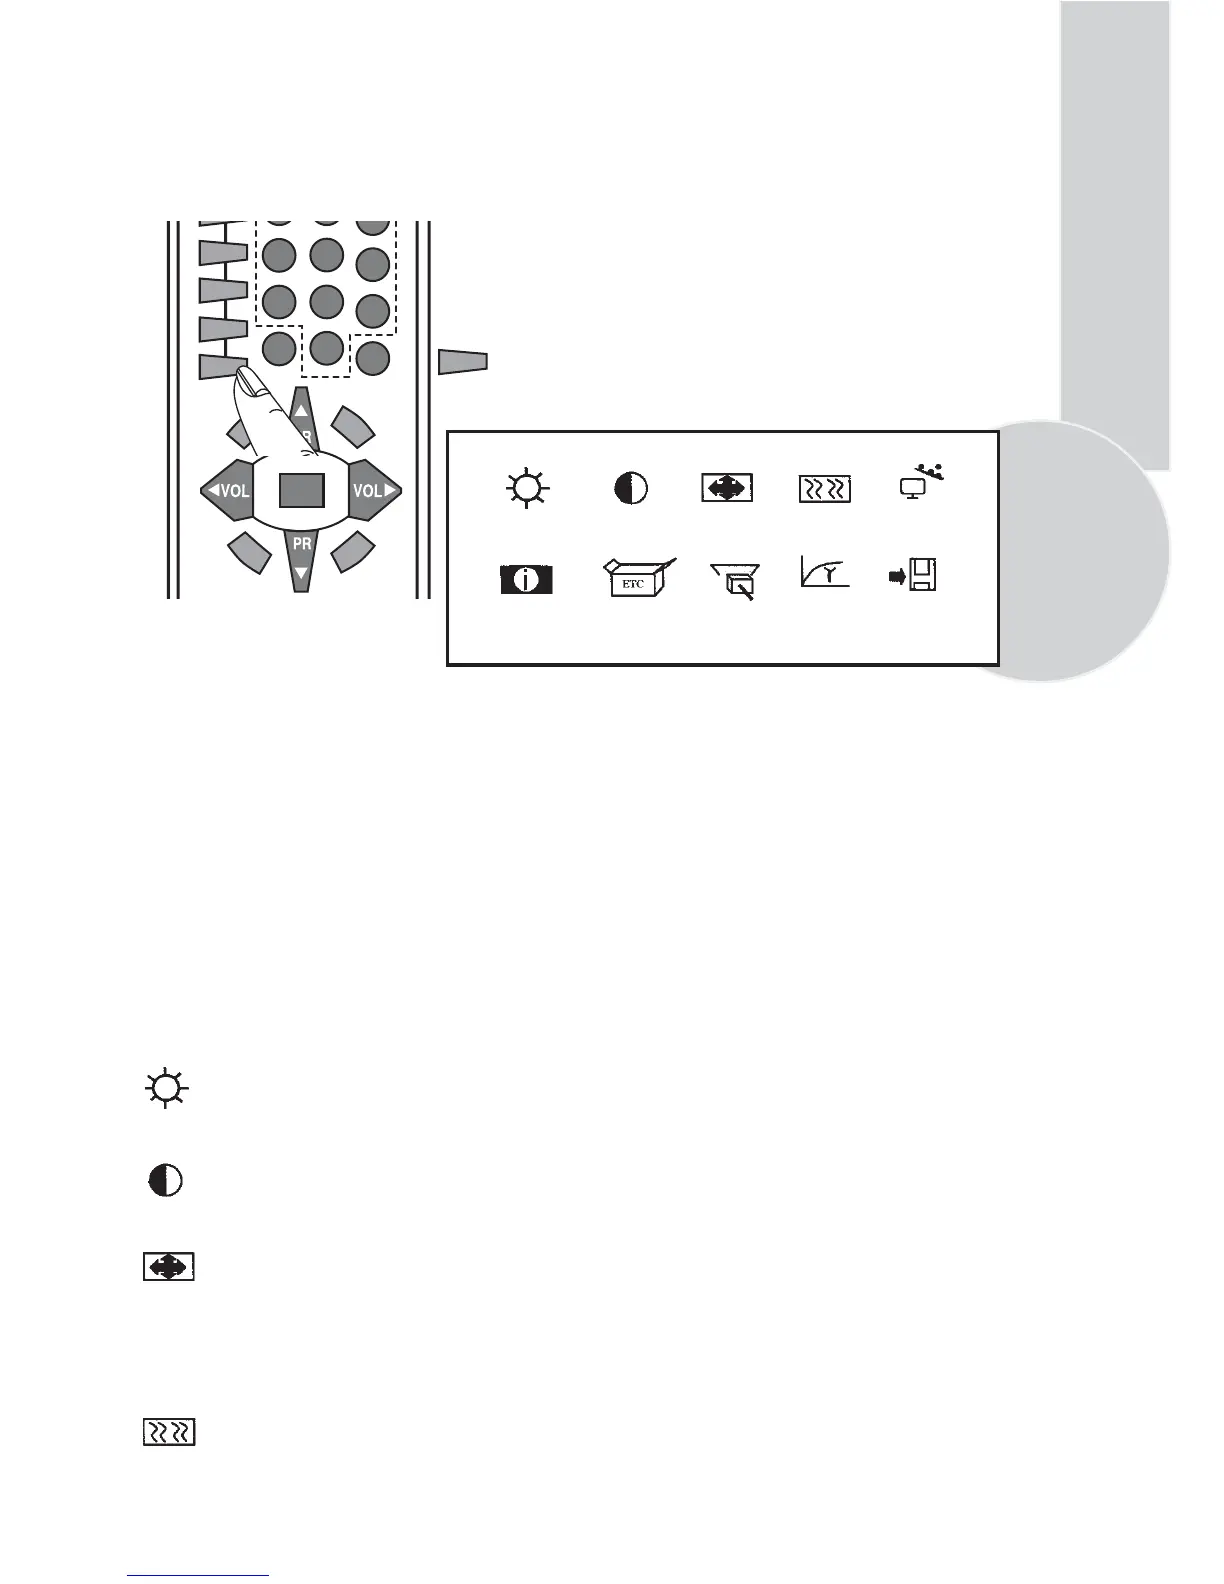
BRIGHTNESS CONTRAST POSITION IMAGE AUTO CONFIG
INFO MISC TV SELECT GAMMA SAVE
3 Menu’s
. Press the menu button on the TV.
. To browse the options use PR▲ / PR▼ on the TV.
. To select options use VOL▼ / VOL▲ on the TV.
. To adjust settings use PR▲ / PR▼
. To store settings .
browse to “Save”using PR▲ / PR▼
select using VOL▼ / VOL▲
select “Yes” using PR▲ / PR▼
to exit press “menu” on the TV.
Note 1: When the system is in the monitor mode, the sound from the TV channel selected
may be heard from the speakers.When you enter this mode, the sound control buttons on
the remote control
( VOL▼ / VOL▲ MUTE) become functional.
Note 2: When the system is in the monitor mode, the STANDBY button is operational.Upon
exit from STANDBY,the system starts up in the TV mode again.
BRIGHTNESS
After entering the Brightness Menu using the VOL▼ / VOL▲ buttons, you may set the
brightness value of the monitor to the desired level by using the PR▲ / PR▼ buttons.
CONTRAST
After entering the Contrast Menu using the VOL▼ / VOL▲ buttons, you may set the
contrast value of the monitor to the desired level by using the PR▲ / PR▼ buttons.
POSITION
After entering the Position Menu using the VOL▼ / VOL▲ buttons, you may set the
geometrical adjustment value of the monitor to the desired level by using the PR▲ / PR▼
buttons.
H-POSITION : Horizontal position adjustment
V-POSITION : Vertical position adjustment
IMAGE
After entering the Image Menu using the VOL▼ / VOL▲ buttons, you may set the phase
adjustment value of the monitor to the desired level by using the PR▲ / PR▼ buttons
PHASE : ADC sampling phase adjustment
CLOCK : ADC clock count Per line
 Loading...