800-543-9038 USA 866-805-7089 CANADA 203-791-8396 LATIN AMERICA / CARIBBEAN
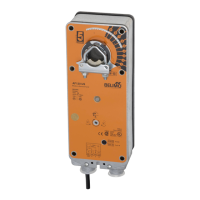
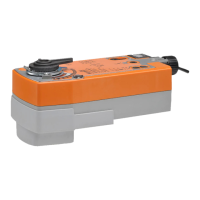
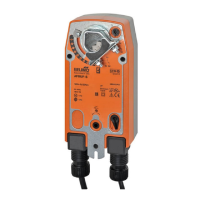
AFB24-MFT, AFX24-MFT + P-100… Electrical Check-Out Procedure
TE
Procedure Expected Response
ives Ex
ected Res
onse
o To Step…
D
N
t
iv
Expected Response
Go To Ste
1.
ontrol signal is applied to actuator. Actuator will move to its “
ontrol
Signal” position
ctuator operates properly
tep 7
o response at all
tep 2.
eration is reversed
te
3.
oes not drive toward "Control Signal
osition" Step 4.
Check power wiring
Correct any problems
N
t
1
Power supply rating should be the total
power requirement of the actuator
s
.
Minimum volta
e of 19.2 VAC or 21.6
DC.
ower wiring corrected, actuator
e
ns to
r
ve Step 1.
ower wiring corrected, actuator still
oes not
r
ve Step 4
.
urn revers
ng sw
tc
to t
e correct
osition. Make sure the switch is
turned all the way left or right.
A
t
t
r will m
v
t
it
“
ntr
l
Si
nal” position
ctuator operates proper
y
tep 7
oes not drive toward “
ontrol
ignal
iti
n”
tep 4
4.
Make sure the control si
nal positive
+
is connected to Wire No. 3 and
ontrol si
nal ne
ative
-
is connected
to w
re
o. 1.
ost contro
pro
ems
are caused by reversin
these two
wires. Veri
y that the reversin
switch
is all the way CCW or CW
Drives to “Control Si
nal” position
ctuator operates properly
tep 7
te
5.
.
heck input signal with a digital volt
eter
.
a
e sure t
e
nput
is within the range of the actuator.
TE
e
nput s
gna
must
e
v
th
2 VD
r 4 mA t
h
v
t
e actuator move.
nput vo
tage or current s
ou
e ±1%
o
what controller's adjustment or
programm
ng
n
cates.
ontroller output (actuator input
s correct. Input Polarity
orrect
tep 6
eprogram, a
ust repa
r or rep
ace
ontro
er as nee
e
tep 1.
.
Check dam
er tor
ue re
uirement
Tor
ue re
uirement is actuator’s
inimum tor
ue.
f
tiv
A
t
t
r
e
lace Actuator -
ee N
te 2.
ecalculate actuator re
uirement and
rr
t in
t
ll
ti
n.
.
Actuator works properly. Test
ontroller by
ollowing controller
anufacturer's instructions
OTE
Check that the transformer(s) are sized properly.
• If a common transformer is used, make sure that polarity is observed on the secondary. This means connect all No. 1 wires to one leg of the transformer and all
No. 2 wires to the other le
of the transformer.
• If multiple transformers are used with one control si
nal, make sure all No. 1 wires are tied to
ether and tied to control si
nal ne
ative
-
.
•
ontrollers and actuators must have separate 24 VA
VD
power sources
OTE 2 I
ailure occurs within 5 years
rom original purchase date, noti
y Belimo and give details o
the application.
tartu
and
heckou
nstruct
ons For AFB24-MFT
AFX24-MFT + P-100
N40103 - 09/11 - Subject to change. © Belimo Aircontrols (USA), Inc.