PR# 26705
MKTG#
F1DCxxH_8820eC00787
DESIGNER KeVIN
DATE 12/17/10 VERSION 03
Introduction
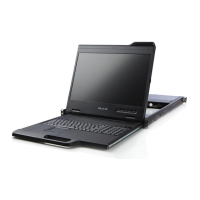
This booklet will guide you through the basic steps needed to install the 19"
Widescreen Rack-Mount Console.
Introduction
Ce document vous guidera à travers les étapes élémentaires nécessaires à
l’installation de la console à écran large 19" pour montage en baie.
Einleitung
Diese Anleitung führt Sie durch die wesentlichen Schritte bei der Installation der 19"
Widescreen Rackmount-Konsole.
Package Contents
Contenu de l’emballage
Verpackungsinhalt
1
*Models containing KVM switch only
*Uniquement les modèles comprenant un switch KVM
*Modelle, die nur mit einem KVM-Switch ausgestattet sind
19" Widescreen Rack-Mount Console
Console à écran large 19" pour
montage en baie
19" Widescreen Rackmount-Konsole
Cable Kit
Kit de câbles
Kabelsatz
DB9-to-RJ11 Serial Flash Cable*
Câble Flash série DB9 vers RJ11*
Serielles DB9/RJ11-Flash-Kabel*
2 Brackets
2 supports de fixation
2 Halterungen
CD
Power Cord
Cordon d’alimentation
Netzkabel
Quick Installation Guide
Guide d’installation rapide
Installationsanleitung
or / ou / oder