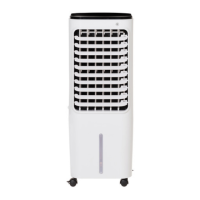
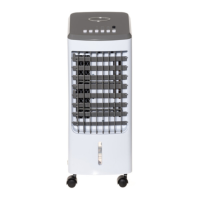
Assembly of the Air Cooler
1. Remove the packaging carefully, taking care not to damage the plastic body of the cooler.
2. Put the wheels on the cooler.
3. Set the unit on a stable and horizontal surface, keeping it away from radiating heat sources and open ame.
4. Filling the water tank: Simply open the top lid and pull out the white rubber bung and pour the water in from the top. Make sure that the
water level in the tank does not exceed the level marked as “MAX” on the back of the tank.
5. When the water tank is full, remember to place the rubber bung back into position
Operating the Air Cooler
Insert the plug into an electrical outlet. The functions of the unit can be controlled through the control panel or remote control.
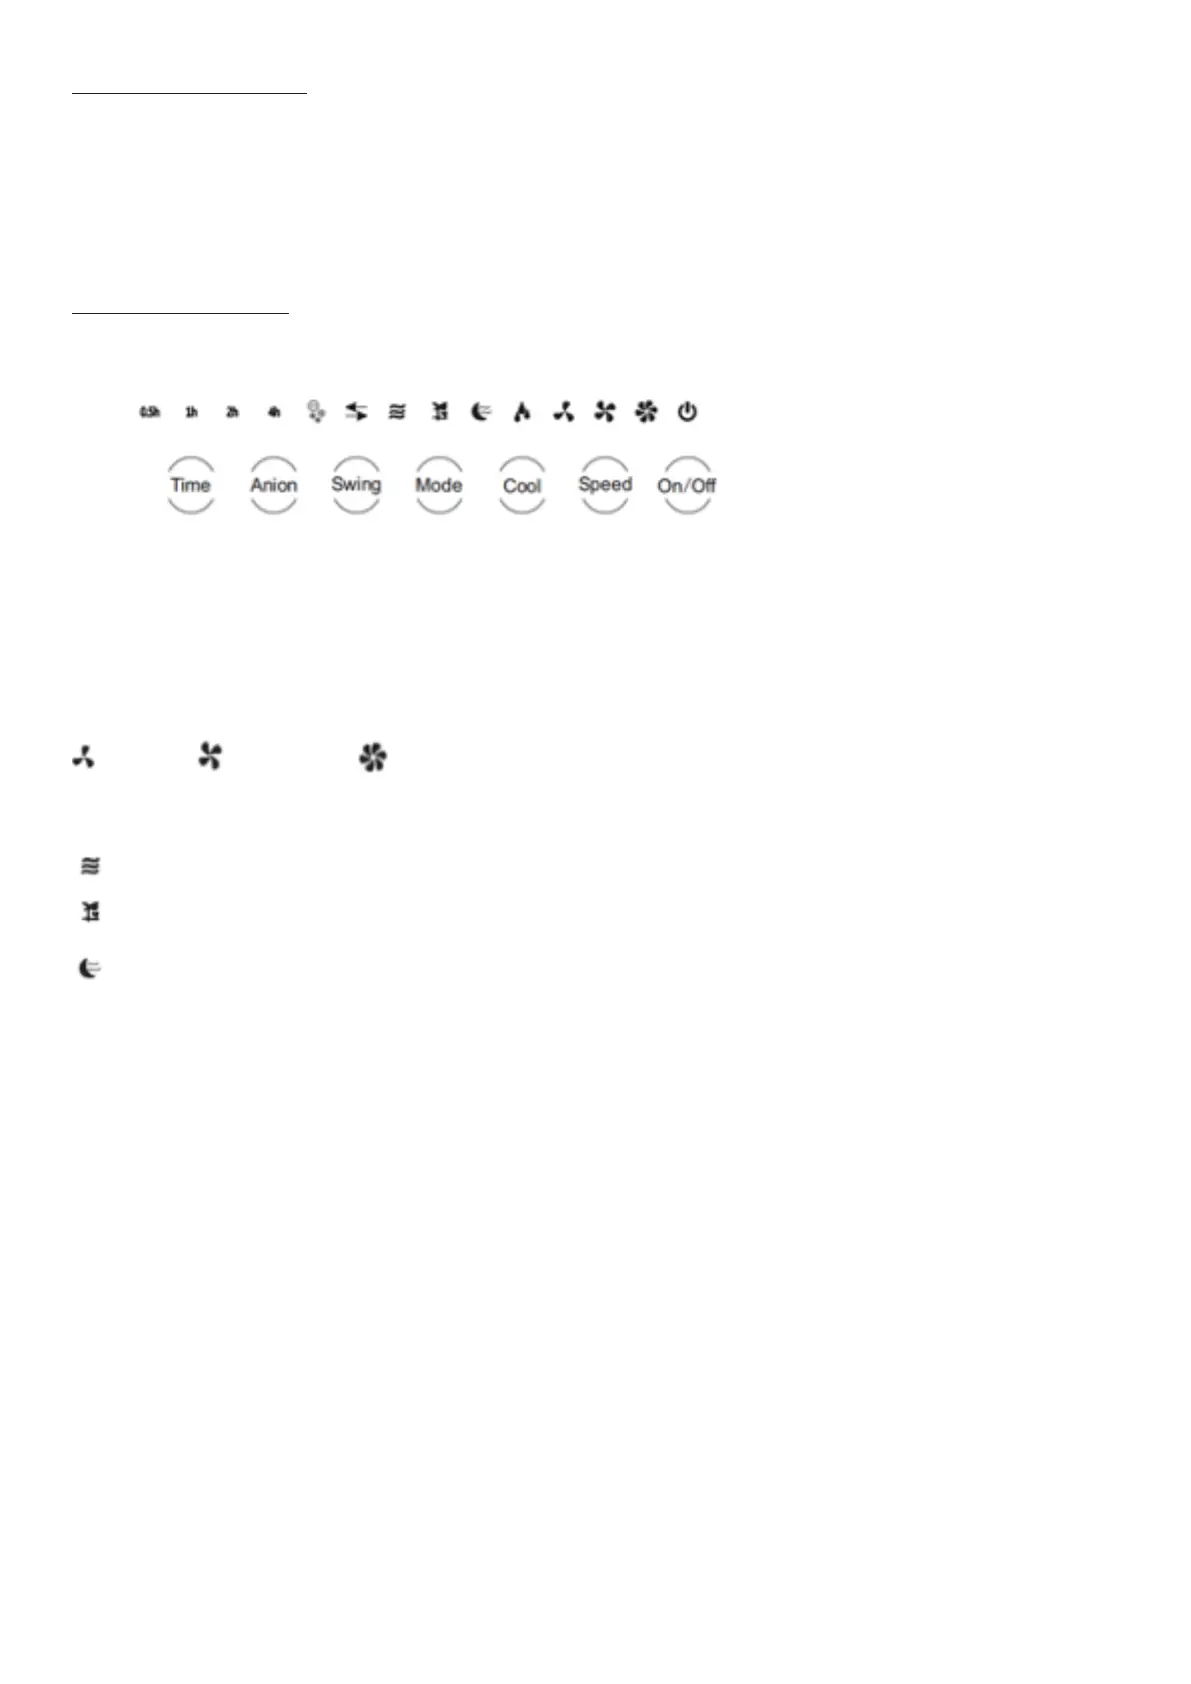
1.ON/OFF: Press the “ON/OFF” button to switch on the unit. The unit will start at a low speed and normal air ow. To switch back to standby
mode, simply press the “ON/OFF” button again.
2. Speed: Air ow speed can be set to three levels (low—medium—high) by pressing the “Speed” button. The control panel will show which
speed level is activated.
Low Speed Medium Speed High Speed
3.Mode: Press the “Mode” button to change between three dierent airow styles:
Standard: The fan will operate at maximum speed
Breeze: The fan speed will uctuate between speeds to imitate a natural breeze.
Sleep: The fan speed will decrease by one level per half hour and then continue to run at Low Speed.
4. Cool
Note! The Cool function cannot be operated without water in the tank.
Press the “Cool” button to turn on the cooling function, which cools the air. Press the button again to turn it o. The symbol above the cool
symbol ashes when the tank requires water or is empty.
5. Anion
Press the ANION button to activate the ionizer; the unit will produce anions to help clean the air. Press the button again to turn the ionizer
o.
6. Swing
Press the “swing” button to activate and deactivate the oscillation function. The vertical direction of the air ow can be adjusted manually by
directing the outlet louvers up and down.
7. Timer
The timer can be used to power on or as a countdown timer with a duration between 0.5 and 7.5 hours.
In Standby mode: Repeatedly press the TIMER button to select the duration of the timer you require for when you want the unit to switch
on. The duration is calculated by adding up the lights illuminated. If 0.5, 1H, 2H and 4H are all lit then 7.5 hours is selected and the unit will
automatically switch on from standby mode after 7.5 hours have elapsed. You can also choose anion, swing, mode, speed, or cool to operate
from standby mode.
Countdown Timer mode: During operation repeatedly press the TIMER button to select the duration of the timer you require for when you
want the unit to switch o. The duration is calculated by adding up the lights illuminated. E.g., if 0.5, 1H, 2H and 4H are all lit, then 7.5 hours
is selected and the unit will automatically switch o into standby mode after 7.5 hours have elapsed.