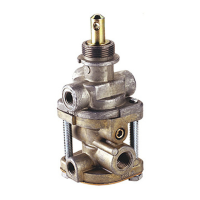
3
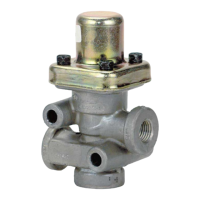
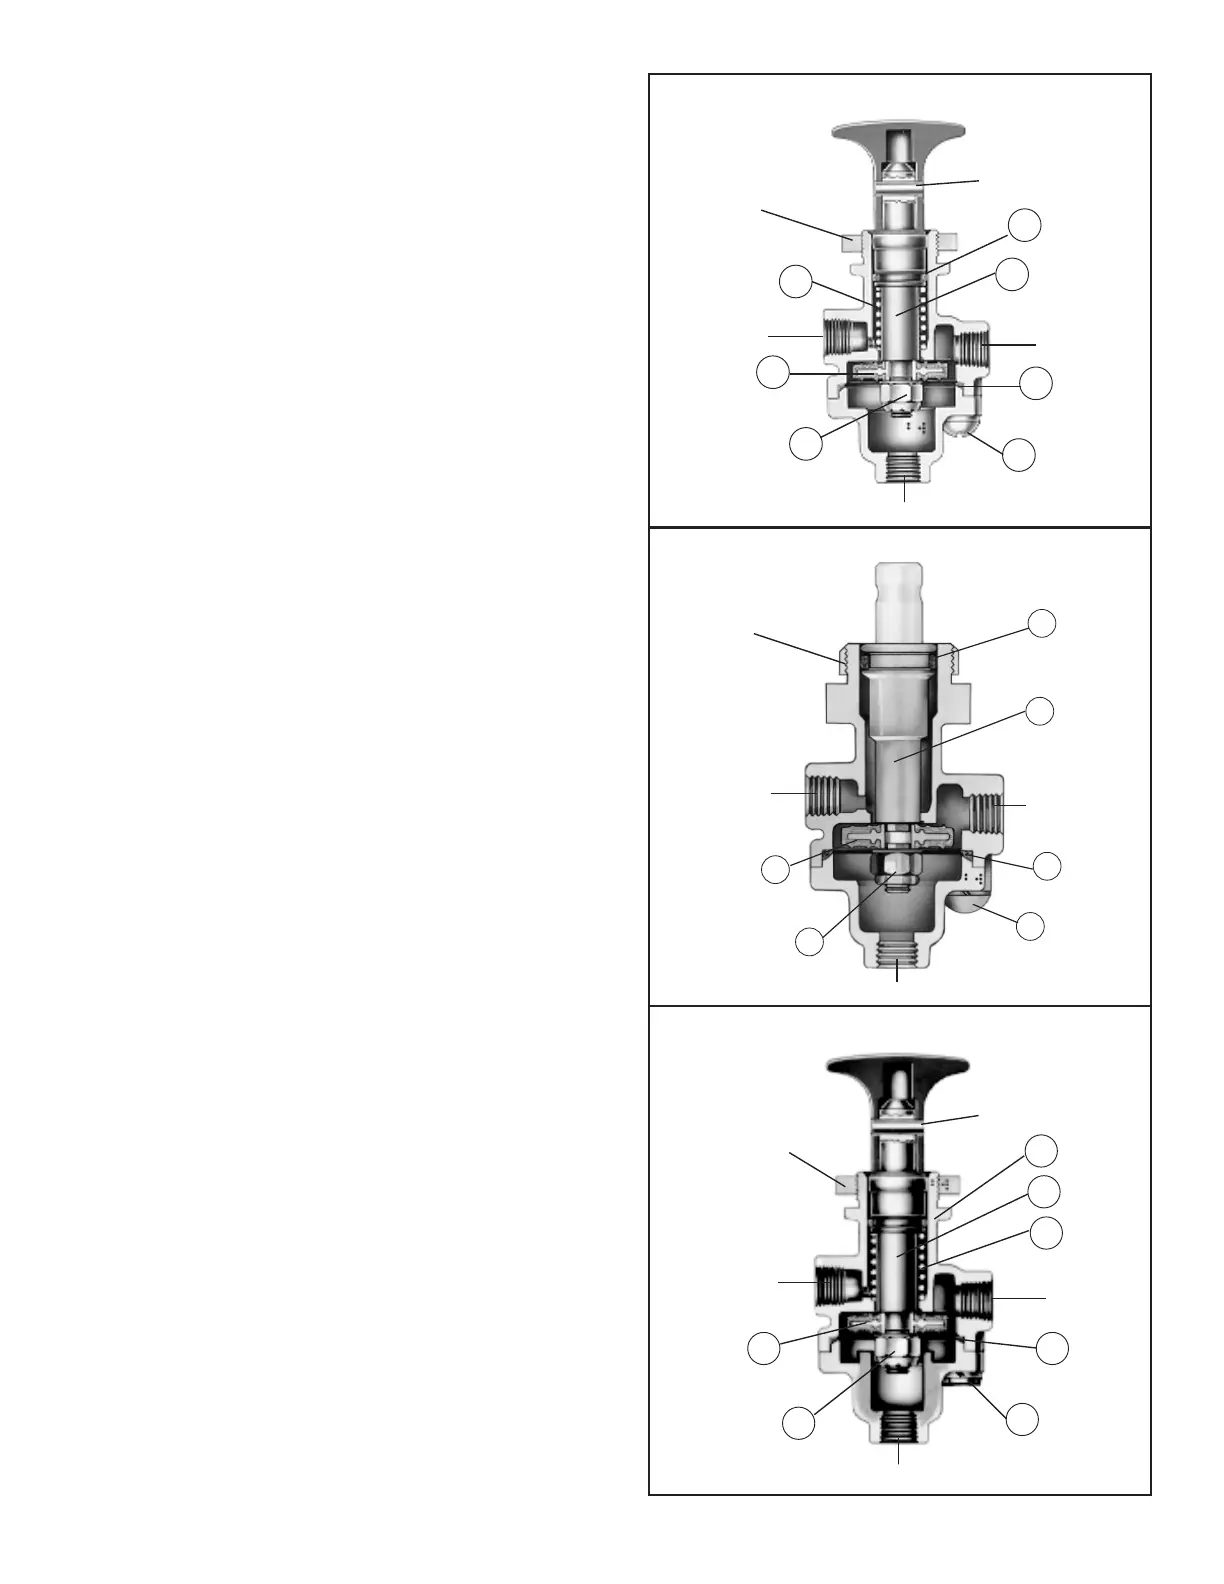
BENDIX
®
PP-1
®
VALVE
Button Roll Pin
Panel Mounting
Nut
Figure 2
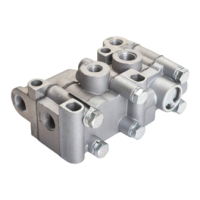
9
7
4
3
5
6
8
Supply
Delivery
Exhaust
Panel Mounting
Nut
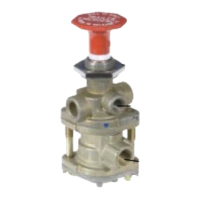
Figure 3
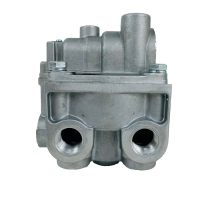
BENDIX
®
PP-8
™
VALVE
Button Roll Pin
Panel Mounting
Nut
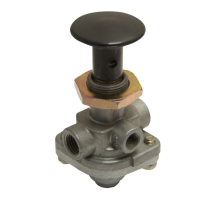
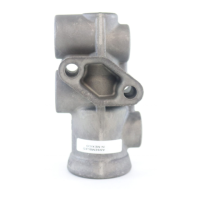
BENDIX
®
RD-3
™
VALVE
Figure 4
9
7
4
3
6
5
9
7
8
4
3
5
6
Delivery
Delivery
Supply
Supply
Exhaust
Exhaust
PREVENTIVE MAINTENANCE
Important: Review the Bendix Warranty Policy before
performing any intrusive maintenance procedures. A
warranty may be voided if intrusive maintenance is
performed during the warranty period.
No two vehicles operate under identical conditions, as
a result, maintenance intervals may vary. Experience is
a valuable guide in determining the best maintenance
interval for air brake system components. At a minimum,
the PP valves should be inspected every 6 months or
1500 operating hours, whichever comes rst, for proper
operation. Should the PP valves not meet the elements
of the operational tests noted in this document, further
investigation and service of the valve may be required.
REMOVAL
Block and/or hold the vehicle by a means other than air
brakes and drain all reservoirs.
1. Drive the button roll-pin out with a punch and remove
the button.
2. Mark each air supply line and its port for easy
reinstallation, then disconnect them. Remove the valve
from the panel by removing the panel mounting nut.
INSTALLATION
1. Install the valve in panel, securing with the panel
mounting nut.
2. Reconnect the air lines using marks made during
removal as a guide.
3. Install the operating button. Secure the operating button
by installing the button roll pin.
DISASSEMBLY: BENDIX
®
PP-1
®
, PP-8
™
, &
RD-3
™
VALVES
1. Remove the two cap screws (3) which retain the lower
cover and remove the cover. Remove the sealing
ring (4).
2. Insert a small punch through the roll pin hole in the stem
and remove the locknut (5).
3. Remove the inlet-exhaust valve (6) and plunger (7) and
spring (8), if any.
4. Remove the o-ring (9) from the plunger.