ASSEMBLY
21
9
CAUTION
9
TO PREVENT INJURIES:
Always raise the attachment to reduce the
tension on the spring before applying or
releasing tension on the helper spring. Firmly
hold the handle when you release the tension
because the arm will kick back due to the tension
on the spring.
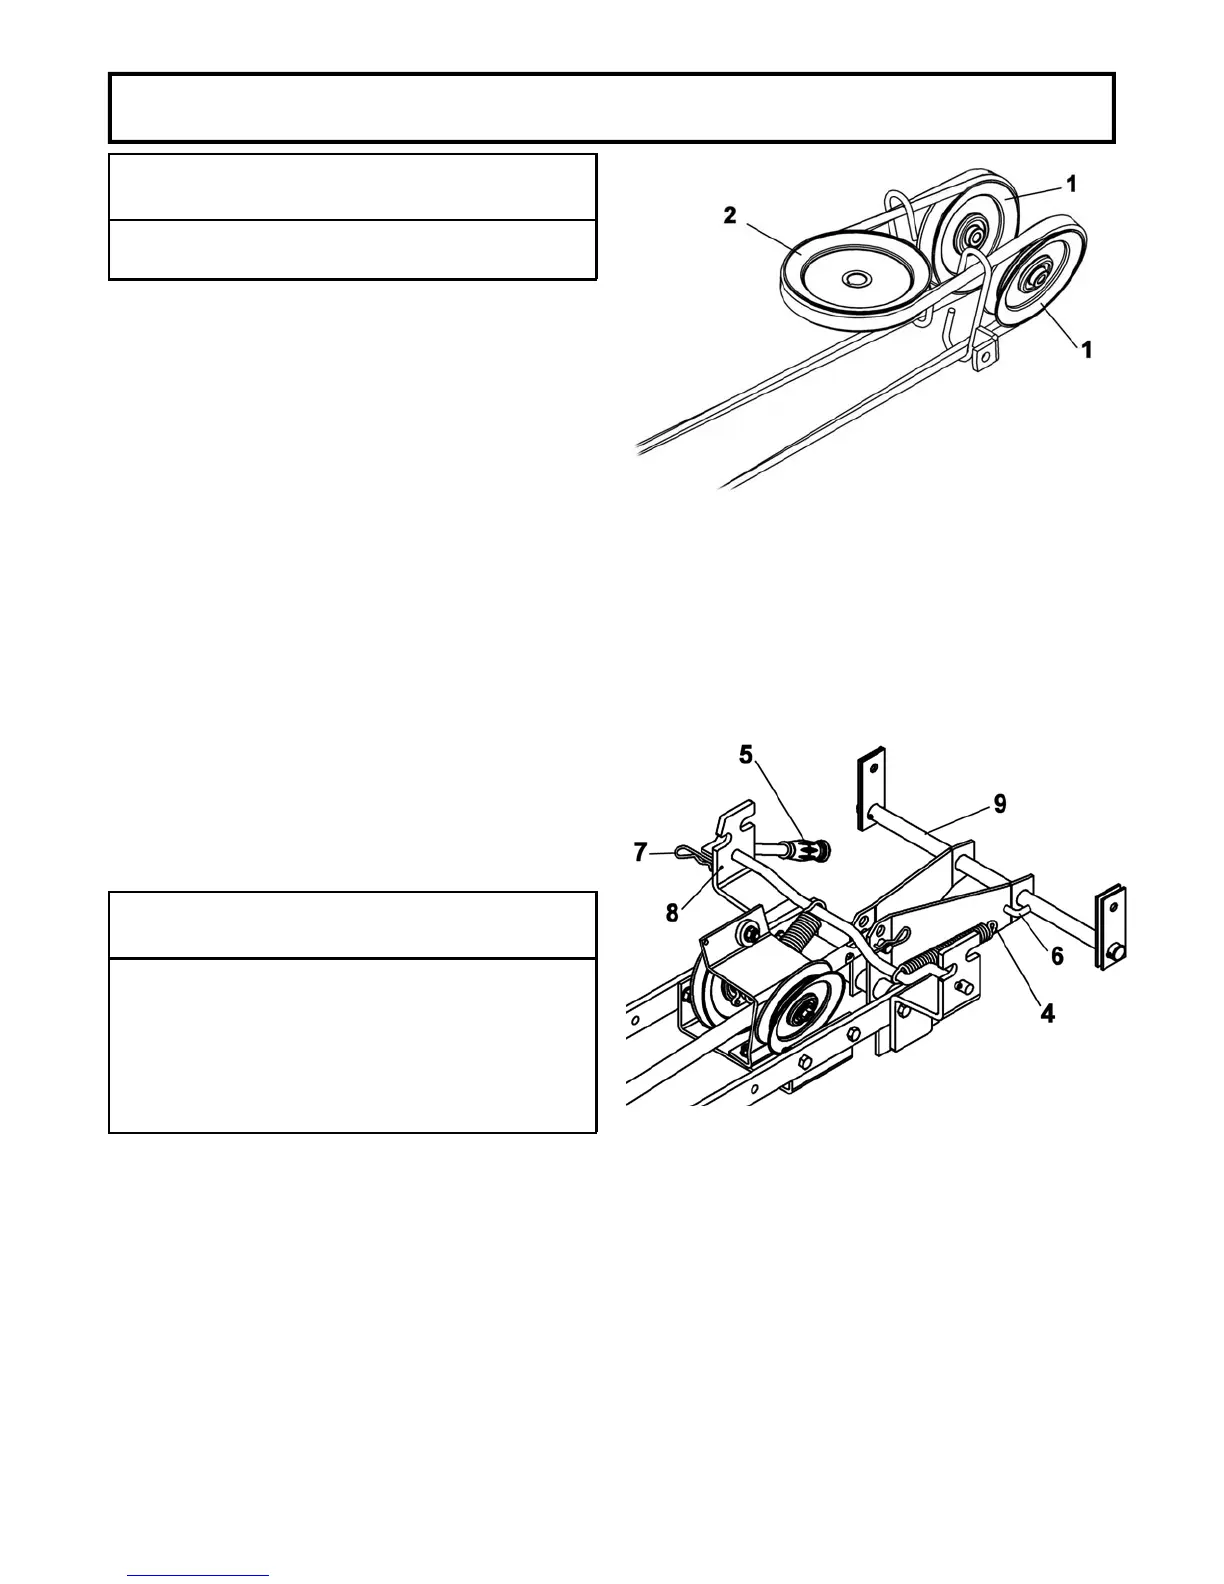
Install the belt as shown
NOTE: Do not hook the helper spring (item 4) to the lift
lever (item 9) right now. The belt must be adjusted
before installing the spring.
Apply tension on the belt by moving the tension arm
(item 5) towards the front.
Check the tension on the belt and adjust if necessary.
See maintenance section for adjustment instructions.
Raise the rotary broom in order to install the helper
spring.
Move the tension arm (item 5) towards the back.
Hook the helper spring (item 4) in the eyelet (item 6) that
is welded to the lift lever (item 9).
Apply tension by moving the tension arm towards the
front and secure in the hole (item 8) with a 3 mm hair pin
(item 7).
9
CAUTION
9
Never use the Rotary Broom without the belt
guard.
Install the belt
Install the spring