English | 17
1 609 92A 1ES • 23.9.15
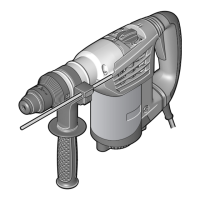
Removing Drilling Tools without SDS-plus
(see figure E)
– Firmly hold the retaining ring of the quick change
keyless chuck 13. Open the quick change key-
less chuck by turning the front sleeve in the di-
rection of the symbol “ ”.
– Remove the drilling tool.
Dust Extraction with the Dust Extrac-
tion Attachment (Accessory)
Dust from materials such as lead-containing
coatings, some wood types, minerals and metal
can be harmful to one’s health. Touching or
breathing-in the dust can cause allergic reac-
tions and/or lead to respiratory infections of the
user or bystanders.
Certain dust, such as oak or beech dust, is con-
sidered carcinogenic, especially in connection
with wood-treatment additives (chromate, wood
preservative). Materials containing asbestos may
only be worked by specialists.
– As far as possible, use a dust extraction sys-
tem suitable for the material.
– Provide for good ventilation of the working
place.
– It is recommended to wear a P2 filter-class res-
pirator.
Observe the relevant regulations in your country
for the materials to be worked.
Prevent dust accumulation at the workplace.
Dust can easily ignite.
Mounting the Dust Extraction Attachment
(see figure F)
For dust extraction, the dust extraction attachment
(accessory) is required. When drilling, the dust ex-
traction attachment retracts so that the attachment
head is always close to the surface at the drill hole.
– Press the button for depth stop adjustment 9
and remove the depth stop 11. Press button 9
again and insert the dust extraction attachment
into the auxiliary handle 10 from the front.
– Connect an extraction hose (diameter 19 mm,
accessory) to the extraction sleeve 16 of the dust
extraction attachment.
The vacuum cleaner must be suitable for the mate-
rial being worked.
When vacuuming dry dust that is especially detri-
mental to health or carcinogenic, use a special vac-
uum cleaner.
Adjusting the Drilling Depth on the Dust Extrac-
tion Attachment (see figure G)
The required drilling depth X can also be adjusted
when the dust extraction attachment is mounted.
– Insert the SDS-plus drilling tool to the stop into
the SDS-plus tool holder 1. Otherwise, the mov-
ability of the SDS-plus drilling tool can lead to in-
correct adjustment of the drilling depth.
– Loosen the wing bolt 20 on the dust extraction
attachment.
– Without switching the power tool on, apply it
firmly to the drilling location. The SDS-plus drill-
ing tool must face against the surface.
– Position the the guide pipe 21 of the dust extrac-
tion attachment in its holding fixture in such a
manner that the head of the dust extraction at-
tachment faces against the surface to be drilled.
Do not slide the guide pipe 21 further over the
telescopic pipe 19 of the dust extraction attach-
ment than required, so that as much as possible
of the scale 19 on the telescopic pipe remains
visible.
– Retighten the wing bolt 20 again. Loosen the
clamping screw 17 on the depth stop of the dust
extraction attachment.
– Move the depth stop 18 on the telescopic pipe
19 in such a manner that the clearance X shown
in the figure corresponds with the required drill-
ing depth.
– Tighten the clamping screw 17 in this position.
Operation
Starting Operation
Observe correct mains voltage! The voltage of
the power source must agree with the voltage
specified on the nameplate of the machine.
Power tools marked with 230 V can also be op-
erated with 220 V.
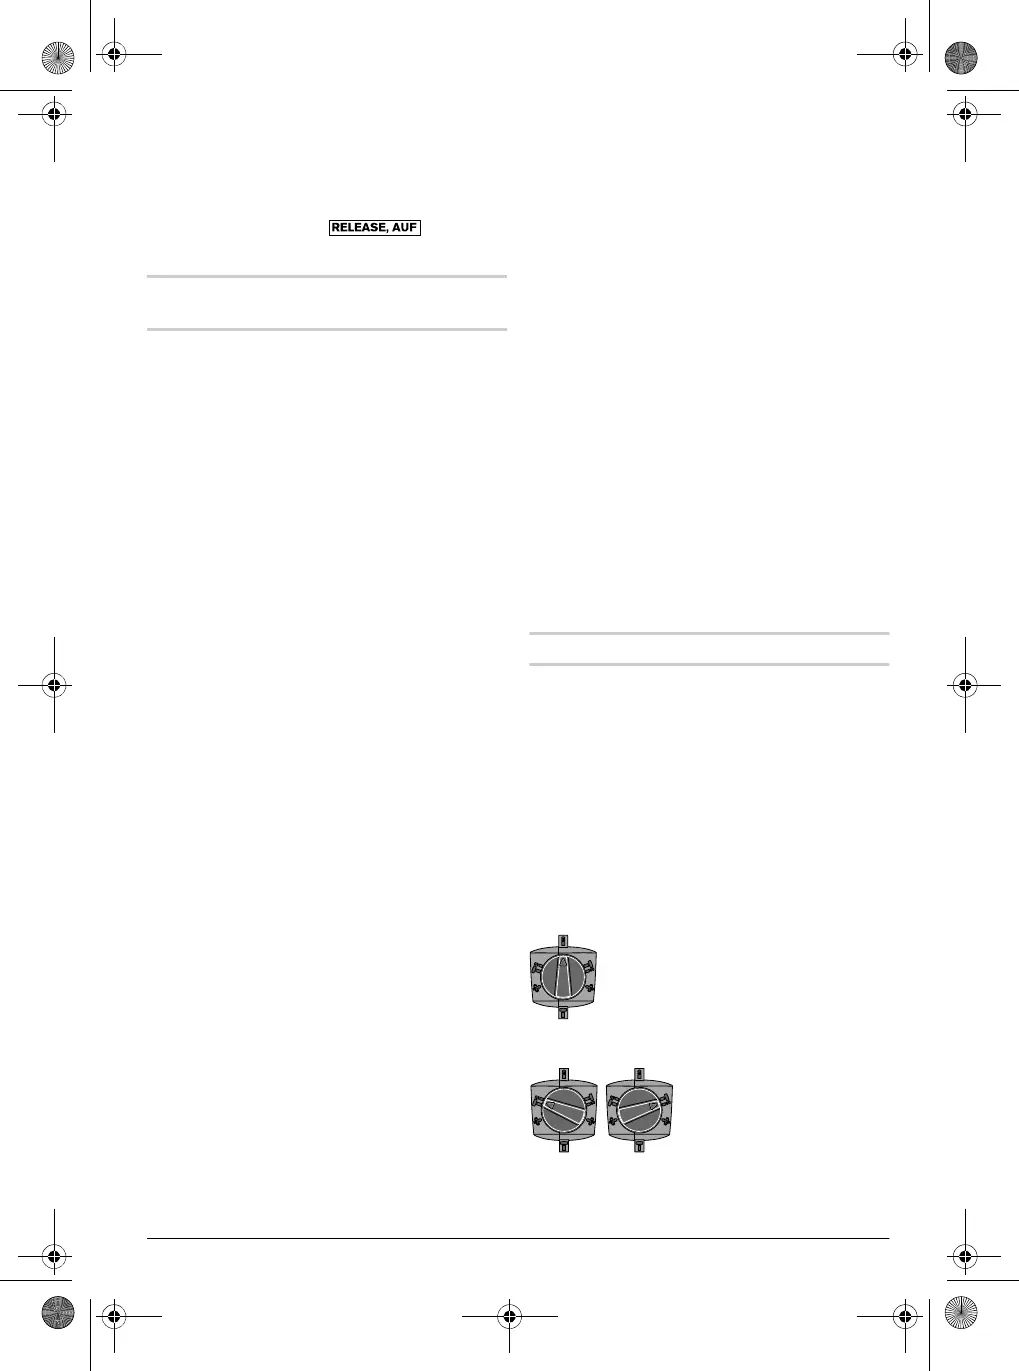
Setting the operating mode
The operating mode of the power tool is selected
with the mode selector switch 5.
Note: Change the operating mode only when the
machine is switched off! Otherwise, the machine
can be damaged.
– Turn the mode selector switch 5 to the request-
ed position.
Position for drilling without
impact in wood, metal, ce-
ramic and plastic as well as
for screwdriving and thread
cutting
Position for hammer drilling
in concrete or stone
When the drilling tool does
not immediately rotate upon
switching on, allow the ma-
chine to run slowly until the
drilling tool rotates.
OBJ_BUCH-735-005.book Page 17 Wednesday, September 23, 2015 10:20 AM