Do you have a question about the Bertazzoni KIN 36 PRO X and is the answer not in the manual?
Appliance not for unsupervised children or infirm persons; supervise children to prevent play.
Must be installed by qualified personnel; qualified electricians for electrical modifications.
Dangerous to modify the system; contact authorized service for repairs.
Check electrical parts are off before use; read booklet before operations.
Ensure power is OFF during installation or repair work.
Verify voltage, load, and circuit rating match supply before installation.
Use only for cooking fumes in home kitchens; manufacturer disclaims liability for other uses.
Max 1.5 kg object limit; clean hood after installation to remove residue.
Minimum distance from cooktop to hood is 65 cm (25.6") for gas appliances.
Duct diameter must not be smaller than hood connection; slope duct upwards.
Avoid angled pipes; ensure pipes are of minimum length.
Comply with regulations on air discharge and ensure room ventilation.
Ensure room is well-ventilated when using hood with gas/fuel appliances.
Disconnect power before any work; contact service if wires are cut.
Connections must comply with legal standards and support appliance load.
This appliance must be grounded for electrical safety.
Hood has a 5ft power cord with NEMA 5-15 plug for 120 VAC, 60Hz, 15A outlet.
Use junction box for cable without plug; ensure correct wire connections (earth, neutral, phase).
Vents kitchen fumes and steam outside through an exhaust duct.
Exhaust conveyor must connect to a duct carrying fumes and steam outside.
Adequate room ventilation is required when using hood with gas or fuel appliances.
Negative room pressure must not exceed 4 Pa when operating simultaneously with non-electric appliances.
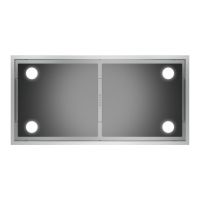
Describes the function of the LIGHT (Switch A) and SPEED (Switch B) buttons.
Controls the hood light; Position 0 is off, Position 1 is on.
Starts and sets motor speed (1-3 or variator).
Indicates the motor's operational status.
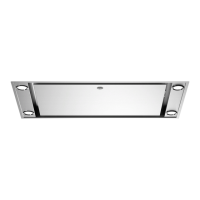
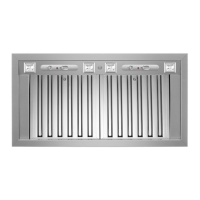
Instructions for removing and repositioning metal grease-trapping filters using handle A.
Procedure for replacing a square halogen light bulb.
Steps: disconnect power, open panel, replace lamp (max 20W, 12V, G4), close panel.
Wash filters monthly in hot water and detergent; dry completely before repositioning.
Clean exterior with damp cloth and neutral detergent or alcohol; special care for fingerprint-less finish.
Do not use liquids or solvents on electrical parts or motor assembly; avoid abrasive products.
Compliant with international standards for earth connection and EMC.
Avoid flues, check voltage, maintain minimum distance, no open flames, check fryers, ensure ventilation.
Disconnect appliance before cleaning/maintenance; manufacturer disclaims liability for non-compliance.
Warranty conditions provided by distributor; manufacturer not liable for inaccuracies or unauthorized modifications.
Remove the metal filters as the first step in assembly.
Unscrew screws (A) and pins (B) to remove the bottom part.
Insert the hood into the furniture hole and fix with 10 wood screws (C).
Disconnect power supply before making electrical connections.
Repeat steps 1 and 2 to reassemble the bottom part and metal filters.
| Appliance type | Ventilation Hood |
|---|---|
| Width | 36 inches |
| Width (cm) | 91.44 cm |
| Airflow | 600 CFM |
| Extraction rate | 600 CFM |
| Number of speeds | 4 |
| Lighting | LED |
| Control Type | Electronic push button |
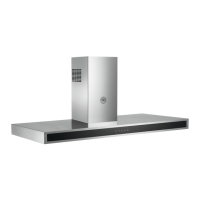
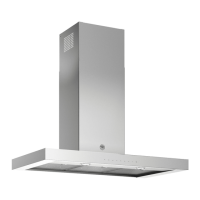
| Material | Stainless Steel |
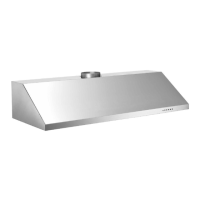
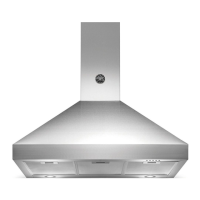
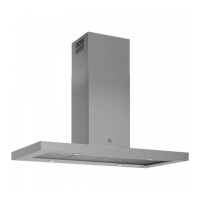
| Type | Wall Mount |
| Venting Options | Ducted |
| Grease filter type | Mesh |
| Noise level | 67 dB |