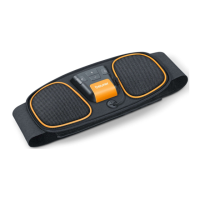
9
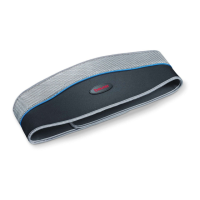
Connecting Components
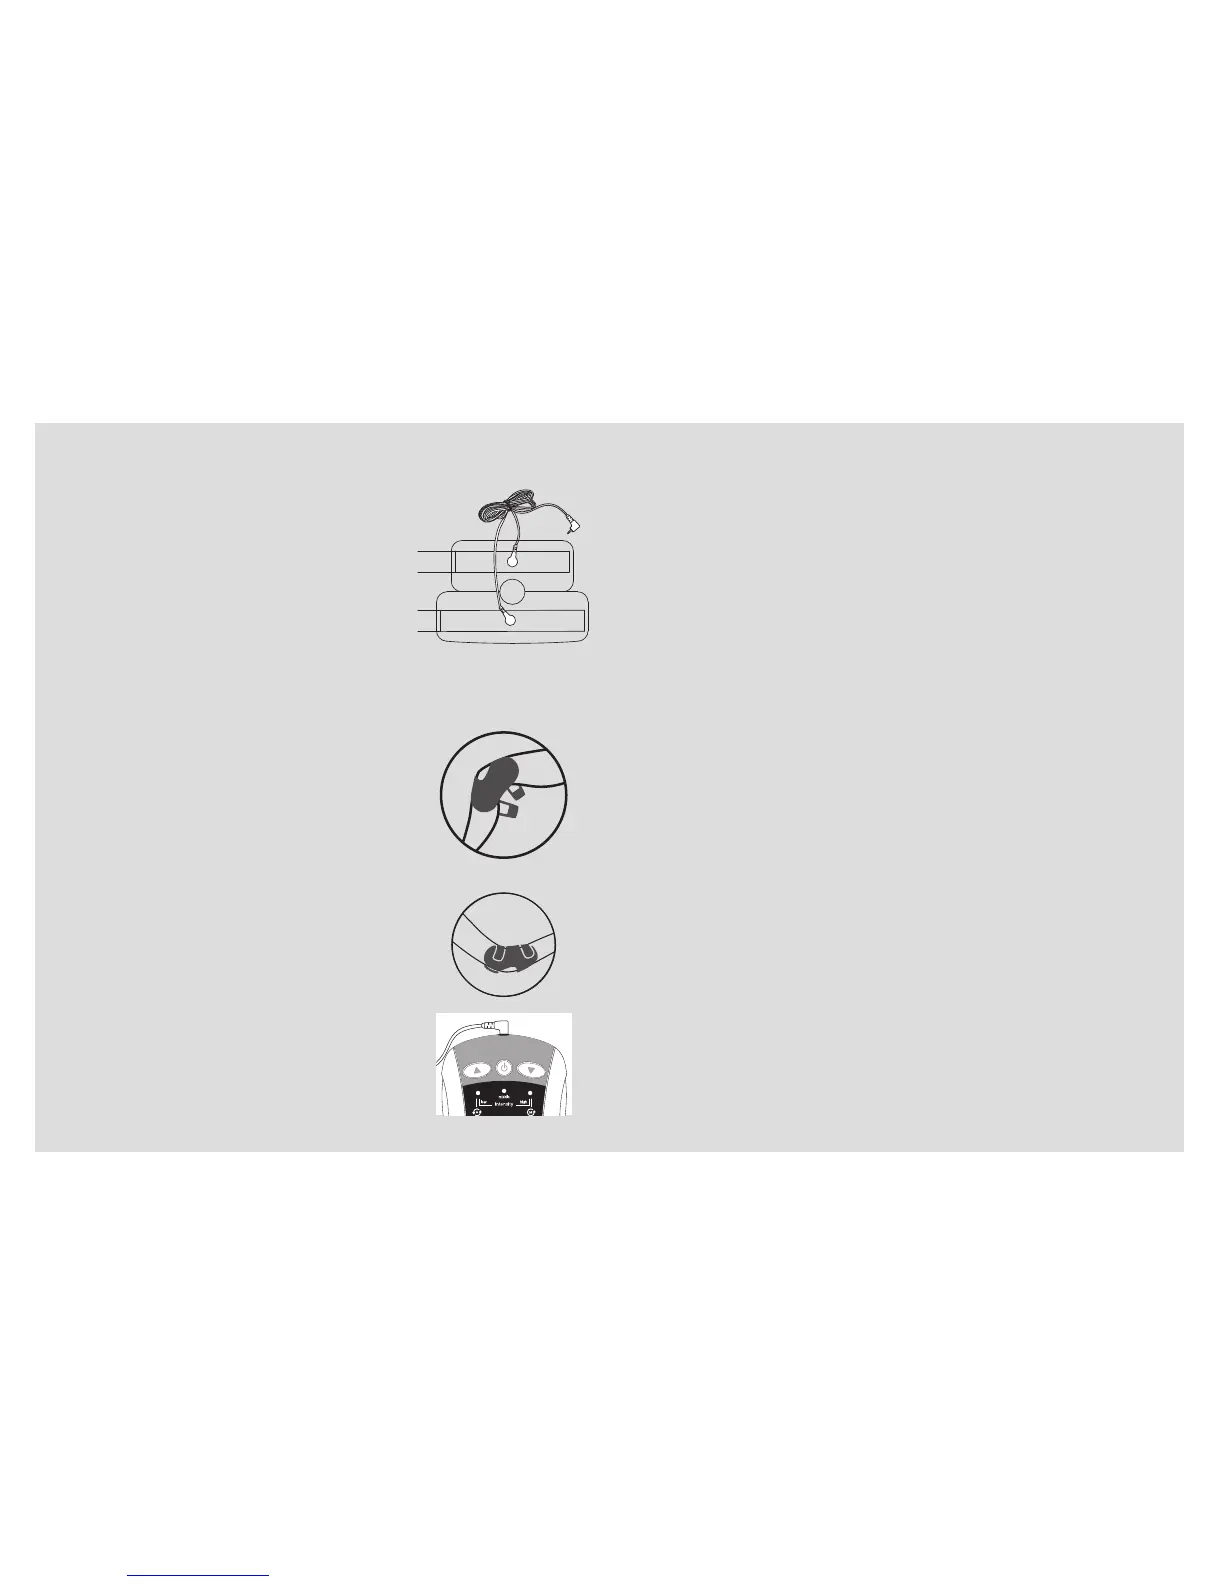
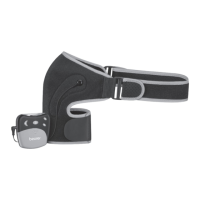
1
. Snap the ends of the power wire
onto the power wire connectors on
the cuff. The two ends are inter-
changeable and do not have a
specific left or right.
2
. Moisten the rubber electrode cov-
ers with water, as well as the area
on your body to be treated.
3
. Place the cuff around your knee or
elbow, as desired. Ensure the rub-
ber electrode covers are properly
positioned over the desired treat-
ment area and the opening in the
cuff is over your knee/elbow.
4
. Tighten and secure the hook and
loop straps.
5
. Insert the power wire plug into the
power wire jack on the control unit.
1
. Press the On/Off Button to switch the device on. The
device will beep three times and the logo will flash and
then illuminate.
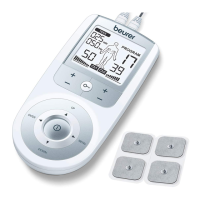
2
. Use the ▲/▼ buttons to select an intensity level from
1 - 25 that feels most comfortable. The “low” intensity
indicator will flash for levels 1-8, the “middle” intensity
indicator will flash for levels 9-17, and the “high” inten-
sity indicator will flash for levels 18-25. The higher the
level within each range, the faster the indicator will flash.
NOTE: When setting the level, the control unit will beep
once. If it beeps twice, there may not be enough water
on the rubber electrode covers to conduct enough cur-
rent, or the power wire is not attached properly.
3
. This device will switch between two treatment modes by
itself. If you prefer one treatment mode over the other,
you can manually select it by pressing the On/Off Button
during treatment; the Indicator above the “M” will illumin-
ate briefly, indicating that the manual selection mode is
active. To return to auto mode, press the On/Off Button
again; the indicator above the “A” will illuminate briefly.
4
. To shut the device off at any time, press and hold the
On/Off Button until the control unit emits one long beep
and the logo shuts off. It will also shut off by itself after
30 minutes of use.
5
. Always remove the cuff directly after treatment.