Installing your BIBO bar
STEP BY STEP GUIDE FOR SELF-INSTALLATION
1. PREPARATIONS
2. WATER SUPPLY CONNECTION
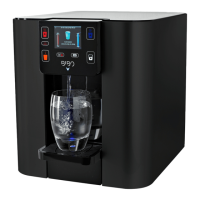
a. Decide where you will place
your BIBO bar.
b. Carefully remove your BIBO
bar from its packaging and
place it in its preferred spot on
the work surface.
c. Remove the plastic bag and
protective covering from the
cable and plug.
d. Remove the drip tray
wrapping and take out the
zapper ‘key’ from inside the
drip tray (keep this somewhere
safe - you’ll need it down
the line when replacing your
zapper).
e. Remove the protective cover
from the touch screen.
a. Isolate the mains water
supply by either turning off the
angle stop valve or turning off
the mains water supply to your
home/oce.
b. Drain as much water
as possible from the pipe
connected to the angle stop
valve before disconnecting it.
It’s useful to have a cloth close
by to dry up any spills.
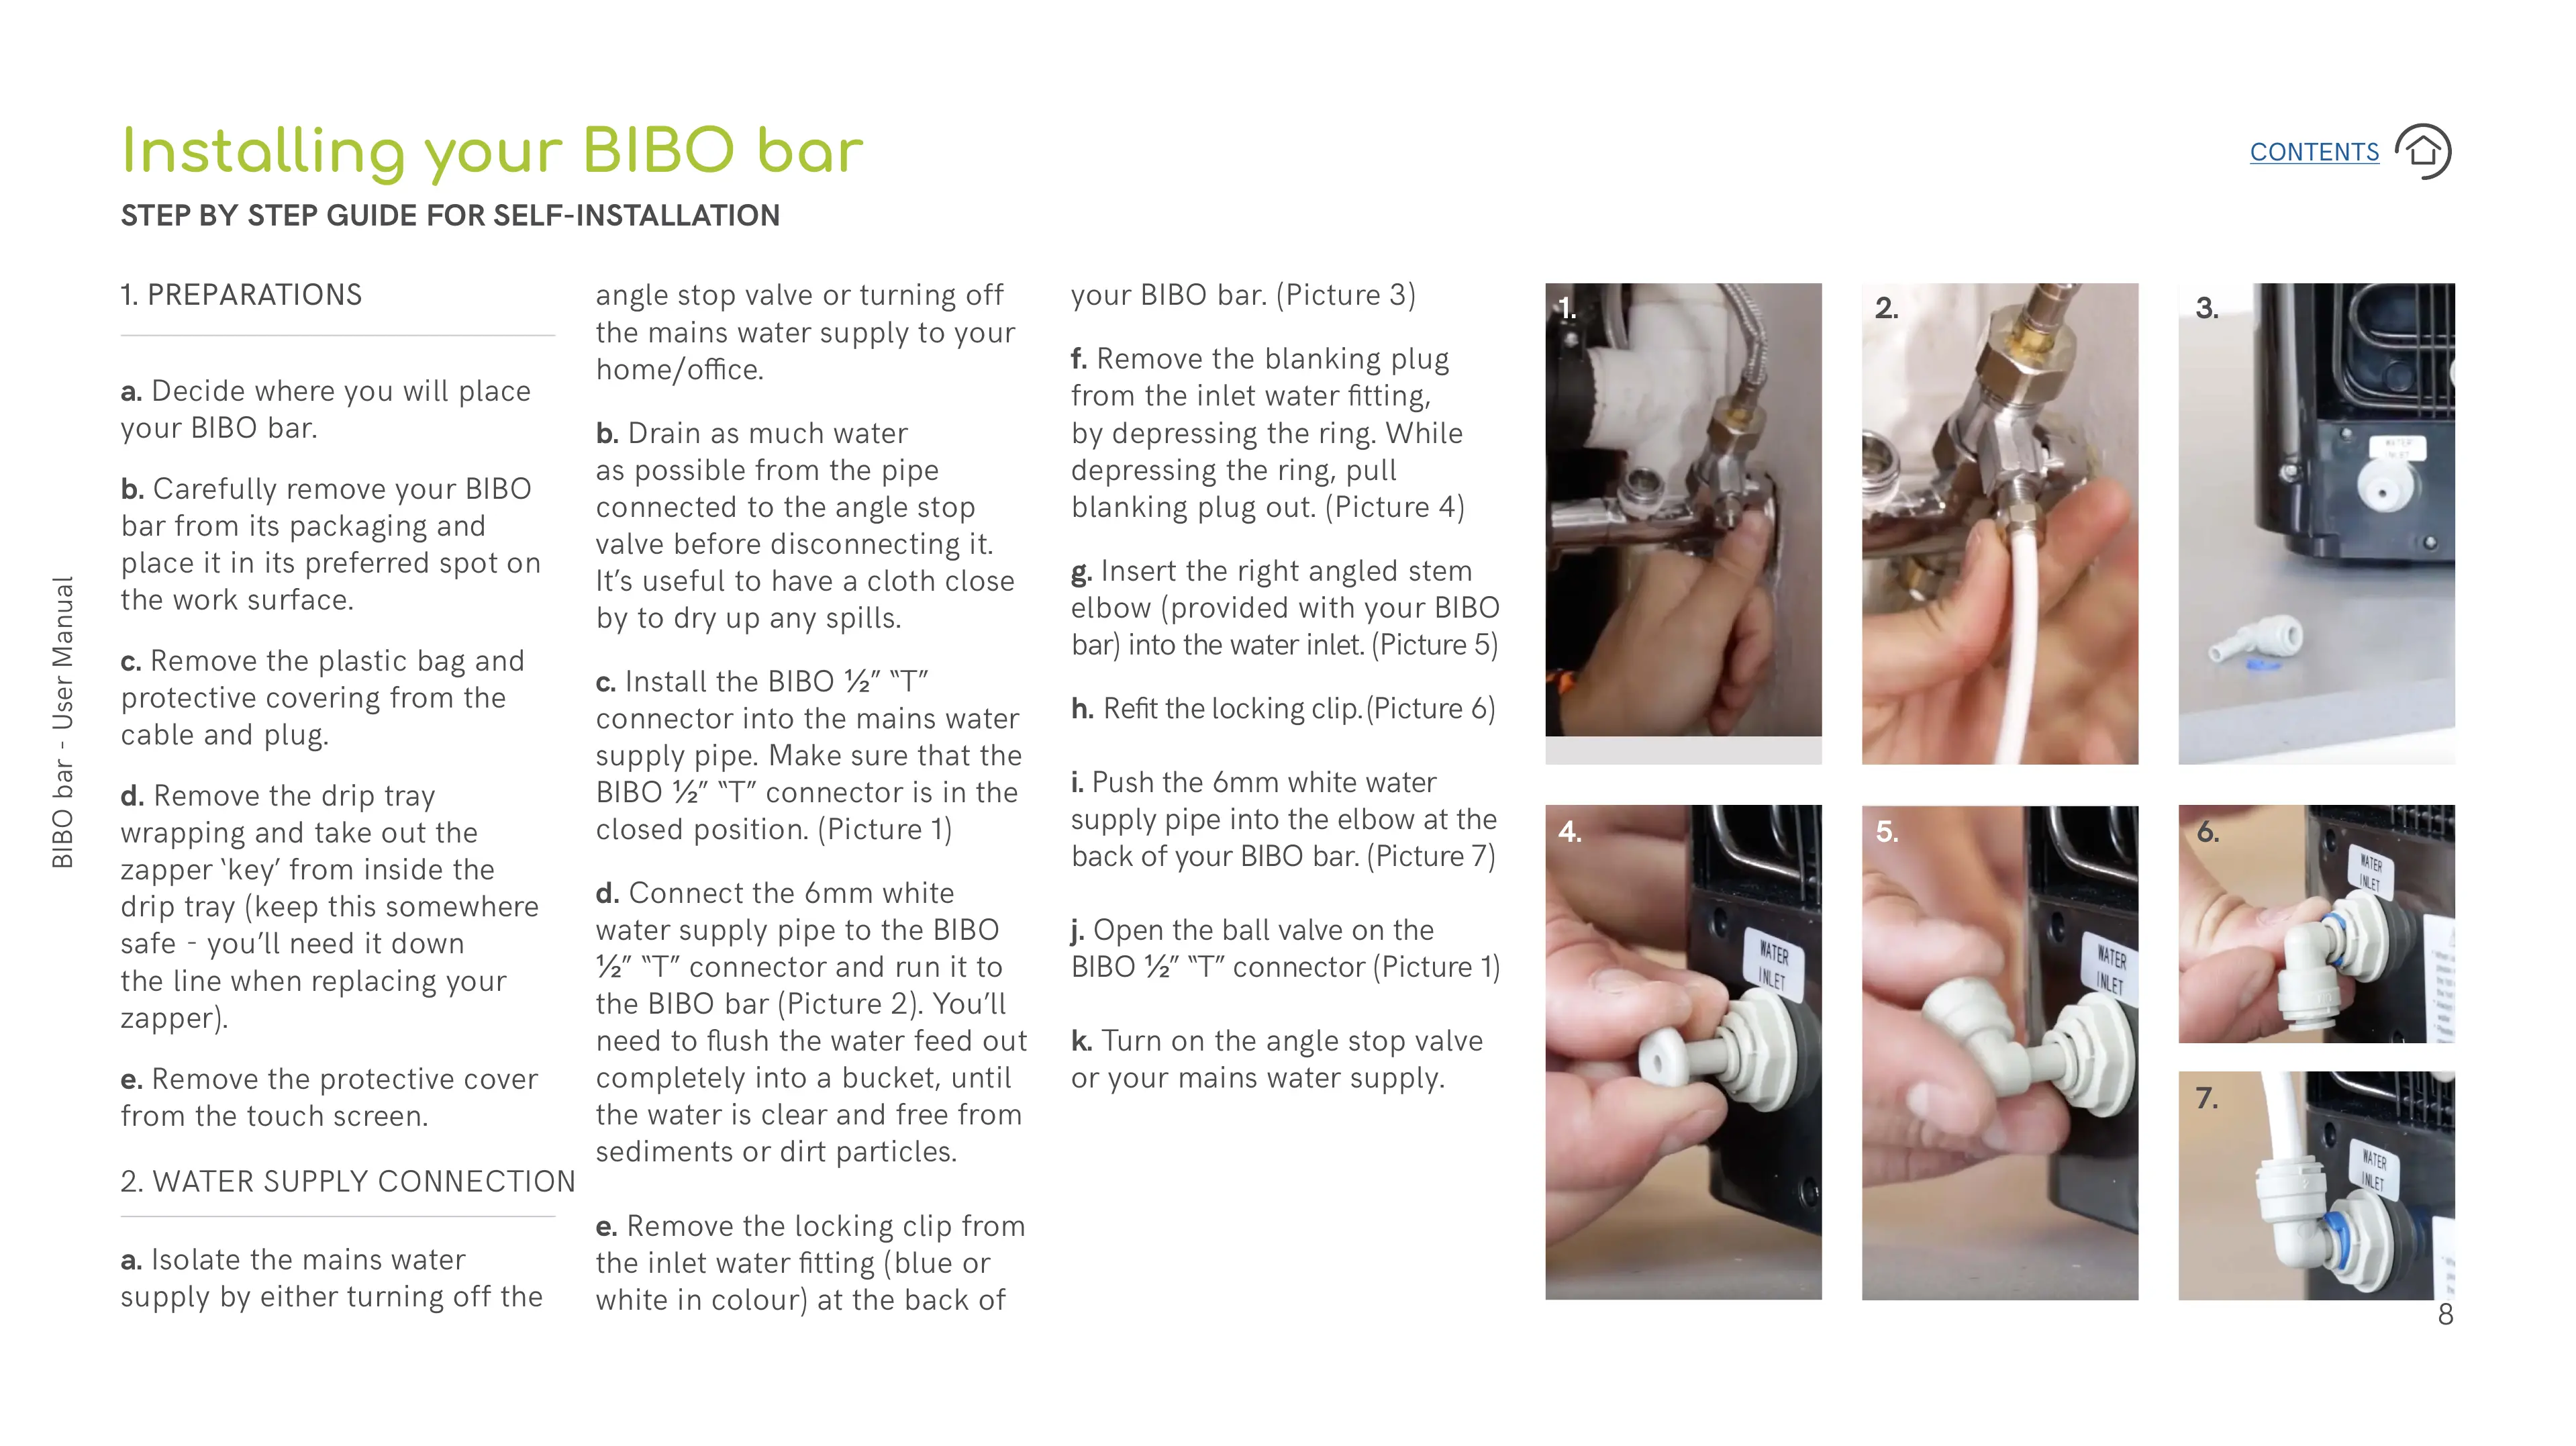
c. Install the BIBO ½” “T”
connector into the mains water
supply pipe. Make sure that the
BIBO ½” “T” connector is in the
closed position. (Picture 1)
d. Connect the 6mm white
water supply pipe to the BIBO
½” “T” connector and run it to
the BIBO bar (Picture 2). You’ll
need to flush the water feed out
completely into a bucket, until
the water is clear and free from
sediments or dirt particles.
e. Remove the locking clip from
the inlet water fitting (blue or
white in colour) at the back of
1.
4.
2.
5.
3.
6.
7.
your BIBO bar. (Picture 3)
f. Remove the blanking plug
from the inlet water fitting,
by depressing the ring. While
depressing the ring, pull
blanking plug out. (Picture 4)
g. Insert the right angled stem
elbow (provided with your BIBO
bar) into the water inlet. (Picture 5)
h. Refit the locking clip. (Picture 6)
i. Push the 6mm white water
supply pipe into the elbow at the
back of your BIBO bar. (Picture 7)
j. Open the ball valve on the
BIBO ½” “T” connector (Picture 1)
k. Turn on the angle stop valve
or your mains water supply.
 Loading...