Installing your BIBO bar
STEP BY STEP GUIDE FOR SELF-INSTALLATION
3. SETTING UP YOUR BIBO bar
a. Plug the BIBO bar’s plug into
a 3 pin socket.
b. Ensure that the hot tank
switch (see page 4, number 8)
is off at the back of your BIBO
bar.
c. Turn on the power switch (see
page 4, number 13) at the back
of your BIBO bar. Please take
caution to not confuse this with
the hot tank switch.
d. Once turned on, your BIBO
bar will display the BIBO logo
(Image i) followed by a zapper
test (Image ii); this means that
your BIBO bar is operating
correctly.
e. Now you should see the
home screen. There should be a
red bar on the left of the screen
and a blue bar on the right of
the screen (Image iii).
f. Once you see the home
screen, turn on the hot tank
switch at the back of the BIBO
bar (see page 4, number 8).
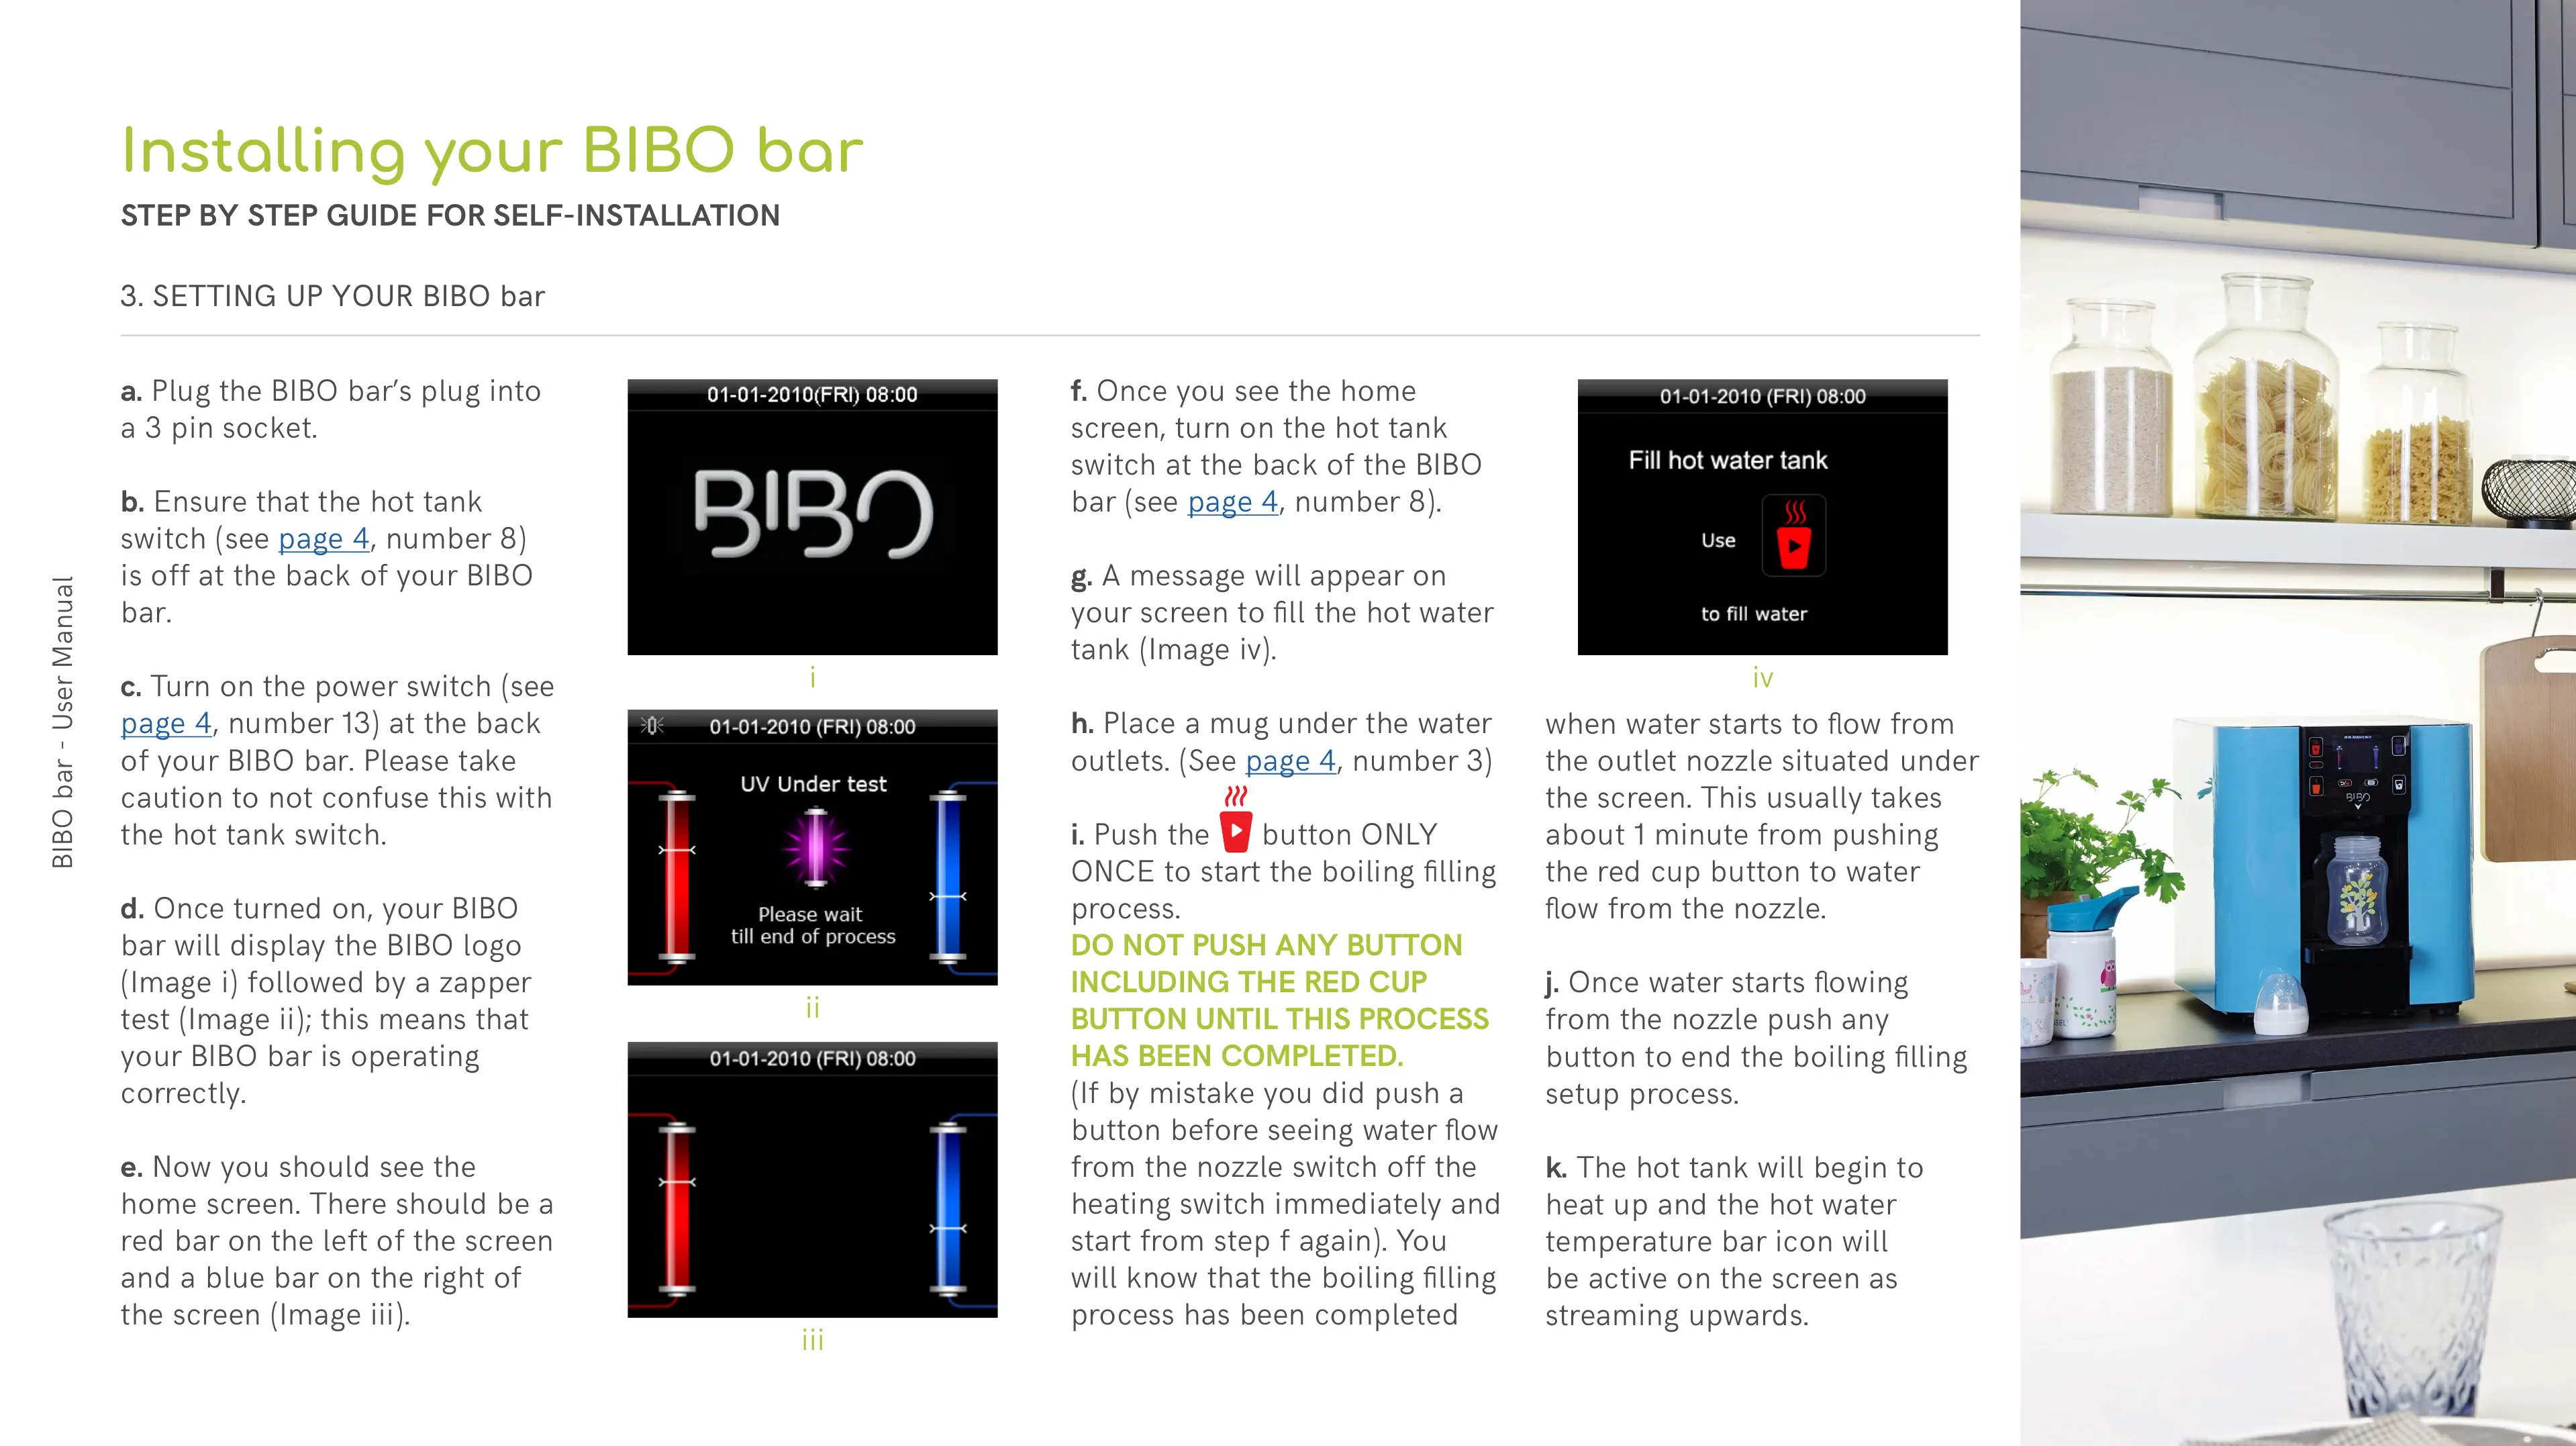
g. A message will appear on
your screen to fill the hot water
tank (Image iv).
h. Place a mug under the water
outlets. (See page 4, number 3)
i. Push the button ONLY
ONCE to start the boiling filling
process.
DO NOT PUSH ANY BUTTON
INCLUDING THE RED CUP
BUTTON UNTIL THIS PROCESS
HAS BEEN COMPLETED.
(If by mistake you did push a
button before seeing water flow
from the nozzle switch off the
heating switch immediately and
start from step f again). You
will know that the boiling filling
process has been completed
when water starts to flow from
the outlet nozzle situated under
the screen. This usually takes
about 1 minute from pushing
the red cup button to water
flow from the nozzle.
j. Once water starts flowing
from the nozzle push any
button to end the boiling filling
setup process.
k. The hot tank will begin to
heat up and the hot water
temperature bar icon will
be active on the screen as
streaming upwards.
i
ii
iii
iv
 Loading...