Page 6 of 10
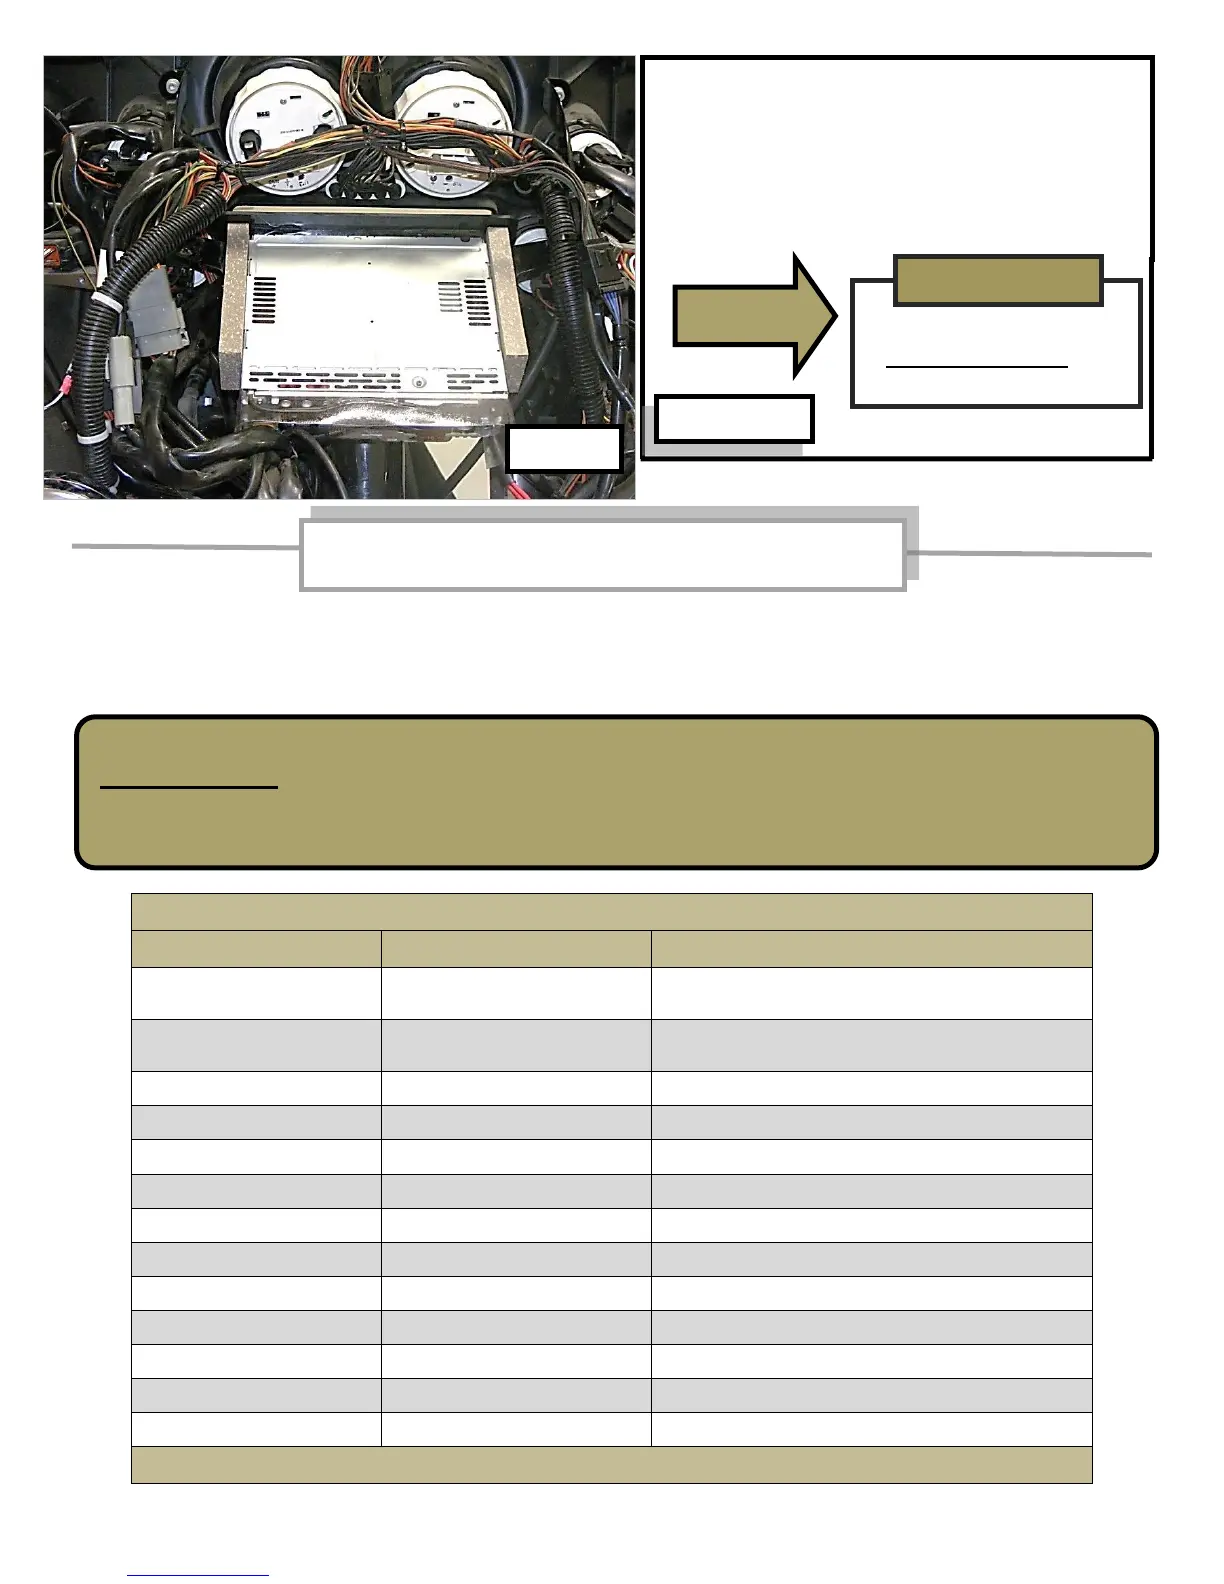
Position radio as shown in photo to allow
attached black bezel plate to clear Harley
brackets. Tip radio front downward and push
in to seat radio against inner fairing. Install
(loosely) the 4 Harley Allen-head bolts, adjust
radio position and tighten bolts.
If radio wire harness or Biketronics (Orange) module does not have attached White connector,
these wires can be connected by soldering or crimping. Use shrink tubing or high quality
electrical tape to insulate the joints. It is important to have good electrical connections to
avoid problems.
Color chart for hard wire connection
Biketronics module wire color
(Do not use as power source for
additional accessories)
(Do not use as power source for
additional accessories)
Not used (Optional - amplifier)
Not used (Optional - rear speakers)
Not used (Optional - rear speakers)
Refer to radio installation instructions for additional reference
WARNING!!!
DISCONNECT the Biketronics (Orange) module from Harley wire harness before you
start to solder or crimp wires. Failure to follow this warning can result in an
accidental short circuit that MAY damage Biketronics module electronics.
INSTALL RADIO ON
HEADLIGHT SIDE OF
INNER FAIRING
Hard wire connection for radio harness to
Biketronics (Orange) module