14/40
always unplug the appliance before you assemble to the fan.
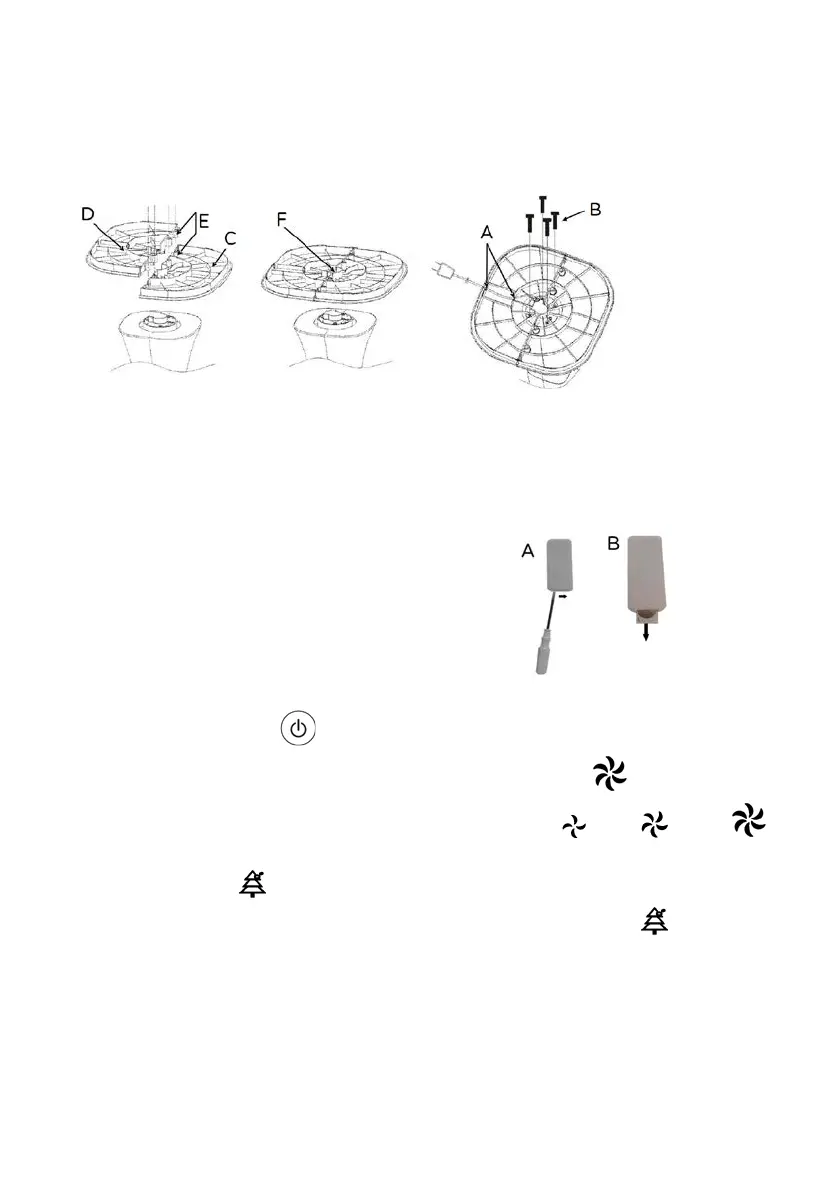
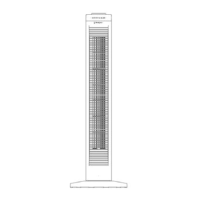
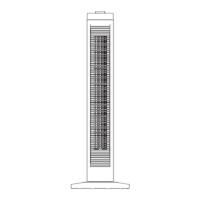
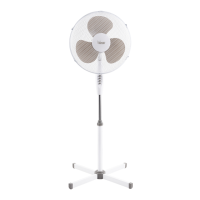
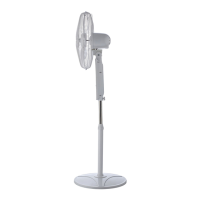
To assemble it, refer to figures: first place the front shell (D) on the body, plug the
power cord through the guidance of the rear shell (F), couple the rear shell to the
front (align the four holes “E”) secure the 4 screws (B) provided.
: The fan can only be used if properly assembled in good condition.
The fan functions are operated with both the keypad of the control panel and the
remote control which must be pointed at the front (maximum distance of about 4m)
towards the control panel.
To replace the “CR2025" battery, move the tab to
the centre (using a small screwdriver) and
simultaneously remove the battery holder. Replace
the battery (while checking correct polarity), and
close the battery holder. Remove the battery for
lo
ng periods of inactivity of the remote control.
The fan has the following setting and control elements:
- Stand-by-ON button “ " (1): To turn the fan on or turn it off in standby mode
-
the three speeds are selected by pressing the “ " (2) button: the
symbol corresponding to the selected speed will light up: (
=min; = med;
=max).
-
“ ”: this produces a flow of negative ions which neutralise the
positive ions in the air, this fuction is On then is selected the button “ ” (3).