11/16
• This device is NOT suitable to use it in an explosive environment (in the presence of flammable
substances such as gas, vapor, mist or dust, in atmospheric conditions when, after ignition, the
combustion is spread in the air).
• Do not connect to thermal control systems or a programmer or timer or other device that can
automatically turn on the unit, thus avoiding the risk of damage to people, animals or property.
always unplug the appliance before you assemble.
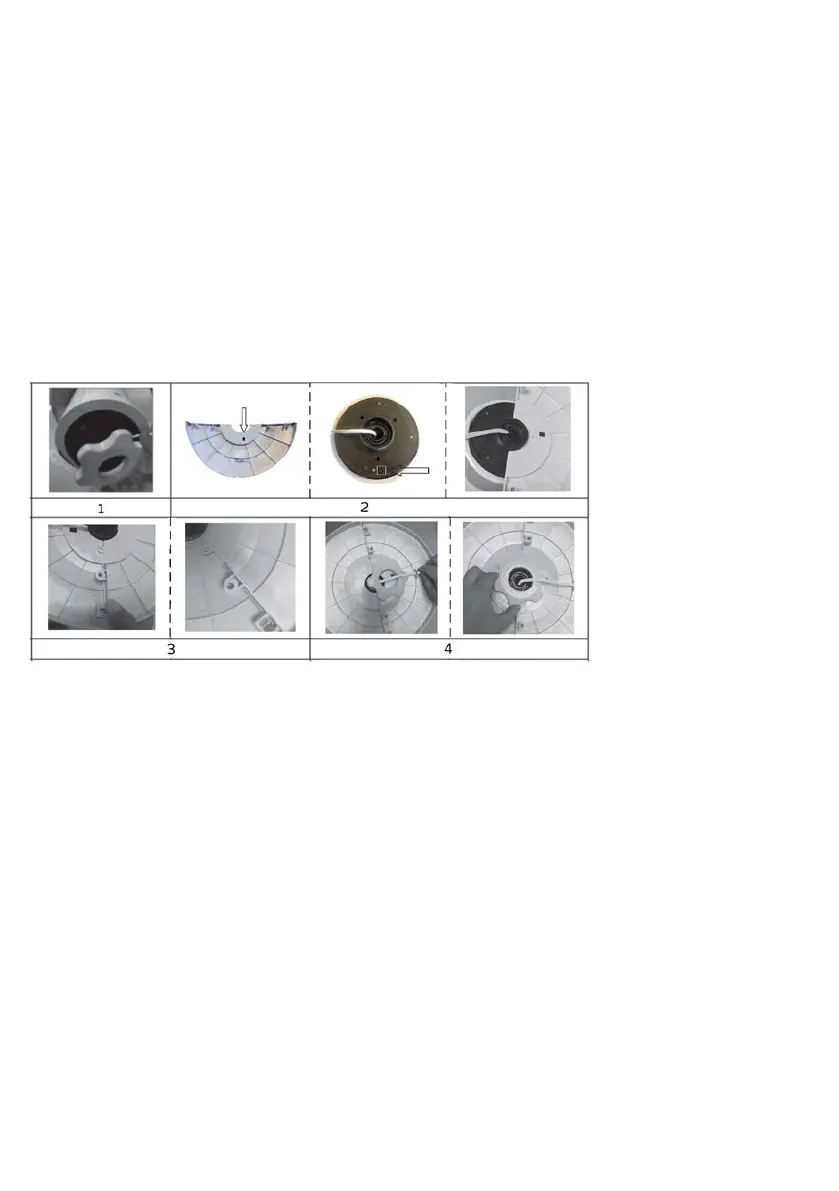
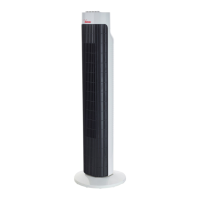
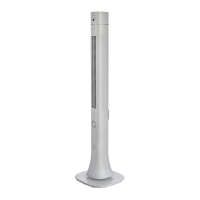
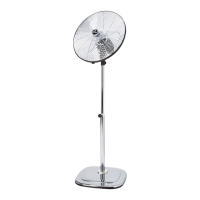
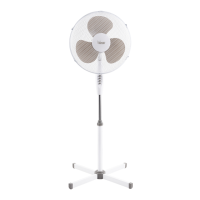
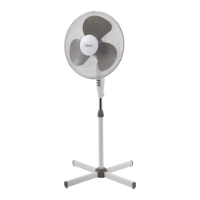
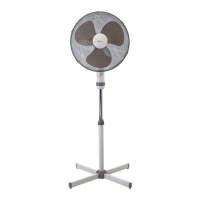
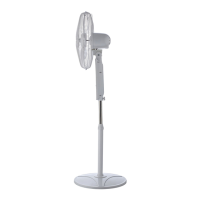
To assemble it, refer to figures.
1. Unscrew the ring nut on counterclockwise bottom of the body, if the nut is screwed.
2. Insert the rear shell (that with cable clamp) on the bottom in manner that the hole coincides with
the protrusion.
3. Couple the rear shell to the front, by exerting some pressure all the way down, making sure the
clips are firmly locked.
4. Plug the power cord through the hole. Plug the power cord through the guidance of the shell.
Secure the set by turning clockwise the ring nut.
At the end of the operation, check that the support base is firmly coupled and attached to the motor
body.
Before each use, verify that the unit is in good condition, the electric cord is not damaged, if the power
cord is damaged, it must be replaced by the manufacturer or a competent qualified electrician or a
person with similar qualifications, in order to avoid any risk.
Your appliance is equipped with the following regulation elements, controlled by turn the knobs on the
keyboard located on the rear of the control panel.
Plug it in.
This appliance has a timer for automatic switching off at the end of the time set; to set the time
turn the timer knob clockwise to the position corresponding to the desired operating time (0-60 min.);
in order to operate the appliance in a continuous manner, and to therefore exclude use of the timer, turn
the knob anticlockwise to the “ON” position.