11
• If the appliance breaks or there is a malfunction, switch off the appliance and have
it checked by qualified personnel; repairs carried out by unauthorised personnel
may be dangerous and nullify the guarantee.
• Ensure that the fan is switched off from the supply mains before removing the
guard.
INSTALLATION
• After removing the packing materials, check the integrity of the appliance; if you are unsure, do not use it
and ask for qualified professional help. The packing materials (plastic bags, polystyrene foam, nails, etc.)
must be kept out the reach of children because they are potential sources of danger. Attention: any stickers
or advertising material applied to the grid removed before using the appliance. The manufacturer declines
all responsibility in case this is not safe working practices will be respected.
• Before connecting the appliance, check that the voltage values shown on the data plate correspond to those
of the electricity supply network. In the event of incompatibility between the electric outlet and the plug
of the appliance, have the outlet replaced with another more suitable type by professionally qualified
personnel, who will make sure that the section of the wires of the outlet is appropriate for the absorbed
power of the heater. In general, the use of adapters or extension cords is not recommended; if their use is
indispensable, they must conform to existing safety standards and their current capacity (amperes) must
not be less that the maximum of the appliance.
• The power socket must be easy to reach so the plug can be removed quickly in case of emergency.
• To not place the appliance near sinks or other container of liquids (minimum distance of 2 meters) to avoid
the risk of it falling in.
• Do not place the appliance near an open flame, cooking or other heating appliance.
• Keep the fan far away from fabrics (curtains, etc.) or unstable materials that could obstruct the air intake
grille; make sure that the front is free of unstable materials (dust, etc.).
• Make sure that the electric cord is not touching rough, hot or moving surfaces and not twisted or wrapped
around the appliance.
• Stand the appliance on a horizontal, flat surface or table; do not stand on a inclined plane (the appliance
could upset).
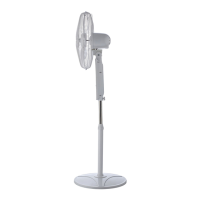
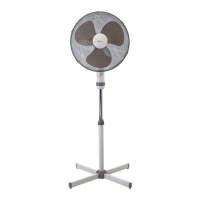
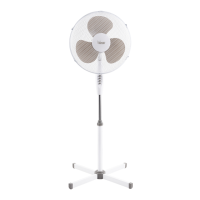
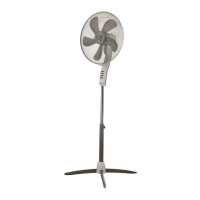
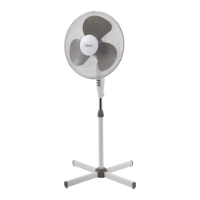
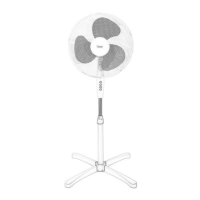
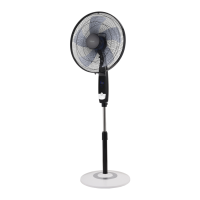
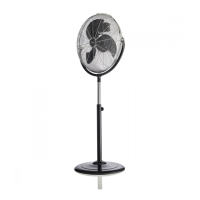
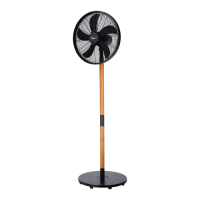
ASSEMBLY
Before assembling the fan, make sure it is unplugged from the socket.
The appliance can only be used once correctly assembled in all its parts, complete with counterweight base,
protective grills, propeller.
Proceed as shown and use the images for reference.
A. Set the column (13) in place on the base and secure it using the "L" screw with washer (1) while also
engaging the counterweight.
B. Make sure column and base and counterweight are firmly coupled.
C. Unscrew the ring nut (14) and the nut (3) (turn clockwise) from the motor body.
D. Insert the rear grill (11) into the motor body, make sure the handle is at the top and lock it using the ring
nut (14).
E. Insert the propeller (12) onto the drive shaft (4) and lock it with the ring nut (13) (turn counter clockwise
and tighten).
F. To fasten the front grill, it is best to place the main unit on a smooth even floor. Couple the front grill
(10) to the rear (11) and hold in place with plastic ring, (a fixing screw is good at the bottom) and secure
fastening by tightening screw (9).
G. At the end of the operation, check that the protective grills are firmly coupled and attached to the motor.