EN-3
1. Planning and installation
When selecting the location for and erecting the Composting Toi-
let Biolan
eco
,itisessentialtoprovidesufcientspaceforuseand
maintenance of the toilet, to route the ventilation pipe without any
bends through the roof over the ridge and to locate the seep liquid
canister in a suitable place. See the dimension drawing for the
toilet unit (page 2).
Placethetoiletunitdirectlyonsufcientlyrmgroundorconcrete
surface.Donotplacethetankonaboardedoor,becauseofpos-
sible seepage from the lower door.
1.1 Technicalspecications
- top area 65 x 65 cm
- total height to the top 97 cm, to the seat cover 103 cm
- volume about 200 l
- weight about 24 kg
- external diameter of liquid removal hose 32 mm
- external diameter of ventilation pipe 75 mm, length 2 x 100 cm
1.2 To be observed if used in winter
If you plan to use the toilet continuously in winter, install the unit
in a warm space and also make sure that the drain hose and the
seep liquid canister do not freeze. If installing the toilet in a warm
space indoors, insulate the ventilation pipe of the toilet where it
runs through cold spaces, for example, in the intermediate roof
space, to prevent condensation of water.
The toilet can be used occasionally in winter (= weekend use)
even if the unit is located in a cold space. See point 2.7.
1.3 Locating the Composting Toilet
Biolan
eco
in the toilet space
Install the Composting Toilet Biolan
eco
throughtheoorsothatthe
top of the compost tank (part 9) will serve as the seat ring. The
height of the unit is 97 cm and normally the seat height is 45–50
cm.Leaveabouthalfoftheunitundertheoorofthebuildingto
achieve a comfortable seat height.
Optionally, you can place an appropriate elevation in front of the
seat. If you want, you can encapsulate the seat part out of sight.
In this case, also provide a hole in the wooden top for the replace-
ment air valve (Part 12).
Using for example a keyhole saw or a jig saw, cut a suitable hole
forthetoiletunitoutof theoorusingthesawingtemplateas a
guide. Depending on the manufacturing technique, the size and
shape of the tank vary slightly. This means you may have to en-
largetheholeabitortheseamoftheoorandthetankwillnot
be completely tight. You can make the seam neat, for example, by
xingathickhempropeattheseam.
1.4 Direction of the emptying door
You can install the toilet unit with the emptying door (part 3) at its
lower part facing either the rear or sidewall of the building. If the
emptying door faces the sidewall, turn the seat top of the toilet unit
tothesittingposition.Removethetopbyjerkingitrmly.Leavea
fair-sized maintenance door (with a minimum width of 80 cm and
minimum height of 35 cm) in the lower part of the toilet building for
the emptying of toilet waste.
1.5 Installing the ventilation pipe
There are two Ø 75 mm holes in the seat top – one for the replace-
ment air valve (part 12), the other for the ventilation pipe (part 13).
The holes are identical, so as required you can switch the ventila-
tion pipe and the replacement air valve. Route the ventilation pipe
from the toilet unit straight up over the roof ridge. Any bends in
the ventilation pipe impede natural ventilation, causing odour and
moisture problems. Seal the lead-through on the roof using seal-
antsuitablefortheroongmaterial.Thesealantcanbepurchased
from any hardware store.
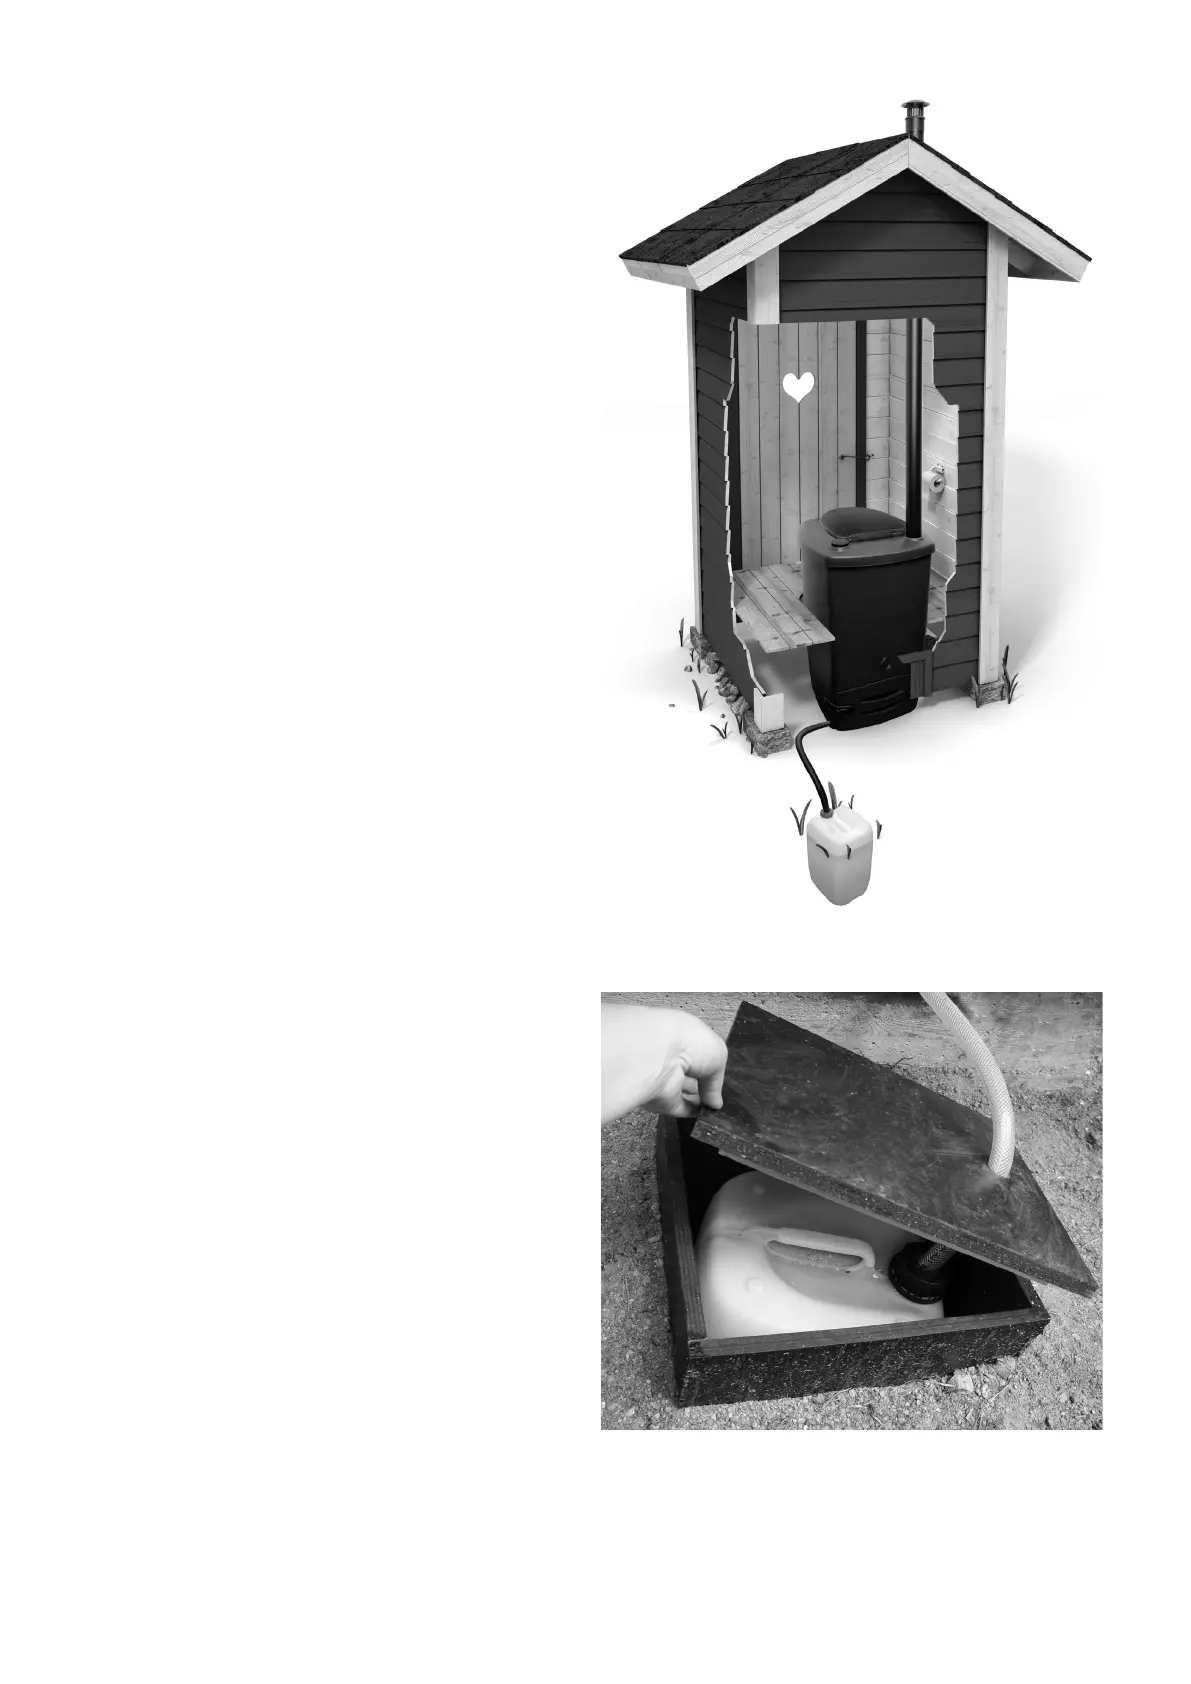
Fig. 1
Example picture of toilet installation and placing the liquid canis-
ter.