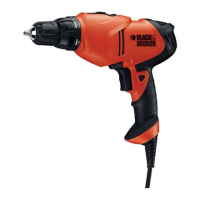
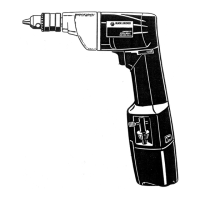
Keyless single sleeve chuck (DR340)
This tool is equipped with a feature that automatically locks the spindle when the tool is
not running. This feature is a normal condition which allows for tightening or loosening of
the chuck with one hand while holding the drill with the other.
• To change accessories, loosen the chuck by rotating the sleeve counterclockwise as
viewed from the chuck end.
• Insert the accessory shaft into the chuck to about 3/4in. (19 mm) depth, centered in the
jaws.
• Tighten securely by rotating the sleeve in the clockwise direction as viewed from the
chuck end.
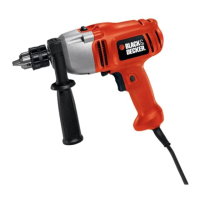
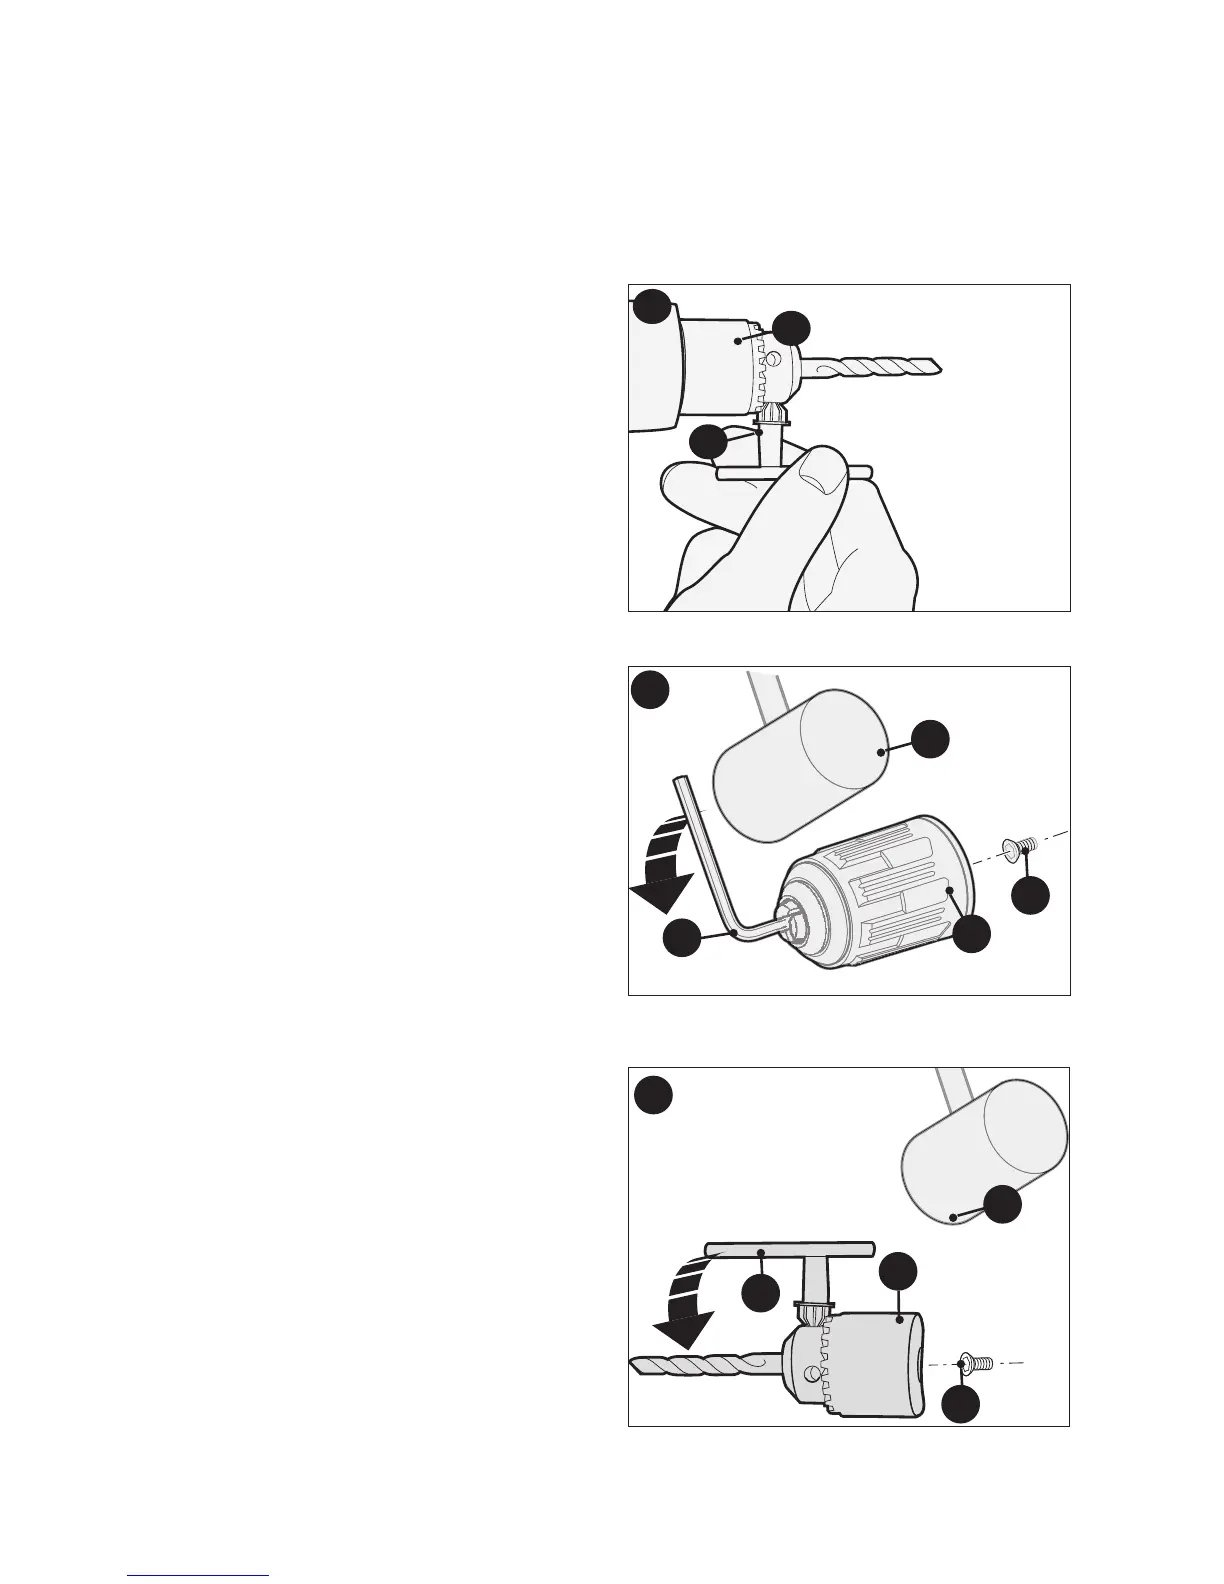
Chuck and key (DR560) (fig. D)
• Open the chuck (4) by turning the collar
counterclockwise (when viewed from the
chuck end).
• Insert the accessory shaft into the chuck to
about 3/4 in. (19 mm) depth, centered in the
jaws.
• Tighten chuck collar by hand. Place chuck
key (7) into each of the three holes and
securely tighten in a clockwise direction.
NOTE: Tighten chuck with all three holes to
prevent slippage.
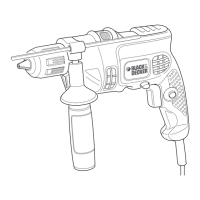
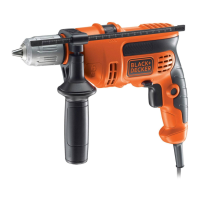
Removing and attaching the chuck (fig. E)
Keyless chuck (DR260, DR340)
• Open the chuck (4) as far as possible.
• Remove the chuck retaining screw (11),
located in the chuck, by turning it clockwise
using a screwdriver (lefthand thread).
• Tighten an allen key (12) of 1/4in. (6mm) or
greater size (not supplied) into the chuck and
strike it with a soft hammer (13) in a
clockwise direction as shown.
• Remove the allen key.
• Remove the chuck by turning it
counterclockwise.
• To attach the chuck, screw it onto the spindle
and secure it with the chuck retaining screw.
Keyed chuck (DR560) (fig. F)
• Place chuck key (7) in any one of the three
holes in the chuck (4).
• Using a soft hammer (13), strike the key in a
clockwise direction. This will loosen the
screw (11) inside the chuck.
• Open chuck jaws fully and remove the chuck
retaining screw, located in the chuck, by
turning it clockwise using a screwdriver
(lefthand thread).
• Place key in chuck. Using a soft hammer
(13), strike key sharply in a counterclockwise
direction.
• Remove the chuck by turning it
counterclockwise.
• To attach the chuck, screw it onto the spindle
and secure it with the chuck retaining screw.
D
F
E
4
7
12
13
11
4
4
7
11
13
7

 Loading...