8
ENGLISH
(Original instructions)
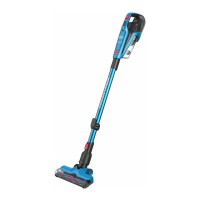
To install battery pack (g. B)
u Insert battery (4) into tool until an audible click is heard as
shown in gure B.
u Ensure battery pack is fully seated and fully latched into
position.
To remove battery pack
u Depress the battery release button and pull battery pack
(4) out of the tool.
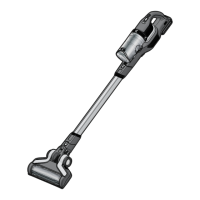
Assembly (Fig. C)
u Align the top of the extension tube (9) with the vacuum
inlet (16) as shown in gure C.
u Push the extension tube (9) onto the vacuum inlet (16) so
it locks into position.
u Align the bottom of the extension tube (9) with the oor
head (8) as shown in gure C.
u Push the bottom of the extension tube (9) onto the oor
head (8) so it locks into position.
u To remove an accessory, press the accessory release
latch located on the accessory and pull it off.
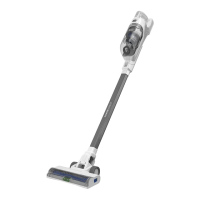
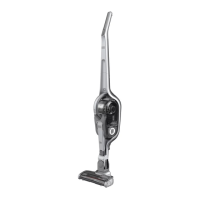
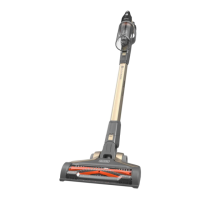
USE
This vacuum cleaner can be used in one of four ways.
u With the extension tube (9) and the oor brush (8) as
shown in gure C.
u With the oor brush (8) and the vacuum inlet (16) as
shown in gure D.
u With the extension tube (9) and an accesssory tool (10),
(11), (13) or (14) as shown in gure E.
u With an accesssory tool (10), (11), (13) or (14) and the
vacuum inlet (16) as shown in gure E.
u Accessories not supplied with your unit can be ordered
through service department.
Switching ON and OFF (Fig. F)
u To switch ON, press the On/Off button (1).
u For increased power, slide the variable power switch (2)
forward.
Note: The oor brush (8) will power on when it is
attached to the vacuum or extension tube (it can be switched
off by pressing the button 2a on the display). The LED
worklights on the front of the oor head will illuminate
whenever the beater bar activation button (2a) is switched ON
(they can be switched off by pressing the button again).
Note: The state of charge indicator LEDs (3) will
illuminate while the vacuum is ON.
u To switch OFF, press the On/Off button (1).
u Return the battery to the charger immediately after use so
that it will be ready and fully charged for the next use.
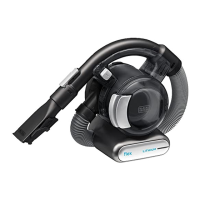
Using an Accessory tool (Fig. G)
Your vacuum may come with some of the following tools.
u 2 in 1 Accesssory tool (10)
u Crevice tool (11).
u Pet hair tool (13).
u Wide mouth dust brush (14).
u The accessory tool (10), (11), (13) or (14) can be tted
either directly to the extension tube (6) or to the vacuum
inlet (5) as shown in Fig. G.
u Align the top of the accessory tool (10), (11), (13) or (14)
with the vacuum inlet (16) or extension tube connection
(9a) and push into place so it locks into position as shown
in gure G.
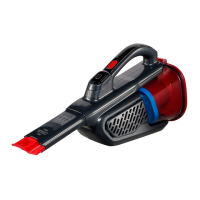
Cleaning and emptying the vacuum
Filter agitator (Fig. H)
With the lift away dust canister (6) off the chassis (17) ,
rotate the lter agitator wheel 5 - 10 times to remove exces-
sive dust from the lter thus increasing its performance.
Note: It is recommended that you agitate when the unit is
emptied and the prelter removed.
Note: Maximum dust collection will only be obtained with
clean lters and an empty dust canister.
If dust begins to fall back out of the product after it is switched
off, this indicates that the dust canister is full and requires
emptying.
To empty the dust canister (Fig. I, J)
u Lift and remove the lift away dust canister (6) from the
chassis (17) as shown in gure I.
u Place the dust canister over a dust bin and press the
dust canister lid release button (6a) to empty the dust
canister as shown in gure J.
u Close the dust canister lid (7), until it “clicks” rmly
into position.
u Install the lift away dust canister (6) back onto the
chassis (17).
Removing pre-lter (Fig. K)
u Lift and remove the lift away dust canister (6) from the
chassis (17) as shown in gure I.
u Place the dust canister over a trash bin and press the
dust canister lid release button (6a) to empty the dust
canister as shown in gure J.
u Use your index nger and thumb to pinch the pre-lter
(18), pull the pre-lter (18 ) from the dust canister (6) as
shown in gure K.
Note: The lter housing ts snuggly in the dust canister
and may be difcult to remove at rst.
u Empty the dust canister.
u Install the pre-lter (18) into the dust canister (6)
ensuring the dust canister tab (20) aligns with the prelter
slot (19) as shown in gure K.
u Install the dust canister onto the vacuum, until it “clicks”
rmly into position.