6
ENGLISH
(Original instructions)
Other batteries could burst, causing
personal injury and damage.
u Never attempt to charge non-
rechargeable batteries.
u If the supply cord is damaged, it must
be replaced by the manufacturer or an
authorised BLACK+DECKER Service
Centre in order to avoid a hazard.
u Do not expose the charger to water.
u Do not open the charger.
u Do not probe the charger.
u The appliance/battery must be
placed in a well ventilated area when
charging.
Electrical safety
Symbols on the charger
Read all of this manual carefully before using the
appliance.
#
This tool is double insulated; therefore no earth wire
is required. Always check that the power supply
corresponds to the voltage on the rating plate.
$
The charger is intended for indoor use only.
Labels on appliance
The following symbols appear on this appliance along with the
date code.
+
Read all of this manual carefully before
using the appliance
S003AQ-15
Only use with charger S003AQ-15
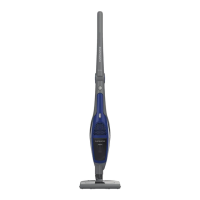
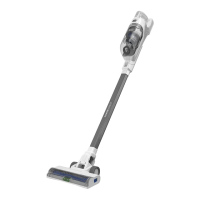
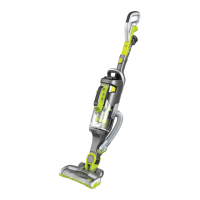
Features
This tool includes some or all of the following features.
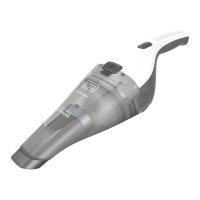
1. On/off power switch
2. Dust chamber release button
3. Dust chamber
4. Flip down brush
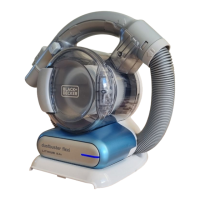
5. Wall bracket
6. Charger
7. Hanging attatchment
8. Filter
9. Floor head (DVA315JF)
10. Extension tubes (DVA315JF)
11. Adaptor (DVA315JF)
Use
Switching on and off (Fig. A)
u Push the On/off power switch (1) to the forward position to
turn on the unit.
u Returning the On/off power (1) switch will turn the unit off.
Flip down brush (Fig. B)
u Flip the brush attachment (4) into position as shown in
gure B.
Using the pull out crevice tool (Fig. C)
u Extend the crevice tool (12) as shown in gure C, until it
clicks in place.
Note: The flip down brush (4) can only be utilised when the
crevice tool is in the retracted position.
Fitting the wall bracket (Fig. D)
u Fit the wall bracket (5) to a suitable wall (preferably near a
power outlet) using the screws provided.
u The unit can then be stored, when not in use, or during the
charging procedure, utilising the hanging attachment (7).
Charging (Fig. E, F)
u Place the charger (6) into the charging port (9) on the
handle of the unit as shown in gure E.
u Place the charging plug into a power outlet and switch on
as shown in gure F. The charger LED will light.
Cleaning the lters (Fig. G, H, I, J, K, M)
u Press the dust chamber release button (2) as shown in
gure G.
u Seperate the dust chamber (3) from the motor unit as
shown in gure H.
u You can use the easy empty feature as shown in gure I.
u Lift the filter (8) out of the dust chamber (3) using the tab
(10) provided as shown in gure J.
u Empty the dust bowl (3) by lightly shaking over a suitable
container as shown in gure K.
u Rinse out the dust-bowl with warm soapy water.
u Wash the lters with warm soapy water as shown in gure
L.
u Allow the lters to dry naturally, using heat may cause the
lters to distort.
u Ret the lter (8) into dust chamber (3). Make sure the
lter tabs (11) face forward, as shown in gure M. Never
place the lters into the dust chamber backwards.