ENGLISH
9
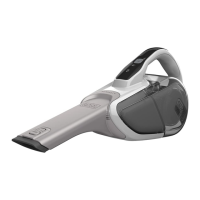
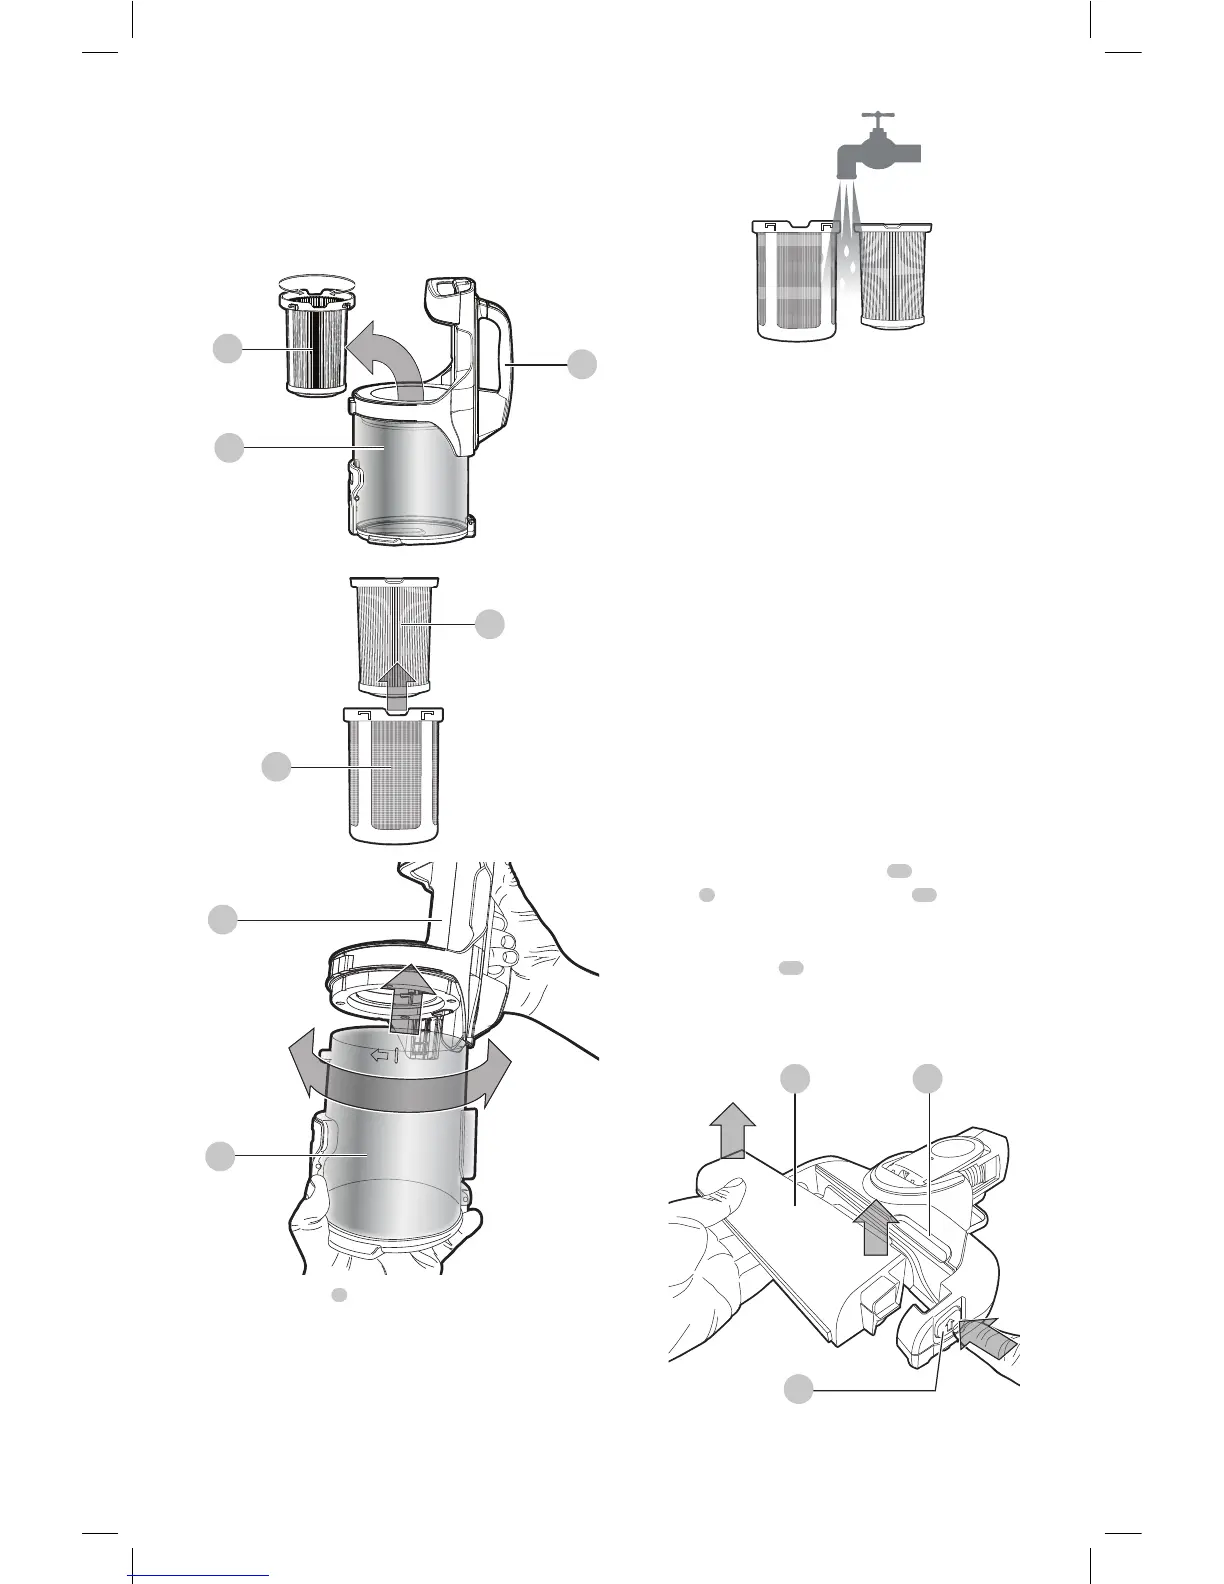
• Rinse out the dust canister with warm soapywater.
• Wash the filters with warm soapy water (Fig.X).
• Make sure the filters are dry
• Refit the filters into theappliance.
• Close the dust canister lid, until it
“clicks” firmly
intoposition.
Fig. U
9
28
22
Fig. V
30
29
9
40
Fig. W
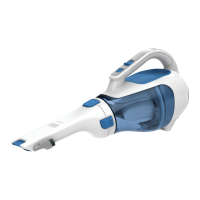
• The dust canister
9
and filter can be washed in warm
soapy water. Allow to dry before placing back into
thevac.
Fig. X
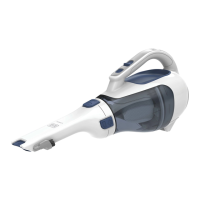
• Refit the filters into the appliance and ensure that they
are correctlyseated.
• To replace dust canister, place it back onto the handle
until it “clicks” firmly intoposition.
IMPORTANT: Maximum dust collection will only be
obtained with a clean filter and an empty dust canister.
If dust begins to fall back out of the product after it is
switched off, this indicates that the canister is full and
requiresemptying.
• Wash the filters regularly using warm, soapy water and
ensure that it is completely dry before using again. The
cleaner the filter is, the better the product will perform.
• It is very important that the filter is correctly in position
beforeuse.
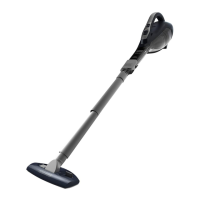
Removing and clearing the rotary brushes
(Fig. Y, Z)
CAUTION: To reduce the risk of injury from
moving parts, disconnect lift away canister before
cleaning orservicing.
• To remove the rotary brush unit
32
from the floor
head
7
Depress the release button
33
as shown in
Figure Y. The rotary brush unit will pop up from its
lockedposition.
• The rotary brush
39
can now be removed. The end
pieces are also removable allowing you to clear the
brushes from any hair or other debris that may have
accumulated as shown in FigureZ.
Fig. Y
7
32
33
 Loading...