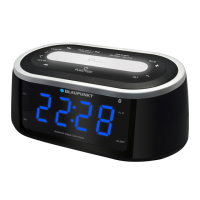
Power setting
Plug in the AC/DC adaptor to an AC household outlet, and then
plug the DC jack to the lower right back of the unit. Your unit is
ready to work for you.
Press RADIO/SLEEP button to enter radio mode, press the “ snooze”
button to standby unit into clock time mode.
Backup battery power installation
Your clock requires 1 x new CR2032 battery (not included) to
provide backup power to it in the event of a temporary power
interruption.
1. Place your clock face down on a flat and soft surface.
2. Slide and remove the battery cover at the back of your unit.
3. Insert 1 x new CR2032 battery (not included) into the battery
compartment by observing the correct “+” and “-“ polarity.
4. Slide and replace the battery cover.
If AC power is interrupted, the backup battery will keep the time
and all settings of your unit.
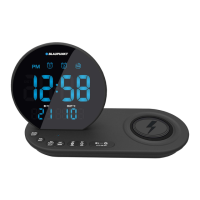
Outdoor temperature sensor installation
Keep your Clock Radio and wireless outdoor transmitter next to
each other. Slide open the battery cover at the back of your wireless
outdoor transmitter, then insert 2 x AAA alkaline batteries (not
included) to the battery compartment. Replace the battery cover.
Make sure the channel selector is set at position 1 (top position).
The enclosed outdoor transmitter only works with Channel 1.
Your weather station will receive data signal from the outdoor
transmitter in few seconds. Then place your outdoor transmitter in
a dry and shaded area outdoor.
Remarks:
Keep in mind that your outdoor sensor has a 60-meter open air
transmission with no obstructions. Actual transmission range will
vary depending on what is in the path of the signal. Each
obstruction (roof, walls, floors, ceilings, thick trees, etc.) will
effectively cut signal range in half.
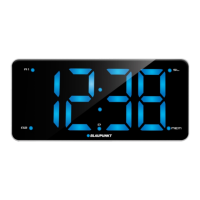
CR12
6
 Loading...