4
Many thanks to purchase our model, please read and reference this manual carefully before
operate the unit. Please keep the manual for future operation reference.
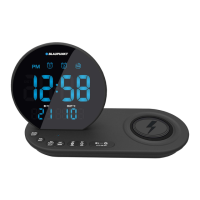
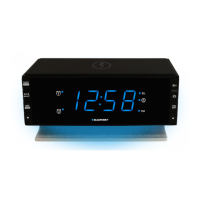
Control locations
1-alarm 1 on icon; 2-radio/sleep button;
3-alarm 1- 2 on/off button; 4-clock set/memory button;
5-Down button; 6-alarm 2 on icon;
7-mood light; 8-sleep on icon;
9-snooze button; 10-dimmer button;
11-wireless charging indicator; 12-volume set button;
13-up button; 14-PM indicator;
15-Wireless charging center; 16-USB charge port;
17-DC IN jack;
18-Backup battery compartment(CR2032, not included)
Install backup battery power: Place your clock radio face down on a flat and soft surface; use
a coin to turn the battery cover anti-clockwise at the back of your unit; insert one new lithium
cell “CR2032” battery(not included) into the battery compartment by observing the “+” polarity
facing upward; replace the battery cover and turn clockwise to lock it. The time and all setting
will be kept in case of AC power interrupted, but the backup battery is available.
Remark: Do not use old or used battery; do not use rechargeable battery; new battery is
recommended for optimal usage of this clock.
Unit power on: insert the power connector into the DC jack of the unit, and plug in the AC/DC
adaptor to an AC household outlet in order to get the power; then the display will light on.
Clock time setting: Short press the set button, the hour digit will flicker on the display, press
the up or down button to adjust the desired hour, press and hold the up or down button to
accelerate setting at high speed; Short press the set button again skip to the minute setting.
Using the same method like the hour setting to operate the rest setting for minute/snooze
time( 5 min to 60 min)/time format(12 or 24 hours). Short press the set button to finish the
setting, and clock time will become stable on display.
 Loading...