OPERATION
8
E
N
G
L
I
S
H
LOUDNESS
Press and hold the EQ button for 2 seconds
to activate the LOUD function. Press and
hold it again to cancel the function.
DISPLAYING INFORMATION
Press the DISP button (7) to show the time
for 5 seconds. Afterwards, it shows the
information again.
SETTING THE TIME
Press and hold the DISP button for 2
seconds. The hour indicators are flashing.
Briefly press the
/ button to set the
correct hour. Briefly press the DISP button
to change to minutes. Use the
/
button again to set the correct minute.
Afterwards, press the SEL button to
confirm.
AUXILIARY INPUT
The unit can be connected to a portable
audio player through the AUX IN jack (10).
RESET FUNCTION
The RESET button (25) must be activated
with either a ballpoint pen or pointed metal
object.
The RESET button is activated for the
following reasons:
- Initial installation of the unit when all
wiring is completed.
- All the function buttons do not operate.
- Error symbol on the display.
Note: If the RESET button (25) is pressed
and the unit does not work, please use a
cotton swab moistened with isopropyl
alcohol to clean the socket on the front
panel.
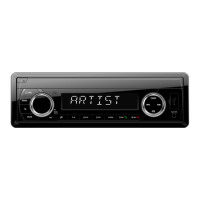
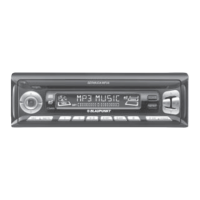
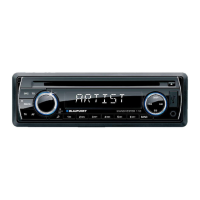
RADIO OPERATION
y SWITCHING TO RADIO MODE
Press the SRC button (1) to select radio
mode, which appears in the display
together with the memory bank and
frequency.
y SELECTING THE FREQUENCY
BAND
In radio mode, press the BAND button
(13) to select the desired band.
The reception band changes in the
following order:
ĺFM1ĺ FM2ĺ FM3 ĺ MW1(AM1)ĺ MW2(AM2)
y SELECTING A STATION
Press the
button (11) or
button (6) briefly to activate automatic
seek function. It automatically searches
up/down for a station. Press it for 2
seconds until “MANUAL” appears on
the display, to select the manual tuning
mode. In this mode, you can
incrementally scan frequencies up or
down until a station has been located. If
both buttons have not been pressed for
5 seconds, it will return to seek tuning
mode and “AUTO” appears on the
display.
 Loading...