3
Before operating your laser projector, please read the “Before you Begin” section and
“Notice” section of this user’s guide.
SETTING UP THE LASER PROJECTOR
1. Connect the power supply into an available standard electrical outlet.
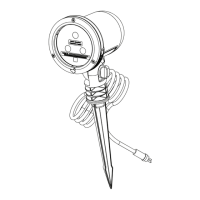
2. Place the SKY on a at solid surface and aim toward desired ceiling/wall.
3. Press and hold the power button. The nebula and laser stars will gradually illuminate
and begin moving by default.
4. To adjust the illumination angle for walls, tilt the light forward onto the secondary
support panel.
5. To turn o the light, press and hold the power button, and remove the power plug from
electrical outlet.
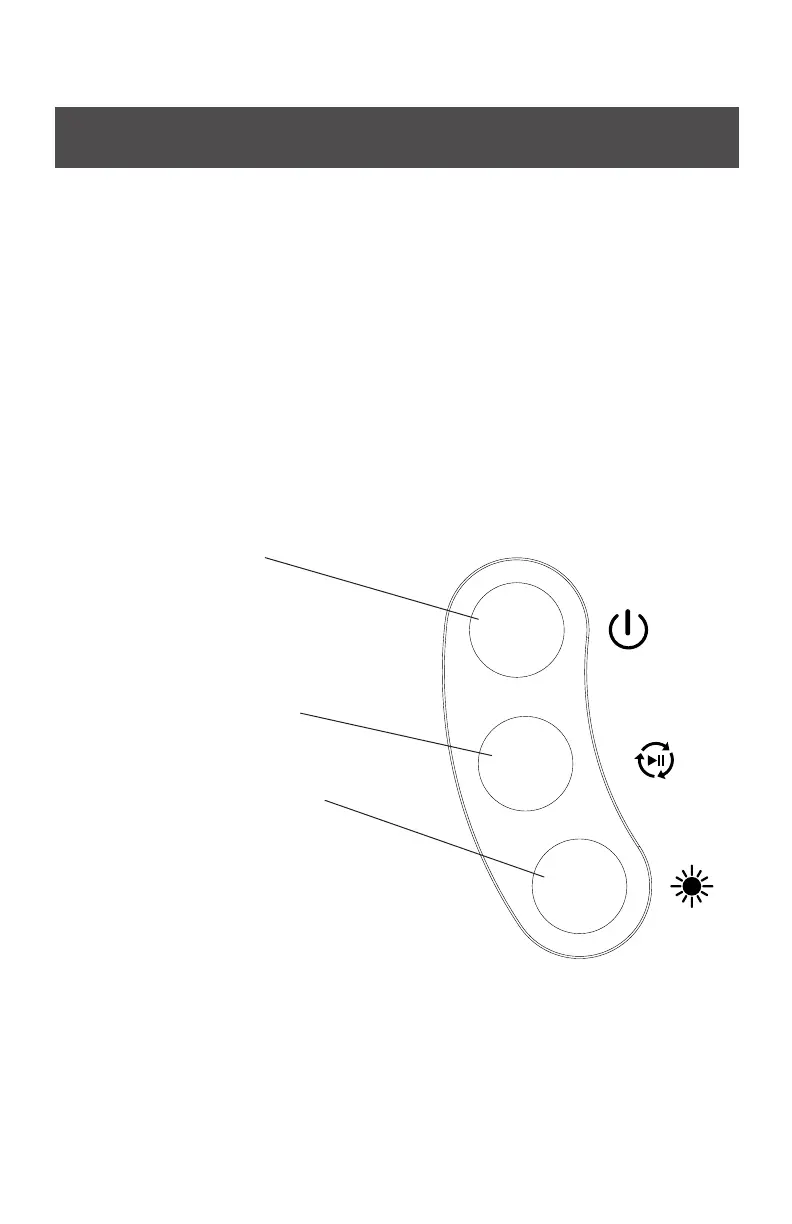
6. Use the following buttons to control lighting eects:
Top button (eects):
• Power on
• Pulse mode
• Stars only
• Cloud only
• Power o
Middle button (rotation):
• Rotation o
• Rotation on
Bottom button (brightness):
• Normal
• Low
• High
DEFAULT SETTINGS
Once the laser projector is plugged in, it will enter the default mode where all eects are
on. Use the buttons to change the eect settings and brightness. This light has a built-in
timer that is designed to automatically shut o after 6 hours of operation.