E
Erik MillerAug 12, 2025
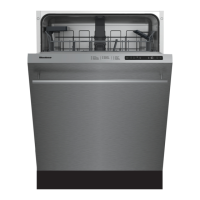
How to fix a Blomberg DWS 51500 SS that does not start?
- LLuis HensonAug 12, 2025
If your Blomberg dishwasher isn't starting, several factors could be at play. First, ensure the power cable is securely plugged in. Then, check your home's circuit breaker. Make sure the water inlet tap is open, and that the dishwasher door is fully closed. Finally, verify that you've pressed the On/Off button to turn the machine on.