Attach Rubber Liner to Skimmer
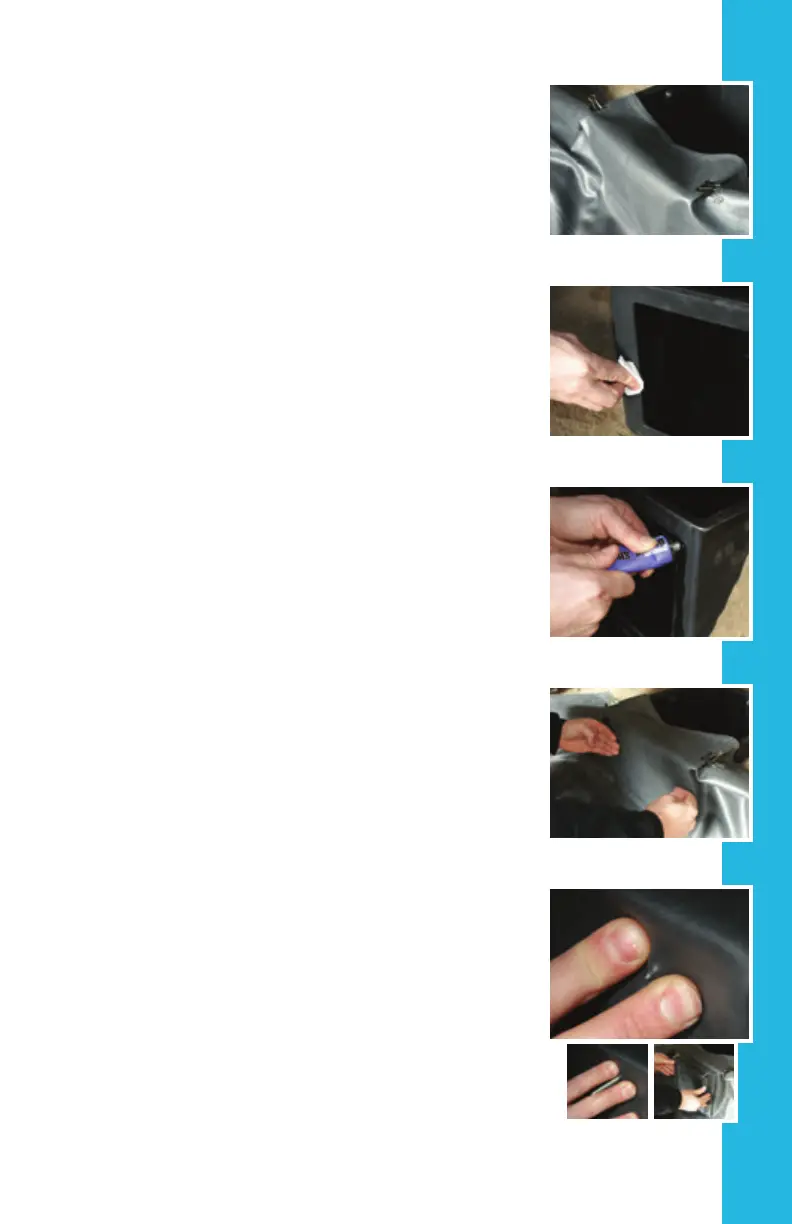
Bring the liner up to the skimmer and check the
positioning of the liner against the skimmer. Use
the included liner clips to temporarily hold the
liner to the face of the skimmer. Be sure the liner
follows the contours of the pond and the face of the
skimmer. It is a good idea to leave a little slack in
the liner where it transitions from the pond ledge to
the face of the skimmer. This will ensure that the
weight of any rockwork and water in the pond do
not pull down on the liner where it is attached to the
skimmer.
Kneel in front of the skimmer and have the following
within reach: cordless screwdriver (set to lowest
torque), 5/16” nut driver bit, plastic nails (included),
skimmer snout (included), silicone (included),
stainless steel self-tapping screws (included), black
vinyl screw caps (included), utility knife (with new
blade), & a clean rag.
Kneeling in front of the skimmer remove the liner
clips and fold the liner back toward you leaving it
rest on your lap. Using the clean rag wipe down the
face of the skimmer. Also, wipe the surface of the
liner that will be coming in contact with the area you
cleaned on the skimmer box.
Apply a bead of silicone along the sides and bottom
of the opening of the face of the skimmer. Use one
of the two guide holes at the top corners of the
opening as the starting point and begin by running
your bead straight down from that point. The bead of
silicone should be about an inch out from the edge
of the opening; this will position it in-line with the
screws when you attach the skimmer snout.
Bring the liner back up into position against the face
of the skimmer. Hold the liner in place again with
the liner clips to help keep it from moving around
as you prepare to attach the snout. Gently run your
ngers along the liner over the area you applied the
silicone and atten the bead out slightly. This will
help ensure a more even distribution of the silicone
as you compress it while screwing down the snout.
STEP 4


 To Next Page
 Loading...