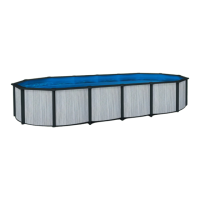
14
10.1 FOR 18’ POOLS ONLY! Insert the Pins (6) down through the top of the T-Fittings until the Pins snap into
place on the lower side of the T-tting.
10.2 FOR 24’ POOLS ONLY! The Horizontal Beams have factory installed spring clips (18). Carefully rotate the
Horizontal Beam and move in or out until the spring pin aligns and pops into the hole in the top of the T.
WARNING: The spring pin must be completely seated in the hole of the T-Fitting or your pool will collapse
when you ll with water. This would be an incorrect assembly and would void your warranty.
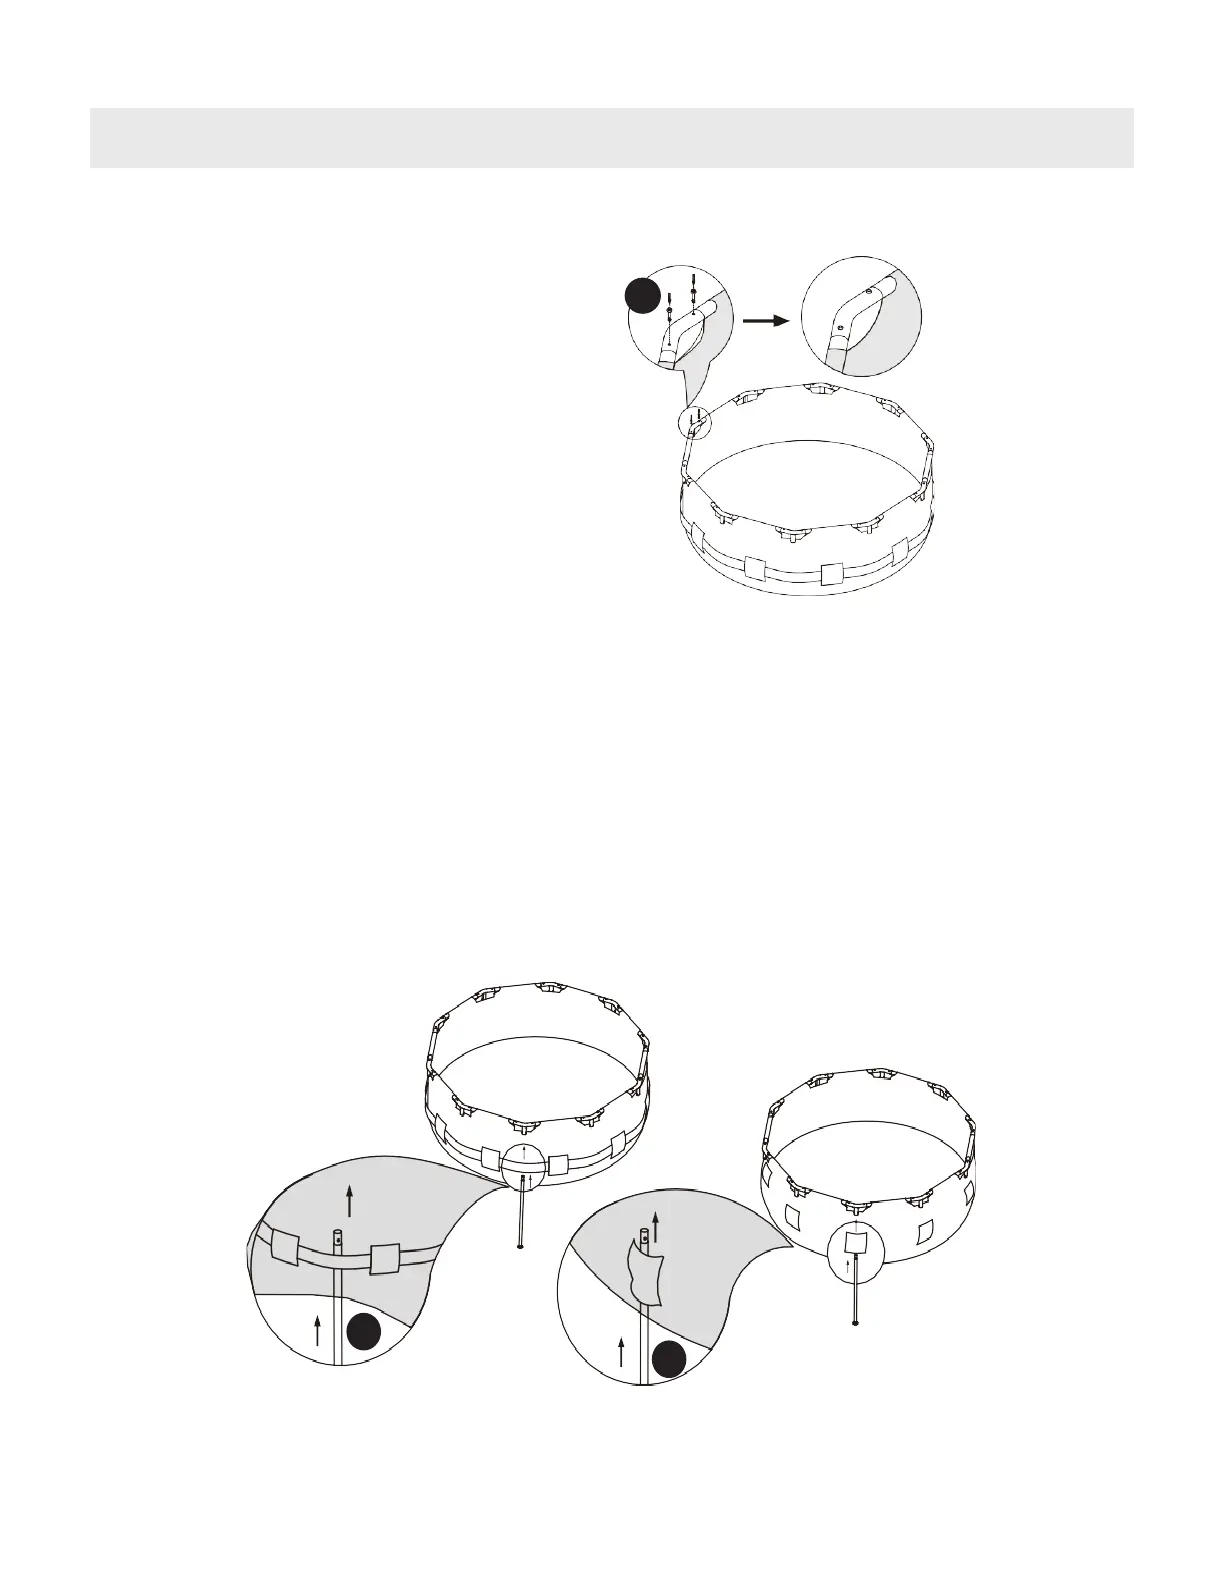
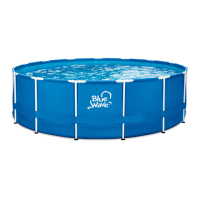
11. Carefully slide the Vertical Legs (3) up through the belt that runs around the pool. TIP: For smaller pools
without a belt, slide the vertical legs up through the sleeves on the pool wall.
3
3
POOL ASSEMBLY INSTRUCTIONS (CONTINUED)
6