18
© 2005 Directed Electronics, Inc.
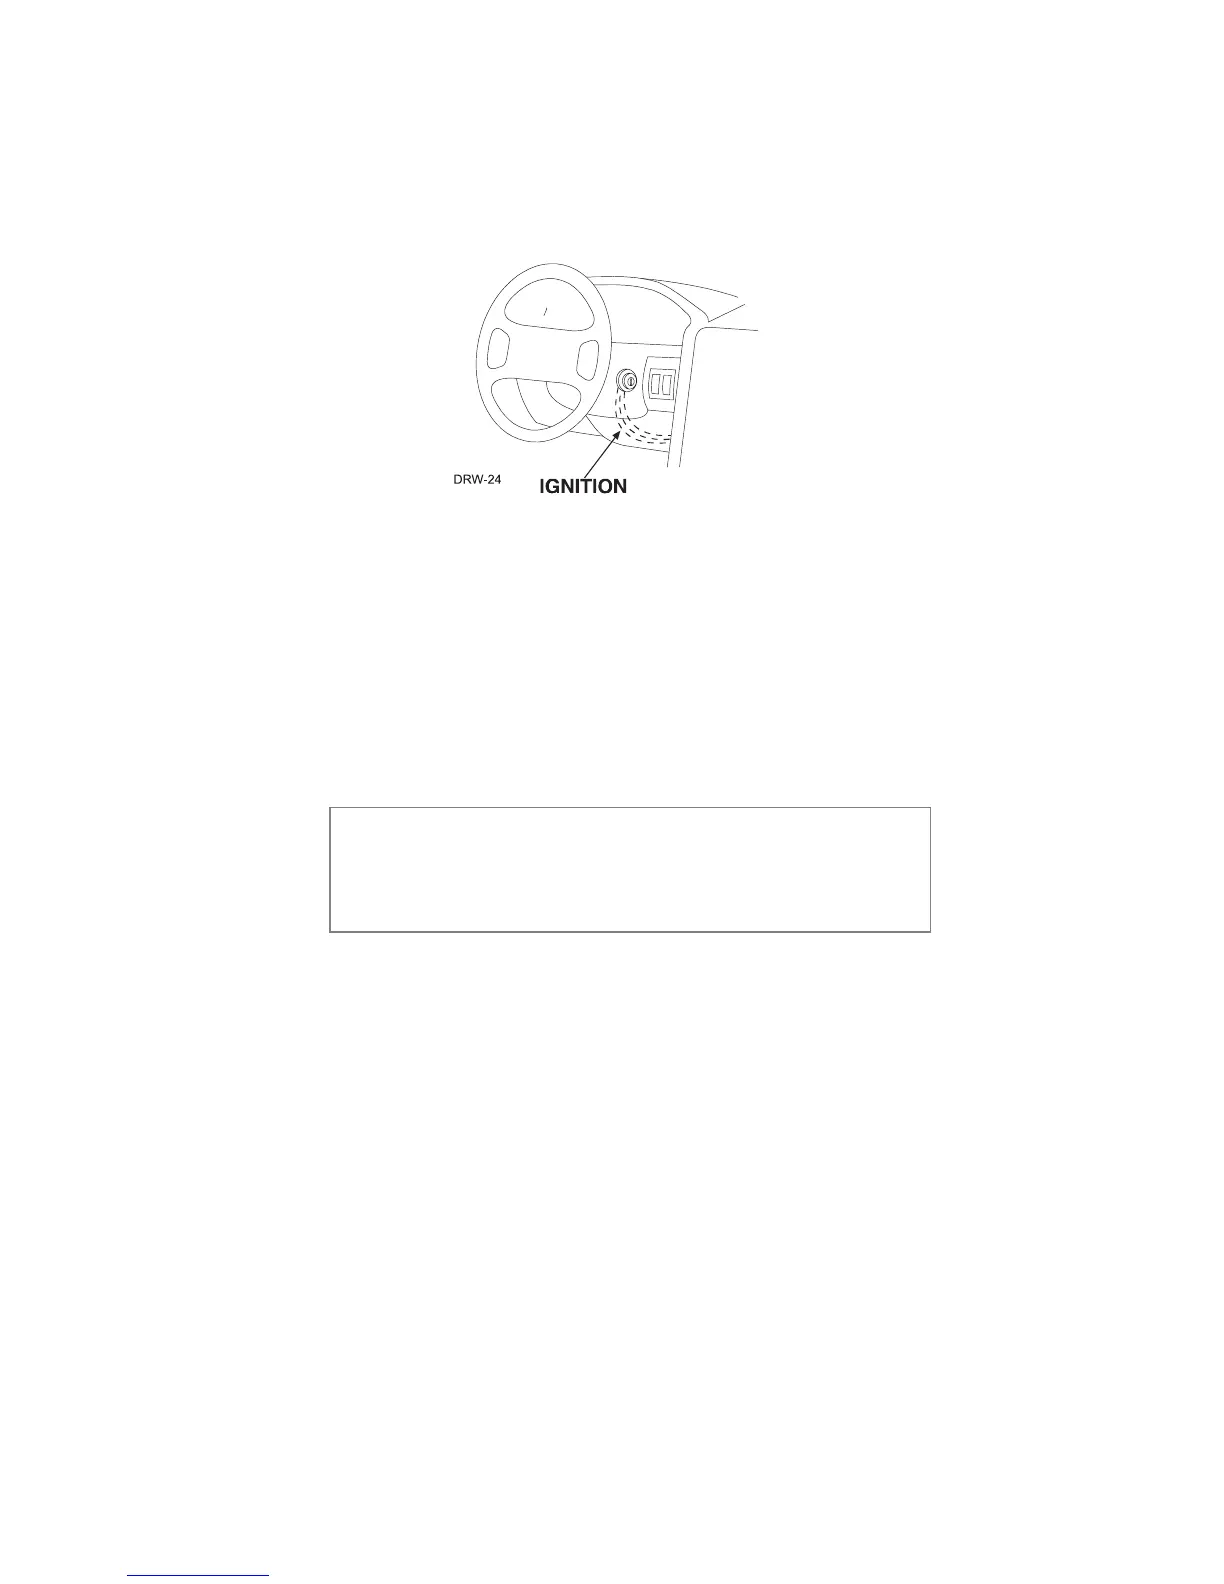
Now that the accessories have been located, find the wire
suspected to be the starter wire according to the web information
on your vehicle. Place the red lead of your LED tester on the
wire. With the key in the off position the LED tester should be
extinguished in all key positions except the crank position. In
the crank position your LED tester should illuminate, and will
extinguish when the starter disengages.
Once you locate the starter wire, cut the wire in half (
cchheecckk tthhee wweebb
iinnffoorrmmaattiioonn bbeeffoorree ccuuttttiinngg
) and try to start the vehicle. If the vehicle
does not start, the correct wire has been identified. Reconnect both
ends of the starter wire while soldering the thick VIOLET (A) relay
wire to it and wrap the connection with electrical tape.
Many Nissan vehicles have two starter wires. A relay (not provided)
is required to hook up the additional starter wire. Refer to the
diagram below.
nnoottee::
Always check the Web site information on your
vehicle for warnings regarding the starter wire and check
engine lights. Some vehicles will trip a check engine light
if the starter wire is cut.
 Loading...