90 S130 Operation & Maintenance Manual
ATTACHMENTS (CONT’D)
Installing And Removing The Attachment (Power
Bob-Tach) (Cont’d)
Installing (Cont’d)
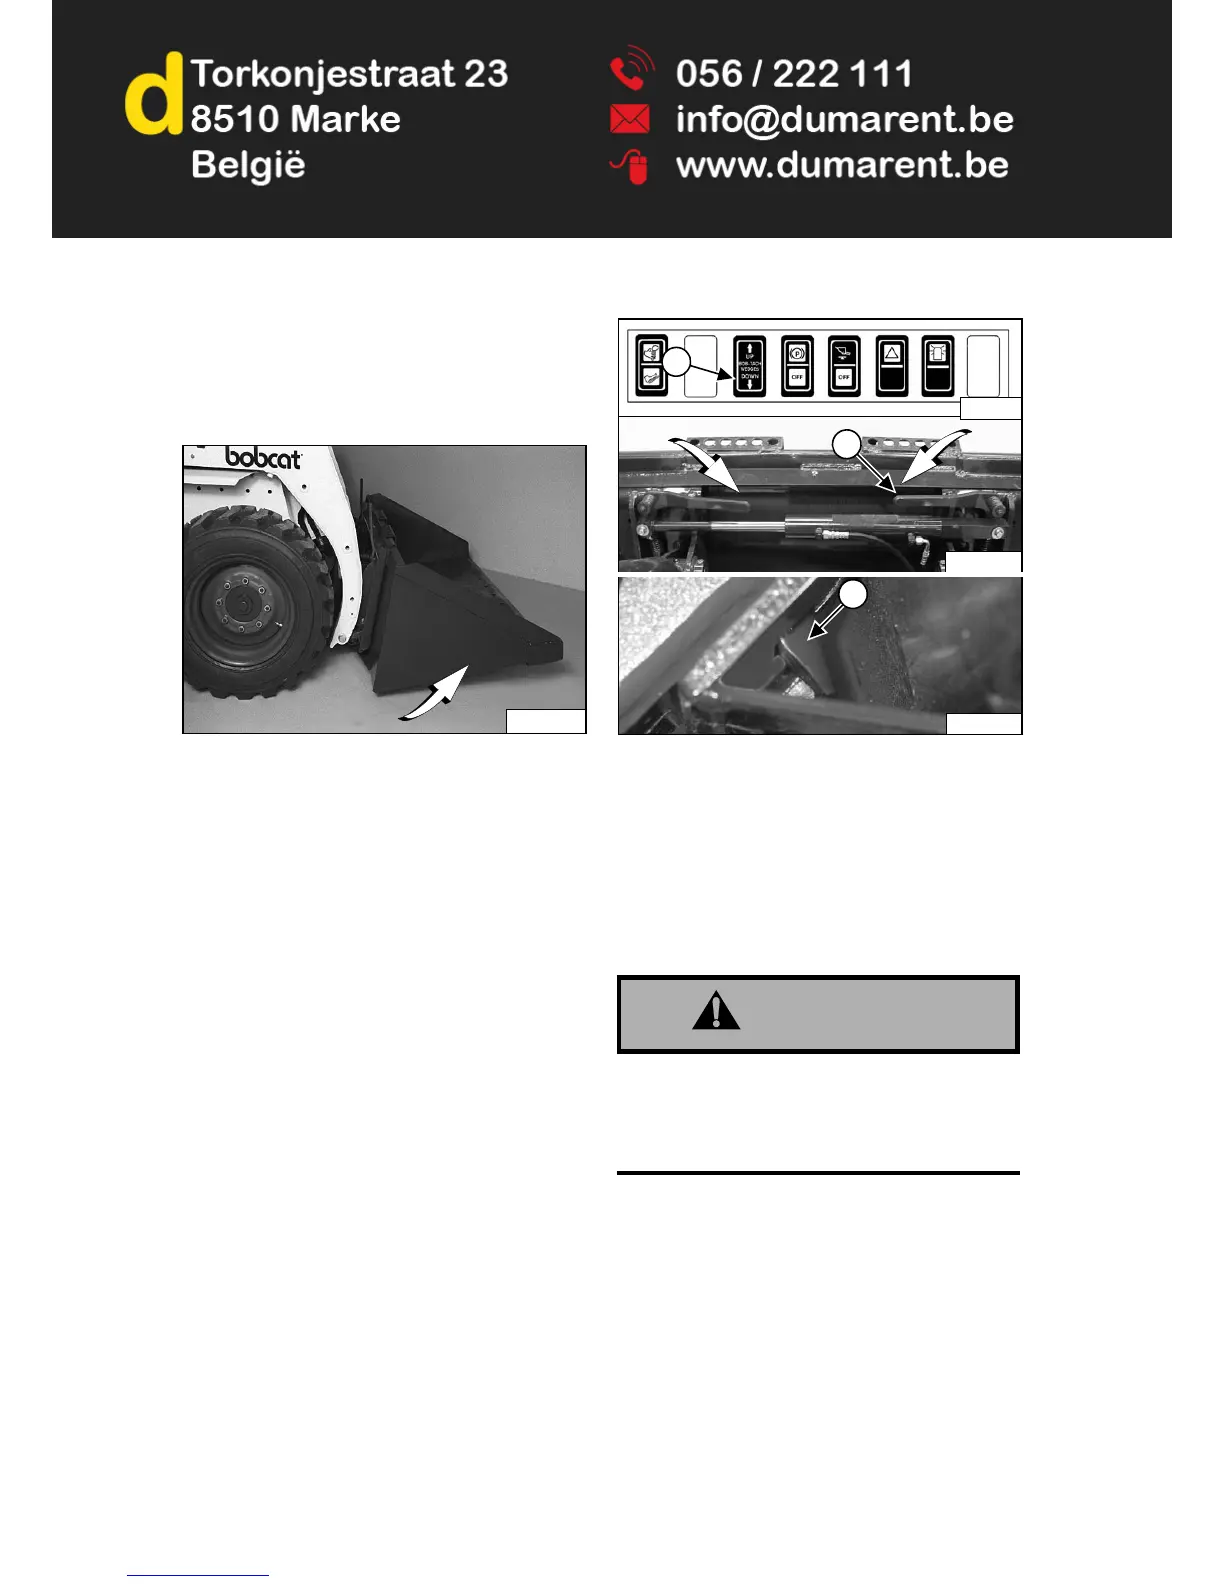
Figure 117
Tilt the Bob-Tach backward until the cutting edge of the
bucket (or other attachment) is slightly off the ground
[Figure 117].
Push and hold BOB-TACH “WEDGES UP” switch (Item
1) [Figure 115] (Front Panel) to make sure the levers are
all the way up.
NOTE: The Power Bob-Tach system has continuous
pressurised hydraulic oil to keep the wedges
in the engaged position and prevent
attachment disengagement. Because the
wedges can slowly lower, the operator can
need to reactivate the switch (WEDGES UP) to
be sure both wedges are fully raised before
installing the attachment.
Figure 118
Push and hold BOB-TACH “WEDGES DOWN” switch
(Front Panel) (Item 1) until levers are fully engaged in the
locked position (Item 2) [Figure 118] (wedges fully
engaged).
The wedges (Item 3) [Figure 118] must extend through
the holes in the mounting frame of the bucket (or other
attachment), securely fastening the bucket to the Bob-
Tach.
AVOID INJURY OR DEATH
The Bob-Tach wedges must extend through the
holes in the attachment mounting frame. Levers
must be fully down and locked. Failure to secure
wedges can allow attachment to come off.
W-2715-0208
 Loading...