29
System time setting
Set the time of day for the
first time
after connecting
to the power supply:
Press the button to activate the time of day
setting mode. The seconds dot symbol between
the hour and minute flashes.
Now make the setting with the buttons and .
Confirm the setting with the button .
If you want to
change
the time of day
subsequently
,
the setting is only possible if no cooking program is
running:
Keep pressing the buttons and simultane-
ously for a few seconds. The seconds dot symbol
between the hour and minute flashes.
Now make the setting with the buttons and .
Confirm the setting with the button .
Timer functions
WARNING: Fire hazard! There is an increased
risk of fire when the timer is in operation!
Before starting, inform all household members so
that no one puts anything in the appliance.
Monitor the appliance during timer operation to
prevent food from overflowing and/or burning.
Be aware that fats, oils and alcohol can ignite dur-
ing frying.
Never grill unattended during timer operation!
GENERAL NOTES to the timer functions
By repeatedly pressing the button you switch
to the next function.
The setting is saved some time after the last but-
ton is pressed or by pressing the button im-
mediately. The icon of the corresponding operat-
ing function lights up continuously.
After setting the respective function, you can op-
tionally display the remaining time of the function
or the time of day by pressing the button .
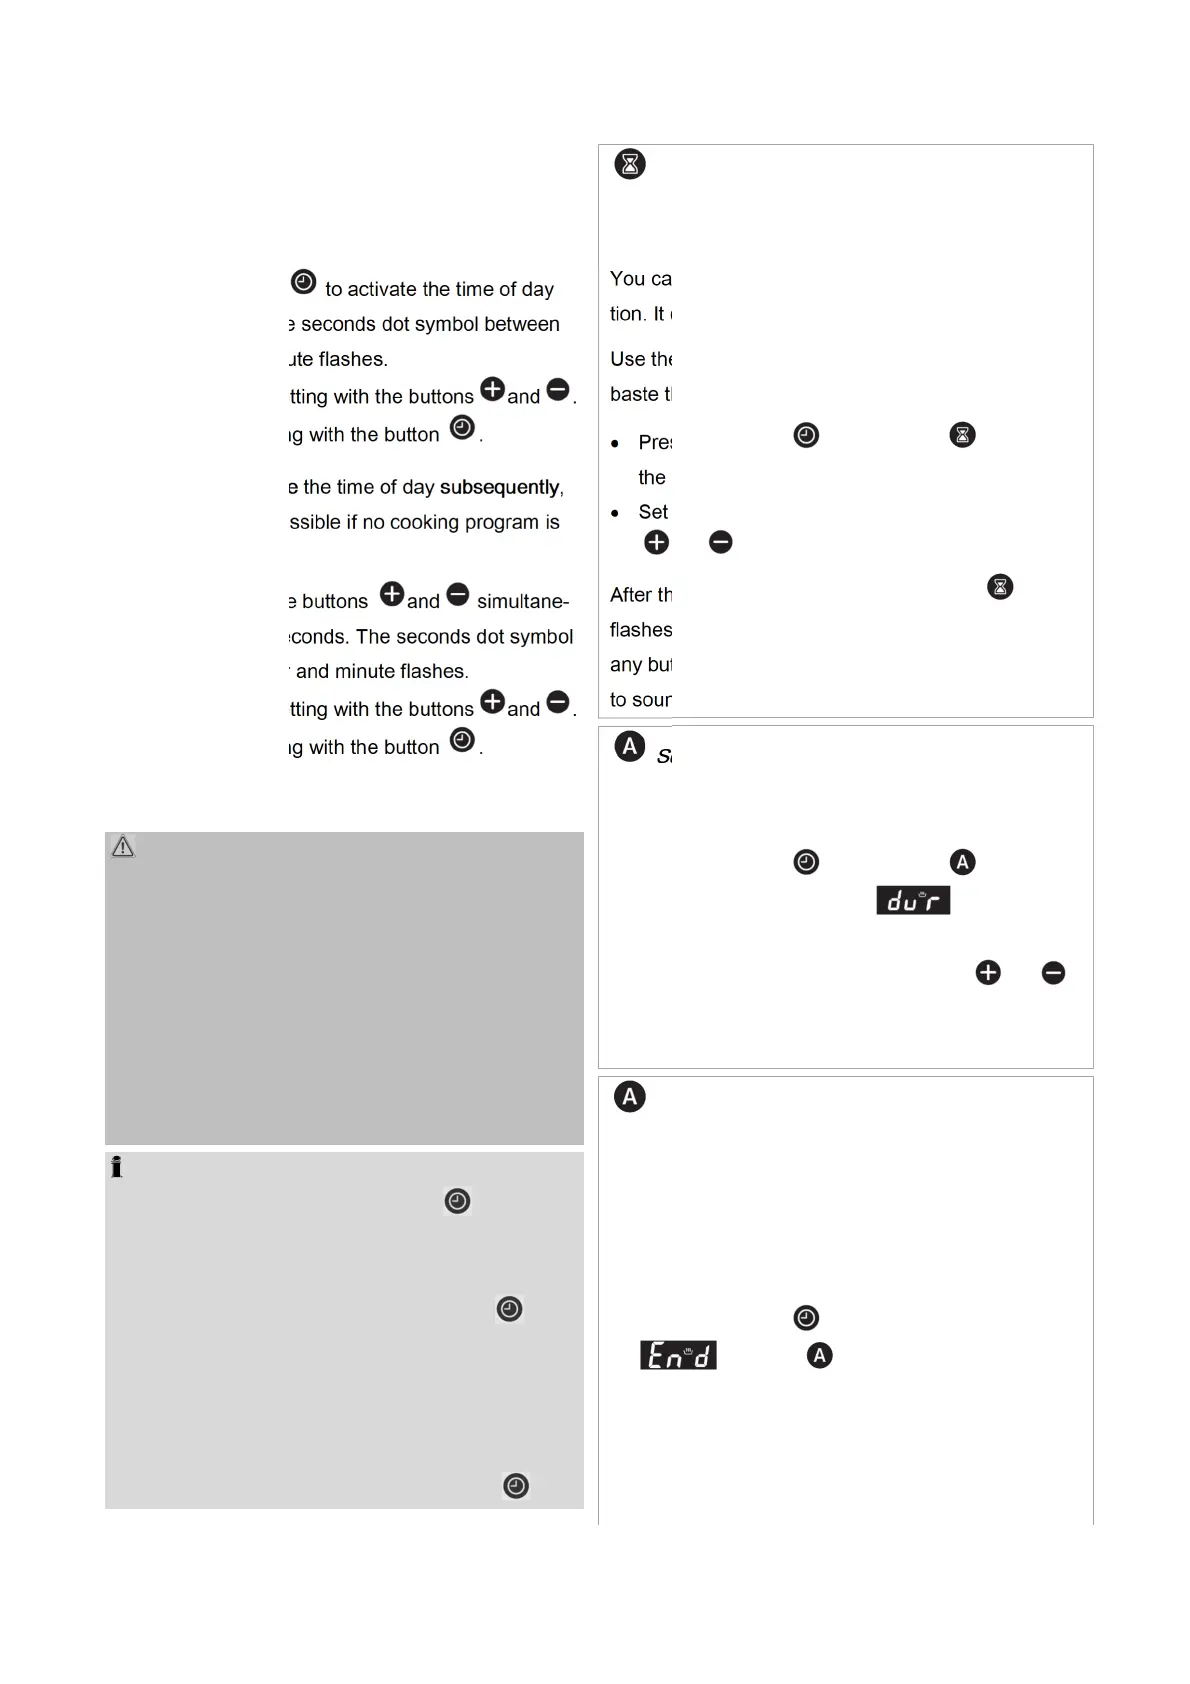
Minute minder
Using the timer as reminder function after XX:XX
hours
You can set the alarm independently of the opera-
tion. It does not influence the appliance.
Use the function e.g. as a reminder to add spices or
baste the food after a certain time.
Press the button until the icon flashes in
the display.
Set the alarm time up to 10 hours with the buttons
and .
After the alarm time has elapsed, the icon
flashes on the display and several beeps sound until
any button is pressed. Otherwise, the beeps continue
to sound for a few minutes.
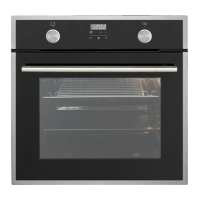
Semi-automatic cooking
Using the timer to switch off the operation after
XX:XX hours
Press the button until the icon flashes in
the display. The indication and the cook-
ing time flash alternately.
Set the cooking time with the buttons and .
Select the required heating function and tempera-
ture to start the operation.
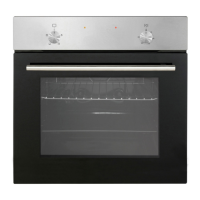
Fully-automatic cooking
Using the timer to delay the cooking time and to
switch off the operation at XX:XX o’clock
First set the cooking time as described in "
Using
the timer to switch off the operation after XX:XX
hours
".
Press the button again, beside the indication
, the icon and the cooking time flash
alternately.
Select the required heating function and tempera-
ture.
The appliance uses the previously set cooking