7
1. Remove the front wheel, front brake, and stem (with handlebar
assembly) from the bike.
2. Remove the upper headset parts.
3. Lower the fork through the lower headset parts.
4. If the existing headset is to be installed on the new fork, remove
the crown race from the old fork, and clean the race thoroughly.
1. Determine the correct length for the new steerer, and cut the
steerer to length.
2. De-burr and smooth the inside and outside surfaces of the cut edge
of the steerer.
In steps 3 and 4, prevent damage to the fork while hammering: hold the fork
in your hands, by a single leg.
3. Install the star-fangled nut.
4. Install the crown race.
1. Slide the steerer through the headset,
spacers, and stem.
Check for the correct 2-5mm clearance under the top of
the stem (Figure 3).
2. Attach the top cap.
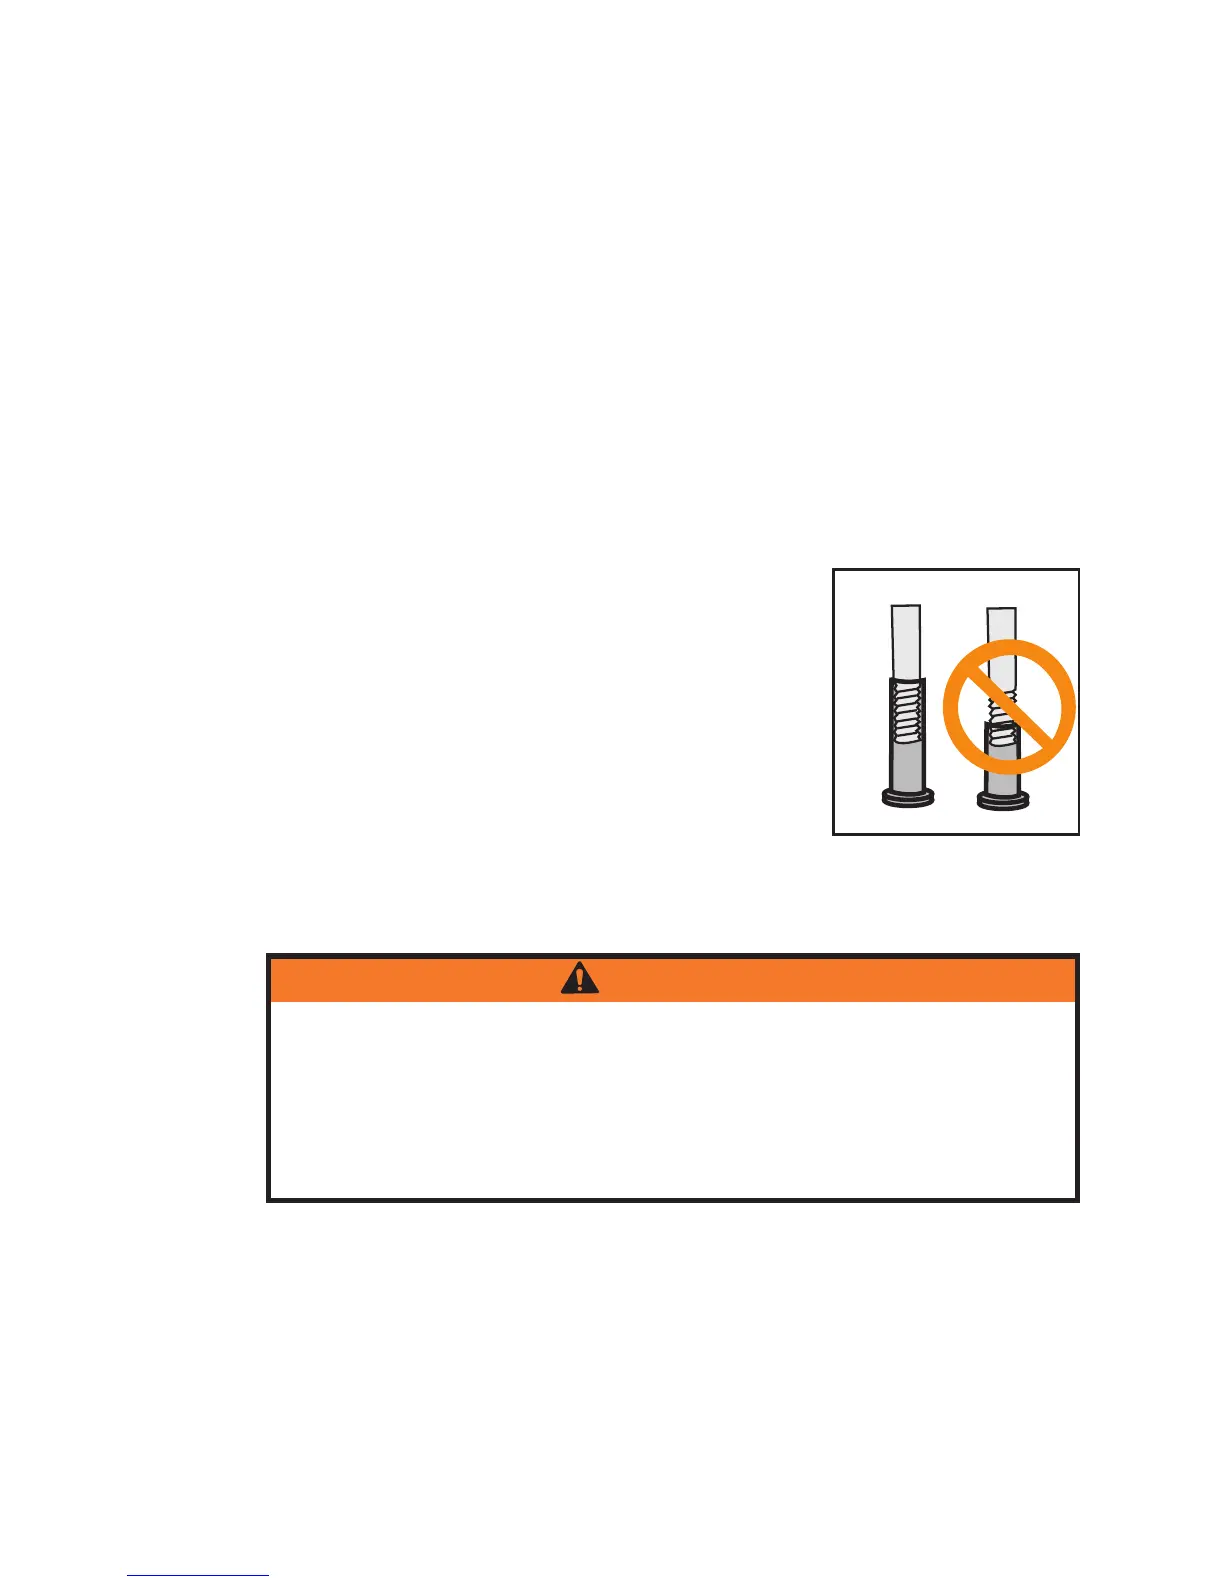
3. Install the front brake.
For a caliper brake, use the special extra-long brake nut
provided (Figure 4).
For a Bontrager fork built for cantilever or V-type
brakes, the brakes are attached with standard hardware.
For a Bontrager fork with a disc brake mount, use only
road-sized rotors: 165mm, 6", or smaller.
4. Install the front wheel.
5. Re-adjust the front brake.
6. Put the bike on the ground and adjust the headset.
7. Tighten the stem’s steerer clamp bolts. Follow the stem manufac-
turer’s normal tightening procedure.
8. Function check the installation and adjustment of the stem,
headset, and front brake.
Figure - Use the long
brake nut for proper thread
engagement