TITLE: Honda Accord Rear-Section Instal-
lation Instructions
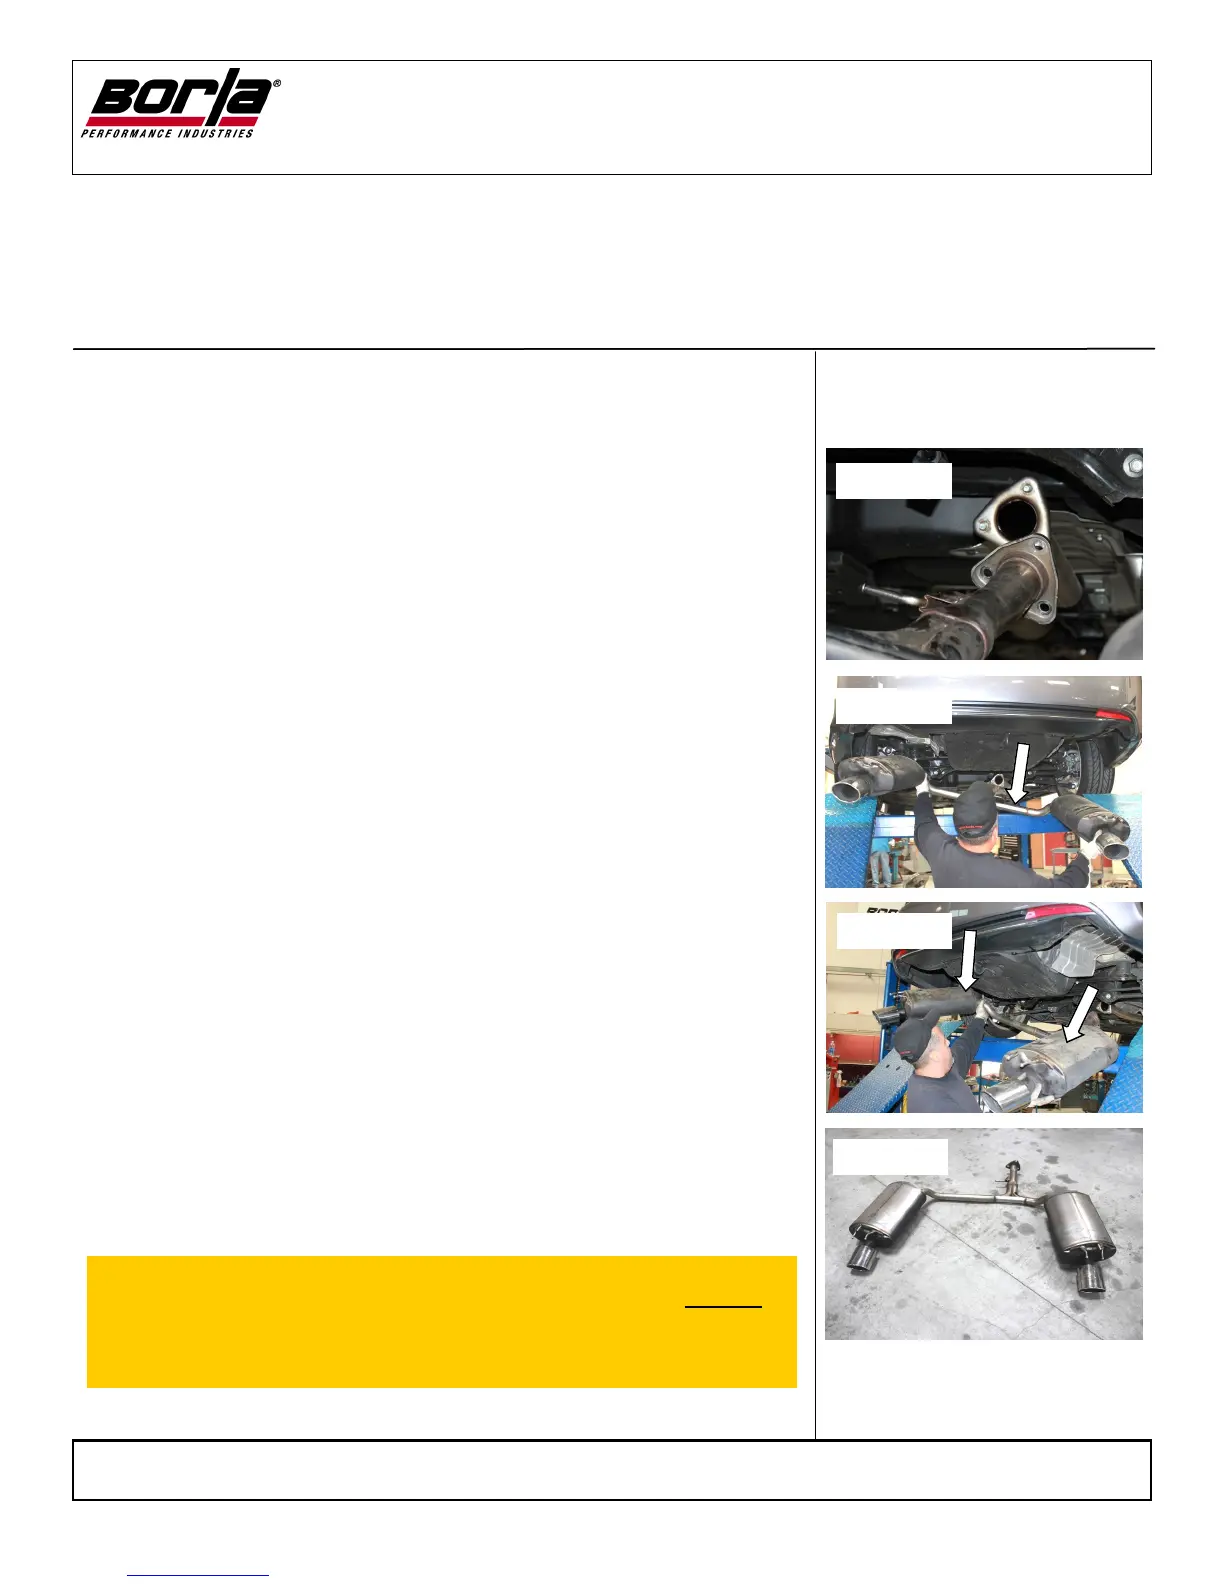
Original Exhaust System Removal
Note: With a used vehicle, we suggest a penetrating spray lubricant to be ap-
plied liberally to all exhaust fasteners and allowing a significant period of
time for the chemical to lubricate the threads before attempting to disassem-
ble.
1. Lubricate all the hangers and rubber isolators.
2. Remove rear muffler flange hardware. Note: Keep factory hardware and
sealing gasket for reinstallation. (See Fig.1)
3. Carefully slide and remove rubber isolators from hangars and remove rear
muffler assembly. (See Figs. 2 & 3)
4. Removed factory exhaust. (See Fig. 4)
5. Remove factory metal sealing ring for reuse and installation on your new
exhaust system.
Warning: Use extreme caution during installation. Torque all fasteners ac-
cording to manufacturer’s torque values and tightening sequence. DO NOT
use air impact tools to tighten fasteners on Borla Performance Exhaust Sys-
tems. Use of such tools may result in bent flanges or gasket contact areas
leading to exhaust leaks.
Figure 1
Figure 3
Figure 4
Figure 2