18 | English
1 609 92A 3T5 | (12.6.17) Bosch Power Tools
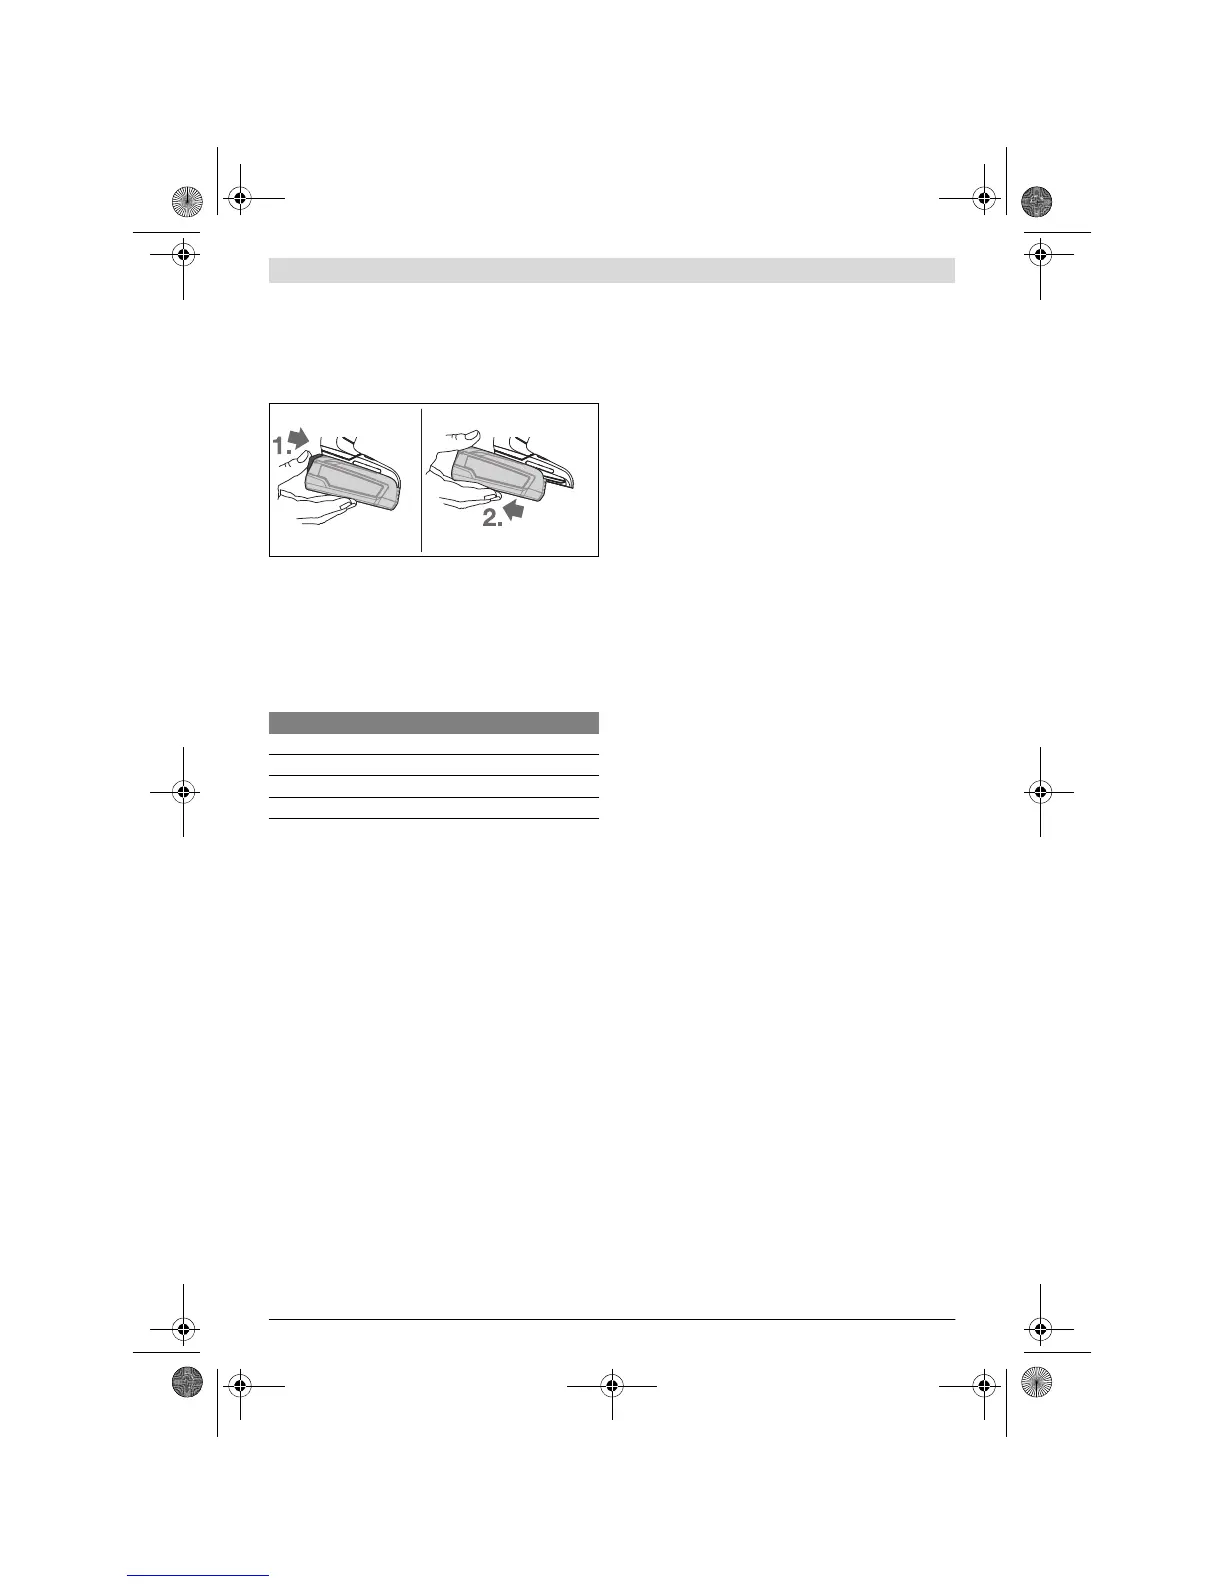
Removing the battery
The battery 6 is equipped with two locking levels that should
prevent the battery from falling out when pushing the battery
unlocking button 5 unintentionally. As long as the battery is
inserted in the power tool, it is held in position by means of a
spring.
To remove the battery 6, press the battery unlocking button 5
and pull the battery out of the power tool toward the rear. Do
not exert any force.
Battery Charge-control Indication
The battery charge-control indicator consists of three green
LEDs, and indicates the charge condition of the battery for a
few seconds when the On/Off switch is pressed halfway or ful-
ly.
The 3 LEDs of the battery charge-control indicator flash
rapidly when the battery temperature is not within the op-
erating temperature range of –30 to +65 ° C, and/or when
the overload protection has responded.
Changing the Tool
Before any work on the machine itself (e. g. mainte-
nance, tool change, etc.) as well as during transport
and storage, remove the battery from the power tool.
There is danger of injury when unintentionally actuating
the On/Off switch.
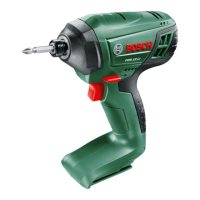
Inserting (see figure A)
Insert the application tool all the way into the mounting 1.
Mounting the Adapter (see figure B)
Remove the application tool.
Insert the adapter into the mounting 1. The adapter clicks au-
dibly into place.
Inserting the Application Tool into the Adapter
(see figures C and D):
Insert the application tool all the way into the mounting 1. The
application tool is held in the mounting by means of a magnet.
Drill chuck adapter (see figure E)
Open the drill chuck adapter 11 by turning it in direction of ro-
tation until the application tool can be inserted. Insert the
application tool.
Firmly tighten the sleeve of the drill chuck adapter 11 by turn-
ing it by hand in direction of rotation . This will automatical-
ly lock the drill chuck.
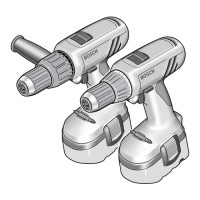
Turning the Adapter (see figure F)
Remove the adapter from the power tool. Turn the adapter to
the required position and then reattach it.
Removing the Adapter (see figure G)
Remove the application tool.
Pull the adapter off the mounting 1.
Combining Adapters (see figure H)
Insert the angle screw adapter 13 into the mounting 1. Then
insert the drill chuck adapter 11 into the angle screw adapter
13.
Dust/Chip Extraction
Dust from materials such as lead-containing coatings,
some wood types, minerals and metal can be harmful to
one’s health. Touching or breathing-in the dust can cause
allergic reactions and/or lead to respiratory infections of
the user or bystanders.
Certain dust, such as oak or beech dust, is considered car-
cinogenic, especially in connection with wood-treatment
additives (chromate, wood preservative). Materials con-
taining asbestos may only be worked by specialists.
– Provide for good ventilation of the working place.
– It is recommended to wear a P2 filter-class respirator.
Observe the relevant regulations in your country for the
materials to be worked.
Prevent dust accumulation at the workplace. Dust can
easily ignite.
Operation
Starting Operation
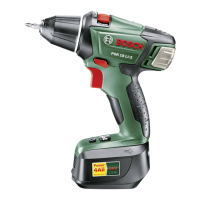
Inserting the battery
Note: Use of batteries not suitable for the machine can lead to
malfunctions of or cause damage to the power tool.
Set the rotational direction switch 9 to the centre position in
order to avoid unintentional starting. Insert the charged bat-
tery 6 into the handle so that it can be felt to engage and faces
flush against the handle.
Reversing the rotational direction (see figure I)
The rotational direction switch 9 is used to reverse the rota-
tional direction of the machine. However, this is not possible
with the On/Off switch 10 actuated.
Right Rotation: For drilling and driving in screws, push the
rotational direction switch 9 left to the stop.
Left Rotation: For loosening and unscrewing screws and
nuts, press the rotational direction switch 9 through to the
right stop.
Setting the torque
With the torque presetting ring 2 the required torque setting
can be preselected in 22 steps. With the correct setting, the
insert tool is stopped as soon as the screw is screwed flush in-
LED Capacity
Continuous lighting 3 x green ≥ 66 %
Continuous lighting 2 x green 33 – 66 %
Continuous lighting 1 x green 11 – 33 %
Slow flashing 1 x green ≤10%
OBJ_BUCH-3177-001.book Page 18 Monday, June 12, 2017 10:35 AM
 Loading...