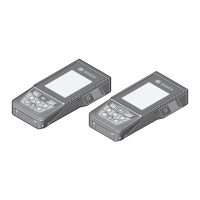
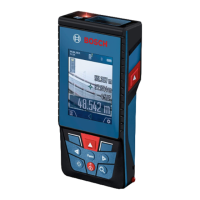
-11-
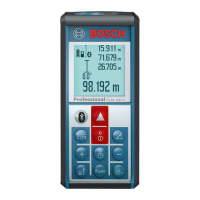
After the measuring tool is switched on, continuous
measurement starts. Aim the laser beam at the target surface.
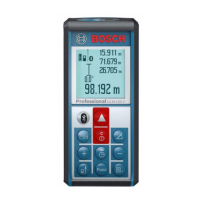
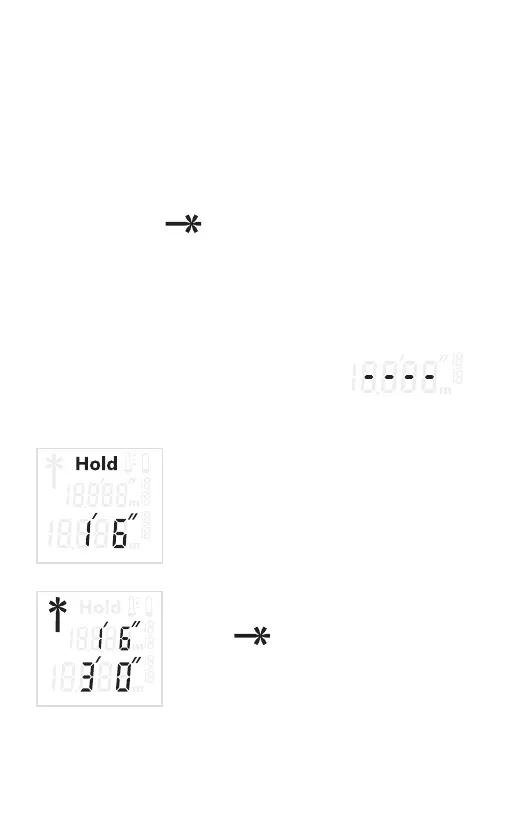
The current measuring value g is displayed in the bottom line
of the display (see figure A). During continuous measurement,
the measuring tool can be moved relative to the target, whereby
the current measuring value g is updated approx. every 0.5
seconds in the bottom line of the display (see figure B).
In this manner,as an example, you can move a certain distance
away from a wall, while the actual distance can always be read.
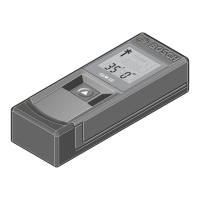
The laser indicator
flashes on the display.
The rear edge of the measuring tool is preset as the reference
plane for the measurement.
For a wall to wall measurement, as an example, position the
measuring tool with its rear edge against the initial wall.
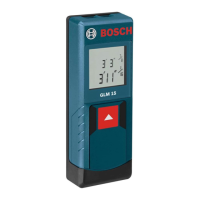
No Measurement Being Displayed
All dashes will display when the beam is
moved too fast or if the object is out of
range in continuous mode.
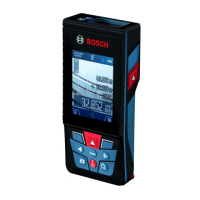
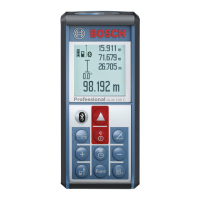
“HOLD” Function (see Figure B)
Press the “On/Off” button 1 to stop the
measuring procedure. The laser beam
is switched off and the HOLD indication
appears on the display.
The current measuring value is still
displayed in the bottom line of the display,
but is no longer continuously updated.
Press the “HOLD” button 1 once more
to switch the laser on again. The laser
indicator
flashes on the display. The
previous measuring value is displayed in the
top line. The continuously updated/current
measuring value is displayed in the bottom
line.