58300000202443_ARA_EN_C JANUARY 2018 Service Manual for Bosch 800 Series Built-in Wall Ovens
Page 15 of 43
Copyright by BSH Home Appliances Corporation 1901 Main St ▪ Suite 600 ▪ Irvine, CA 92614 800 944-2904
This material is intended for the sole use of BSH authorized persons and may contain confidential and proprietary information. Any unauthorized review, use, copying, disclosure, or distribution in any format is prohibited.
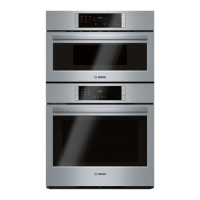
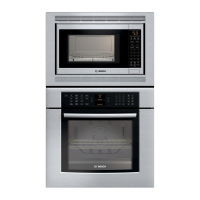
To remove the Solo microwave or Speed microwave oven…
1. Remove power to the oven.
2. Remove the screws securing the right and left side trim pieces
to the cabinetry.
3. Carefully slide the combination unit completely out of the
cabinet cutout.
4. Proceed to step 6 if servicing a Speed microwave oven
5. Unplug the power cord from the receptacle if servicing a Solo
microwave then proceed to step 7.
6. Disconnect the feeder wires from the terminal block (see
Figure 7): only necessary if a work table is not nearby, and the
5’ length of conduit/wire will not be sufficient.
7. Remove the front decorative trim that is secured to the
universal brackets with two screws.
8. Remove the six screws which secure the microwave to the
right and left universal brackets
9. Carefully lift the microwave off the universal brackets, and set
aside.
The 120VAC receptacle snaps into the rear housing cover.
Gain access to the receptacle’s electrical fuse and wiring termination
by removing the top front cover.
 Loading...