9. Tighteneachclampingscrewwiththeappropriatetorque(Seetablebelow).
Table 4: Appropriate Torque Levels for Aluminum or Copper Wire
Gauge Torque (in./Ibs.) Torque (Nm)
6 35 3.95
8 25 2.82
10. Properly secure flexible conduit at knockout panel on range and at supply
side junction box. The wiring is now complete.
green g'ound screw
Figure22: Completed Three Wire Flexible Conduit Connection
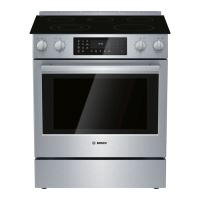
Complete the installation
Note: DO NOT plug in range at this time.
Adjust Levelling Legs 1. Line up range in front of opening.
2. Measure back left corner of opening from floor to top of countertop.
3. Measure back left corner of range to bottom of cooktop trim. Use a wrench to
adjust leveling leg until this height is the same as the corner dimension.
drawer
adjustable leg
Figure23: Adjust the Front Leveling Leg
Slide Range into Opening
4. Repeat in right back corner.
5. Adjust front leveling legs so that the bottom of the cooktop trim is ½" higher
than the corresponding countertop surface.
1. Plug in power cord.
2. Dampen countertop and foam tape with soapy water.
English 15
 Loading...