This document provides installation instructions for a hob unit, likely designed to be paired with a separate oven or cooker. It covers various aspects from preparing the installation environment to connecting and disconnecting the hob.
Function Description
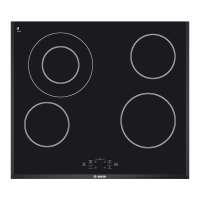
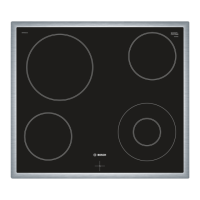
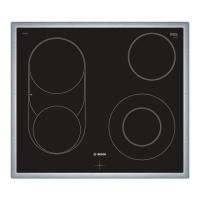
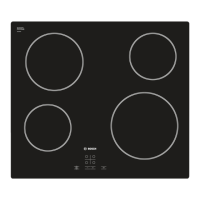
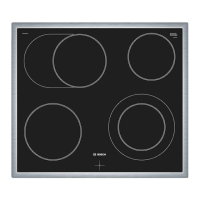
The device is a hob unit, intended for cooking. It is designed to be integrated into a kitchen work surface and connected to a compatible oven or cooker. The hob itself does not appear to have integrated controls, suggesting it is controlled by the connected oven/cooker.
Important Technical Specifications
Dimensions and Cut-out:
- Minimum worktop depth: 500 mm.
- Minimum distance to side walls: 90 mm.
- Minimum temperature resistance of fitting unit: 90°C.
- Hob dimensions (approximate, based on diagrams):
- Overall width: 560 mm (+2 mm tolerance).
- Overall depth: 490 mm (+2 mm tolerance).
- Cut-out width: 500 mm.
- Minimum clearance for connections: 90 mm (from the bottom of the hob to the cabinet base).
- Minimum clearance from the back edge of the cut-out to the wall: 20 mm.
Electrical Connection:
- Requires connection to the mains supply.
- Must be installed by a licensed expert to ensure warranty validity and safety.
- The hob has a PE (protective earth) conductor (green/yellow) that must be screwed to the earthing point of the cooker.
- The hotplate plug connects to the cooker, with specific color coding for wires (front cable color must match sticker) and a lug (N) on the plug pointing to the left.
- The cooker must be connected to the mains but switched off during hob connection.
Compatibility:
- The hob and the cooker/oven it connects to must be from the same brand and have the same combination feature.
Usage Features
Installation Process:
- Preparation of the units: Ensure the fitting unit is heat resistant to at least 90°C. Create a cut-out in the work surface with a minimum depth of 500 mm and a minimum 90 mm distance to side walls. After cutting, remove shavings and seal cut surfaces with heat-resistant material.
- Hob placement: Mark the center of the cut-out, place the hob, align markings on the hob surround and cut-out, then press the hob into place. Ensure cables are not trapped.
- Electrical connection: The cooker must be connected to the mains but de-energized. Pull out the cooker to access the socket. Screw the hob's PE conductor (green/yellow) to the cooker's earthing point. Plug the hotplate plug into the cooker, ensuring the cable colors match and the 'N' lug points left. Slide the cooker back, ensuring no cables are trapped.
- Work surface: The work surface must be level, horizontal, and stable. For tiled work surfaces, seal tile joints with silicone rubber.
Safety Features:
- Protection against accidental contact: Must be ensured through proper installation.
- Professional installation: All electrical connections and installations must be carried out by licensed experts/professionals. Incorrect connection voids the warranty and the installer is liable for any damages.
Maintenance Features
Removal of the Hob:
- Disconnect the appliance from the power supply (de-energize).
- Pull out the cooker slightly.
- Unplug the cooking zone plug from the cooker.
- Disconnect the PE conductor (green/yellow) from the earthing screw.
- Push the hob out from below.
The document emphasizes the importance of professional installation and adherence to safety guidelines for both installation and maintenance. It does not detail specific cleaning or user-level maintenance instructions for the hob itself, focusing solely on its integration into the kitchen environment.