Do you have a question about the Bosch SPV4EMX21E and is the answer not in the manual?
Read manual carefully, keep for future reference, and use only for household tableware in private settings.
Appliance for users 8+ if supervised. Children must not play or clean. Keep children under 8 away.
Follow instructions for safe installation and connection to prevent injury and appliance damage.
Improper installation may cause damage. Follow installation instructions carefully.
Avoid damage from vapour, salt, or unsuitable cleaning agents.
Use less electricity/water by following tips and using the Eco 50° programme.
Optical sensor measures water turbidity to save water and adjust settings.
Automatic door opening during drying for economical results.
Connect wastewater hose to siphon, check for kinks, and ensure clear drainage.
Connect to drinking water supply. Use new hose if replacing. Check for kinks.
Follow safety. Connect to 220-240V AC, 50/60Hz. Ensure plug is correctly inserted.
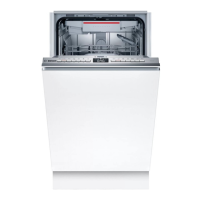
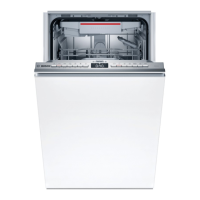
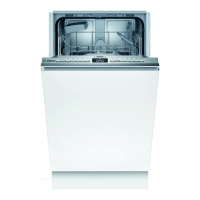
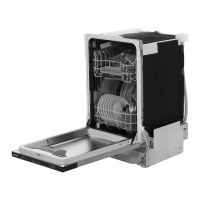
Overview of appliance parts with numbered labels for identification.
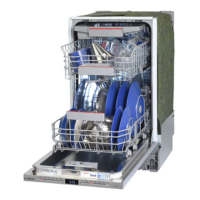
Arrange items in top basket. Height is adjustable for larger items.
Adjust shelf position for large items by using side levers.
Configure settings for start-up. Connect to mobile device for convenience.
Details water hardness values and corresponding setting values for the system.
Add special salt to dispenser when indicator lights up. Use only dishwasher salt.
Use rinse aid for optimal drying. Only use for domestic dishwashers.
Top up rinse aid when indicator lights up. Avoid spills to prevent frothing.
Use only dishwasher-safe detergents. Separate or combined types are suitable.
Wait for hot tableware to cool. Unload from bottom up to prevent burns.
Simple instruction on how to open the appliance door.
Press power button. Eco 50° is default. Auto-off after 10 mins idle.
Select programmes, additional functions, and timer settings for desired wash cycle.
Start, interrupt, or terminate programmes. Notes on adding tableware during operation.
Configure appliance settings like water hardness, rinse aid, and drying.
Install app, connect appliance to Wi-Fi, and configure initial settings.
Use app to activate and start the appliance remotely.
Remove coarse soiling, select high temp programme, run without tableware.
Update software and use remote diagnostics for support and optimisation.
Warnings about incorrect repairs and using genuine spare parts.
Check rinse aid, dosage, programme drying phase, and tableware placement.
Lights indicate refill need or system status for salt and rinse aid.
Flashing display indicates door issue. Ensure proper closure for operation.
Troubleshoot power, water, door closure, and programme end issues.
Address issues with door lock, installation, or blocked detergent dispenser.
Caused by installation, spray arm striking items, or jets hitting tub. Arrange items securely.
Disconnect power/water, detach hoses, loosen screws, and carefully pull appliance out.
Locate E-Nr., FD, and Z-Nr. on the appliance rating plate inside the door.
Conditions for compensation for water damage due to defective Aqua-Stop system.
Details licensed software components and where to find licence information.
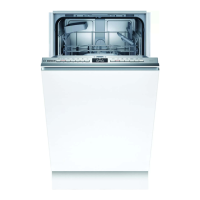
| Door color | White |
|---|---|
| Cord length | 1.75 m |
| Control type | Buttons |
| Display type | LCD |
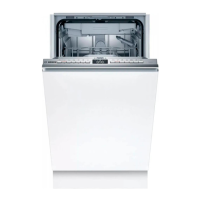
| Product size | Slimline (45 cm) |
| Inlet hose length | 1.65 m |
| Custom panel-ready | Yes |
| Outlet hose length | 2.05 m |
| Appliance placement | Fully built-in |
| Control panel color | Silver |
| Cycle time | 210 min |
| Noise level | 45 dB |
| Delay start (max) | 24 h |
| Dishwashing programs | 60min 65°C, Auto 40-65°C, Eco 50°C, Intensive 70°C, Silent |
| Number of place settings | 10 place settings |
| Number of washing programs | 6 |
| Current | 10 A |
| Connected load | 2400 W |
| Energy efficiency scale | A to G |
| Water consumption per cycle | 9.5 L |
| Energy consumption per cycle | 0.738 kWh |
| Depth | 550 mm |
|---|---|
| Width | 448 mm |
| Height | 815 mm |
| Weight | 30222 g |