9
en
Congratulations on purchasing this
Bosch appliance. You have acquired
a high-quality product that will bring
you a lot of enjoyment.
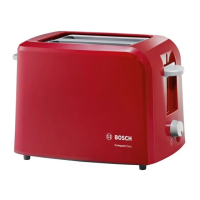
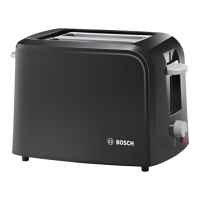
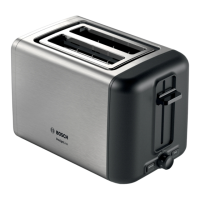
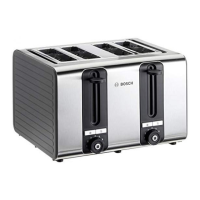
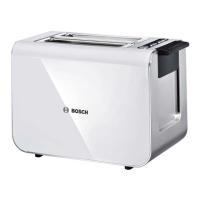
Parts and controls
1 Selector for toasting level,
adjustable from level 1 (lowest) –
7 (highest) toasting level
2 Push-down lever
3 Switch
(integrated warming rack)
4 Warming rack
5 stop button with LED
6 defrost button with LED
7 reheat button with LED
8 Toast slot
9 Crumb tray
10 Cord tidy (with securing device)
Before using for the
first time
Remove any stickers or film.
Unwind the power cord to the required
length, secure and plug in.
With the window open, operate the
toaster without bread in it at least three
times at the highest toasting level
setting and then let it cool down.
Operation
General
Please use this toaster only for toasting,
heating or defrosting sliced white bread,
bread or rolls. Do not insert any objects
into the toast slot. Only operate the toaster
when it is upright. Never cover the toast
slot. Press down the push-down lever only
for toasting; never block it. Do not use food
that could drip during toasting.
Do not use food that contains grease, fat
or sugar (e.g. waffles, bread that has been
spread).
W Attention!
Do not operate the appliance without the
crumb tray!
Toasting
X Figures A
1. Set the desired toasting level with the
selector.
2. Insert the bread to be toasted into the
toast slot.
3. Press the push-down lever down until it
engages.
4. The stop button lights up.
5. Toasting ends when the food being
toasted is raised up.
To end the toasting process prematurely,
press the stop button.
Warming cold bread or toast
Insert the bread to be toasted into the
toast slot.
Press the push-down lever down until it
engages. The stop button lights up.
Press the reheat button. The LED lights
up.
Heating ends when the bread being
toasted is ejected.
Crisping rolls
Do not place aluminium foil on the warming
rack. Only use the crisping function when
the warming rack is extended. Never heat
and toast at the same time.
X Figures B
1. Press the switch down as far as it will
go. The warming rack for rolls extends.
2. Place rolls on the warming rack.
3. Using the selector, set the toasting level
to max. level 3.
4. Press the push-down lever down until it
engages. The stop button lights up.
5. Crisping ends when the stop button
lights goes out.
6. Pull the switch up as far as it will go.
The warming rack retracts.
W Risk of burns and re!
Do not place the appliance on or near hot surfaces, e.g. hobs. Avoid
spatters of grease as the plastic may be damaged.
A misuse of the appliance can potentially lead to injury.
The appliance is not intended to be operated by means of an
external timer or separate remote-control system.
Do not insert any objects into the toast slot.
Bread can burn. Never operate the toaster near or underneath
curtains or other ammable materials. Never cover the toast slot.
Do not touch parts other than the operating controls as the toaster
can become hot during toasting.
Press down the push-down lever only for toasting; never block it.
Do not use food that may drip as it is toasted or warmed, since this
is a re hazard.
Unplug the toaster and allow it to cool down before cleaning it.
Never immerse the appliance in water or place it in the dishwasher!
Do not steam-clean the appliance.
Do not use oven or grill spray for cleaning.
Use a rm brush to remove crumbs that may have accumulated
under the warming rack.
Remove the crumb tray and wipe it clean.
Only operate the toaster when it is upright. Never leave the
toaster unattended while it is in use!
K
WARNING: Do not use this appliance near bathtubs,
showers, basins or other vessels containing water.
W Risk of suocation!
Do not allow children to play with packaging material.
 Loading...