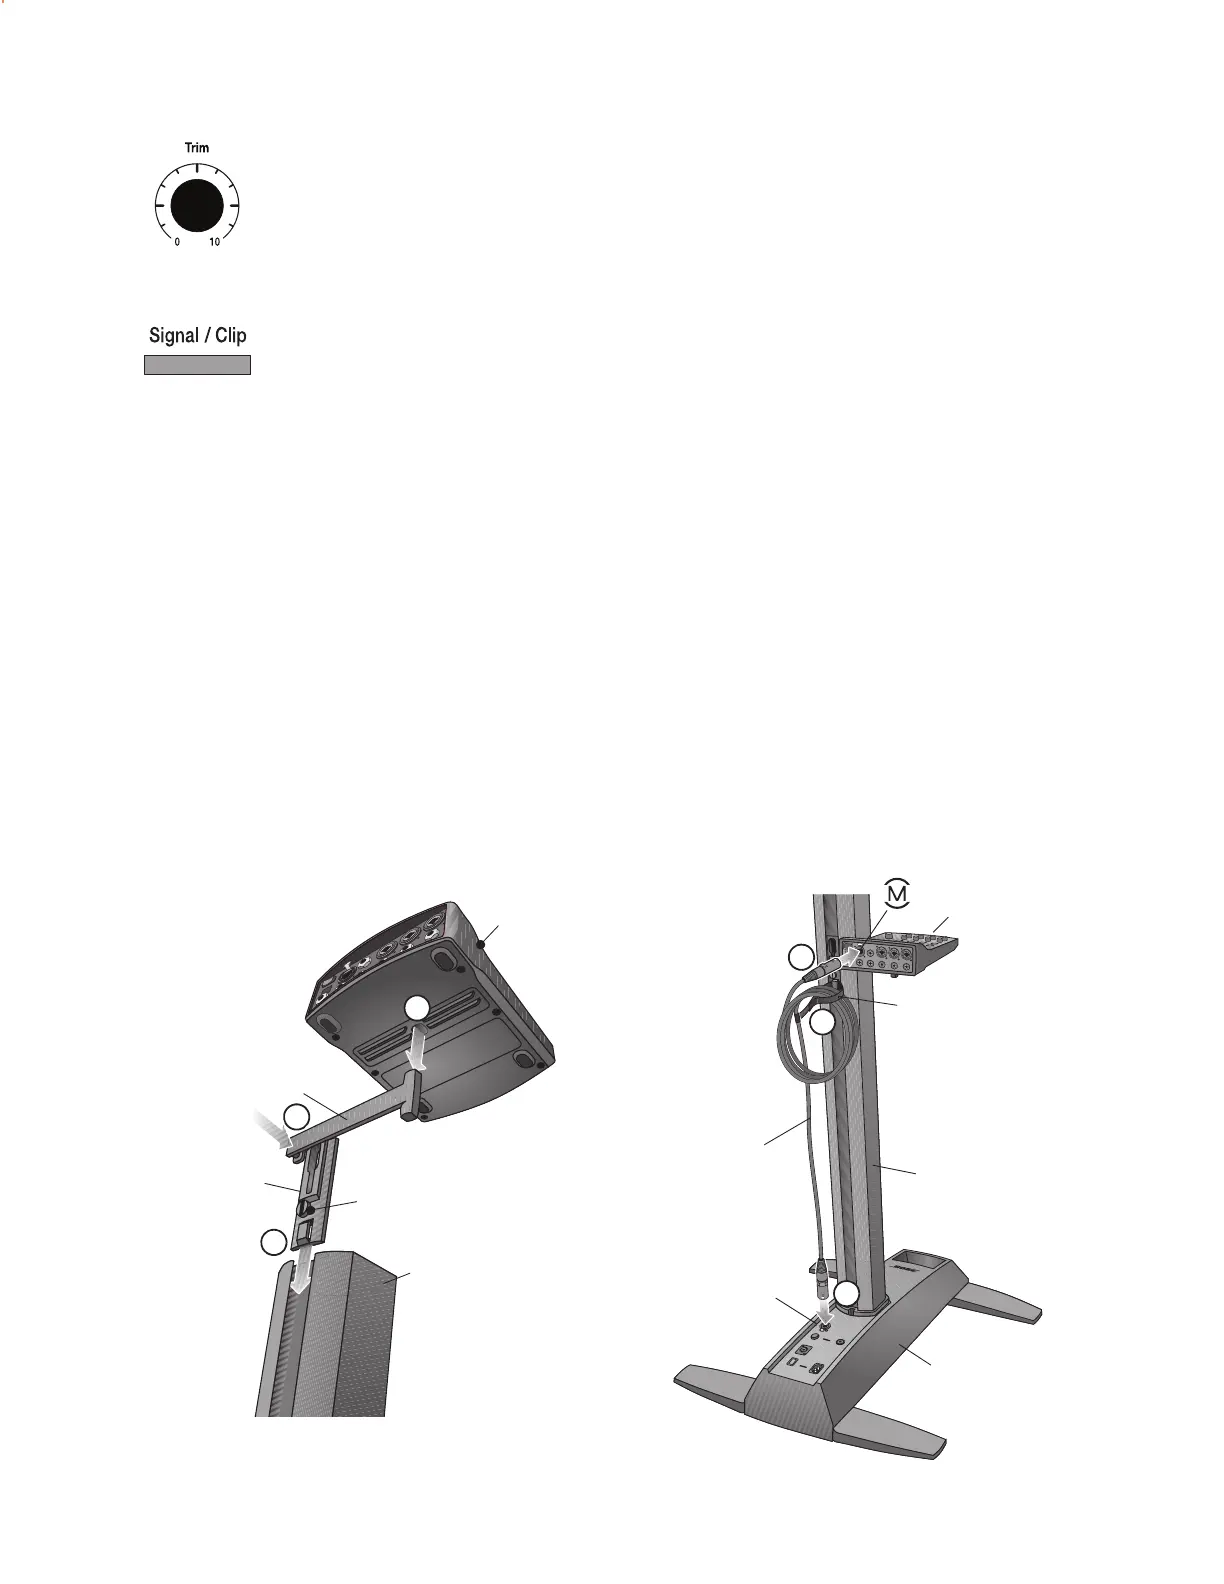
9
The T1 ToneMatch audio engine provides additional input/output capabilities to your
system, plus digital signal processing to customize the way you sound. The audio engine
comes with hardware for mounting it on the left or right side of the L1 model 1S Cylindrical
Radiator
®
loudspeaker.
Note: The audio engine mounts on the bottom section of the loudspeaker and requires removal
of the top section before starting this procedure.
1. Slide the carriage into the channel on the rear of the L1 bottom and turn the knob clockwise to
lock it in place.
2. Insert the mounting bar into the slot in the carriage and push it downward.
3. Place the T1 on the mounting bar as shown.
4. Plug one end of the ToneMatch cable (supplied with the audio engine) into the ToneMatch
output port (M) on the T1.
5. Using the hook and loop strap, secure the cable to the carriage.
6. Plug the other end of the cable into the ToneMatch port on the power stand.
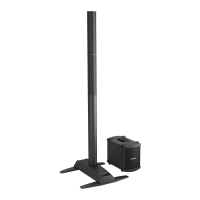
Adding a T1 ToneMatch
®
audio engine
Setting the Analog Input Level on the L1
®
Model 1S Power Stand
When connecting an audio source to the Analog Input, follow these steps to adjust the
input Trim control.
1. Set the Trim control on the power stand to the 0 (zero) position.
2. Connect the audio source to the Analog Input.
3. Adjust the volume of the audio source to the desired level.
4. While playing the source, increase the Trim level until the Signal/Clip indicator
glows green or yellow.
5. If the Signal/Clip indicator glows red, decrease the Trim level so that it glows only
green or yellow.
4
5
6
Carriage
Mounting bar
Bottom extension
T1 ToneMatch
audio engine
1
2
3
Locking knob
Power stand
Hook and loop strap
T1 ToneMatch
audio engine
Bottom
extension
ToneMatch cable
(supplied with T1)
ToneMatch
port
 Loading...