4
5
Intended Use
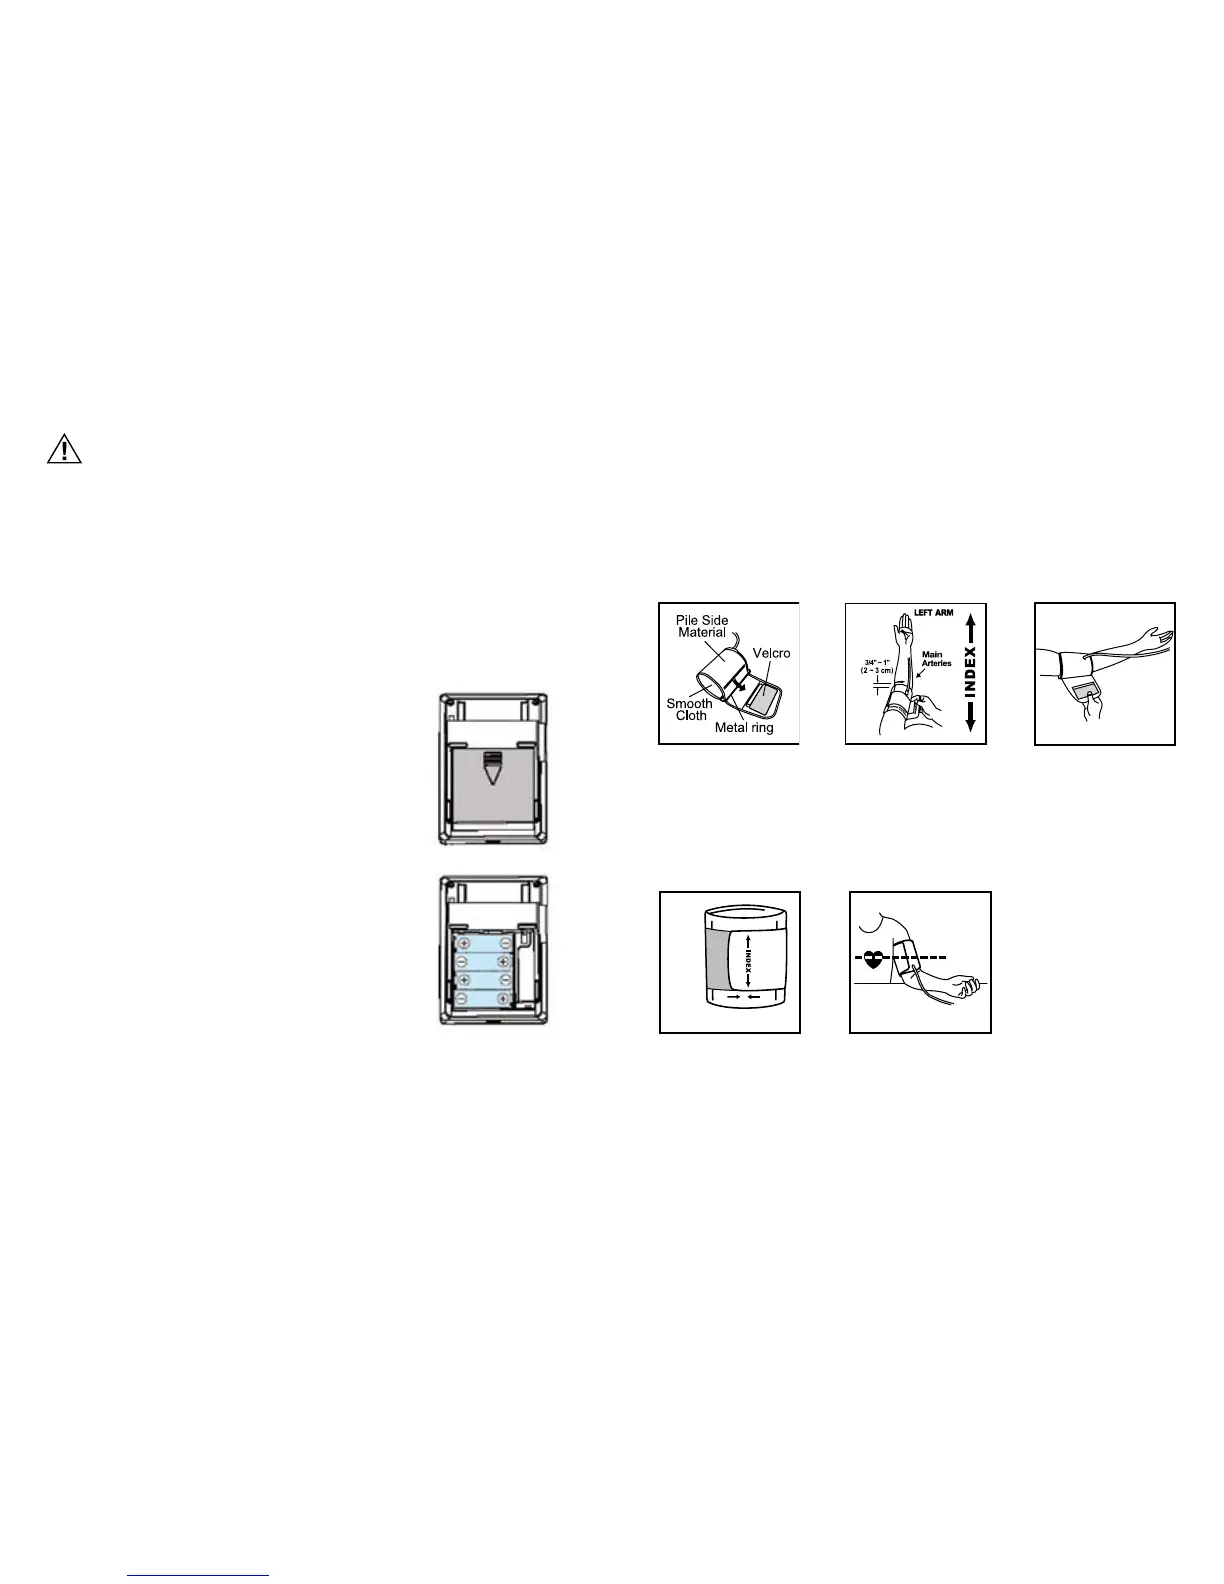
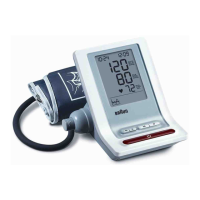
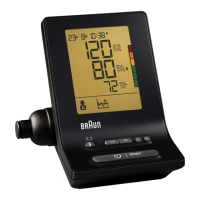
• This monitor is intended for use in measuring the blood pressure and pulse rate of
adults and uses the oscillometric method.
• This product is intended for household use only.
Warnings & Precautions
• To ensure accurate measuring results, carefully read the complete use instructions.
• Keep product and batteries away from children.
• People suering from cardiac arrhythmia, vascular constriction, arteriosclerosis in
extremities, diabetes or users of cardiac pacemakers should consult their doctor
before measuring their blood pressure themselves, since deviations in blood pressure
values may occur in such cases.
• If you are under medical treatment or taking any medication, please consult your
doctor rst.
• The use of this blood pressure monitor is not intended as a substitute for consultation
with your doctor.
Inserting Batteries
• Remove the battery compartment cover at the bottom of the unit
and insert 4 AA LR6 ALKALINE batteries with correct polarity (see
symbol in the battery compartment).
• Note: Always re-set Date and Time after replacing new batteries to
make sure the measurement results are stored with correct date
and time.
• Only discard empty batteries. They should not be disposed of in
the household waste, but at appropriate collection sites or at
your retailer.
Key Rules for Accurate Blood
Pressure Measurement
• Always take readings at the same time of day, ideally in the morning
and evening, under the same conditions.
• Please rest for at least 5~10 minutes before taking the
measurement.
• Do not measure within 30 minutes after exercising, bathing, eating,
smoking or consuming coee, tea or alcohol.
• To allow your blood vessels to return to the condition prior to
taking the measurement, please wait at least 3~5 minutes between
measurements. You may need to adjust the wait time according to
your personal physiological situation.
• Take o wrist watch and jewelry before tting the cu on the
measuring arm.
• Do not use a cellular phone near the unit.
• While taking a measurement, sit down, relax, keep still, and do not move or speak.
• Wrap the cu snugly around your arm. The cu must be at heart level.
• Do not vibrate the unit during measurement, or the proper measurement will not
be achieved.
• Perform measurement quietly in a relaxed position.
• Sit in a chair with your feet at on the oor.
• Do not wrap the cu over jacket or sweater sleeve or measurement cannot be done.
• Remove tight-tting clothing from your left arm.
• Do not in any way twist the arm cu.
• Do not inate the monitor’s cu when it is not wrapped around the arm.
• Do not attempt to disassemble or change any parts of the monitor including the cu.
• To avoid any possibility of accidental strangulation, do not drape the tube around your neck.
• Do not drop the product or put it through strong impact.
• The device is not supposed to be used if your arm has any wound or injury.
Applying the Arm Cu
1. Slide the end of arm cu furthest from the tube through the metal ring to a loop. The
smooth cloth should be on the inside of the cu.
2. If the cu is located correctly, the Velcro will be on the outside of the cu and the metal ring
will not touch the skin. (Fig. 4)
3. Put your left arm through the cu loop. The bottom of the cu should be approximately
3/4”~1” (2~3 cm) above elbow. The tube should lie over the brachial artery on the inside of
the arm. (Fig. 5)
4. Pull the cu so that the top and bottom edges are tightened around your arm. (Fig. 6)
5. When the cu is positioned properly, press the Velcro rmly against the pile side of the cu.
6. This cu is suitable for use if the <<INDEX>> mark falls within the <<OK RANGE>> marked
by two arrows when the cu is tightened around your arm. (Fig. 7)
7. Sit on a chair and place your arm on the table so that the cu is at the same level as your
heart. (Fig. 8)
Fig. 2
Fig. 3
Fig. 4
Fig. 5