5601 - 7
BINC: 9/99 Service Documentation
Service Information
BAG: 9/99 5601
Hint To facilitate the reassembly of the springs (3a), and
nail (head dia. 4 mm) can be clamped in a vice, the
device being supported with the pin head (see diagram).
Cutter set (2) Press buttons "A" and insert them; pay attention to the
correct sides.
Check functions.
Checking the PCB
• Let the shaver run empty from normal operation.
• Connect to power supply. (Depending on the shaver version, the power
consumption is approx. 1 - 5 watts).
• Recharge shaver approx. 5 minutes. (The green lamp must burn permanently).
• Disconnect shaver from the mains and measure voltage via battery.
The voltage of the cell must exceed 1.2 V. If this value is indicated, the PCB is
in order.
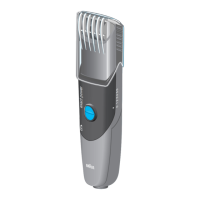
Maintenance note To maintain the optimum cutting performance of the beard trimmer and the
optimum life of the battery it is absolutely necessary to clean and to grease the
cutter set (2) regularly.
Please proceed as follows:
• Unlock and remove cutter set by pressing buttons "A".
• Clean with the brush.
• Apply a drop of resin-free oil (e.g. sewing machine oil) between the cutters
and the sliding spring bearings in the back.
• Reassemble the cutter set and check the electrical function.
Attention
Used batteries must not be disposed of in the household waste, but at
appropriate disposal sites.

 Loading...

