5601 - 6
BINC: 9/99 Service Documentation
Service Information
BAG: 9/99 5601
Reassembly The reassembly is done in reversed order.
Please pay attention to the following points:
Motor (6) Insert the motor (6) into the housing front part (5) in
such a way that the indentations for the swivel head
snaps on the left side of the cover point towards the
memory slider. Then, fix with screw (3c).
PCB (7) Before inserting the PCB, please make sure that the
contact slider is placed correctly into the connecting-
link, gripping into the carrier of the memory slider.
Press the connecting plug into the supporting clamps of
the socket housing. Insert the PCB.
Solder the connecting wires to the motor; pay attention
to the correct poles!
(Solder the plus wire (red) to the motor connection
marked with a red dot).
Housing When pressing together the housing halves (5 + 8), the
guides of the central and memory switches must grip
into the housing lower part.
Screw the screw (3d) into the housing back part.
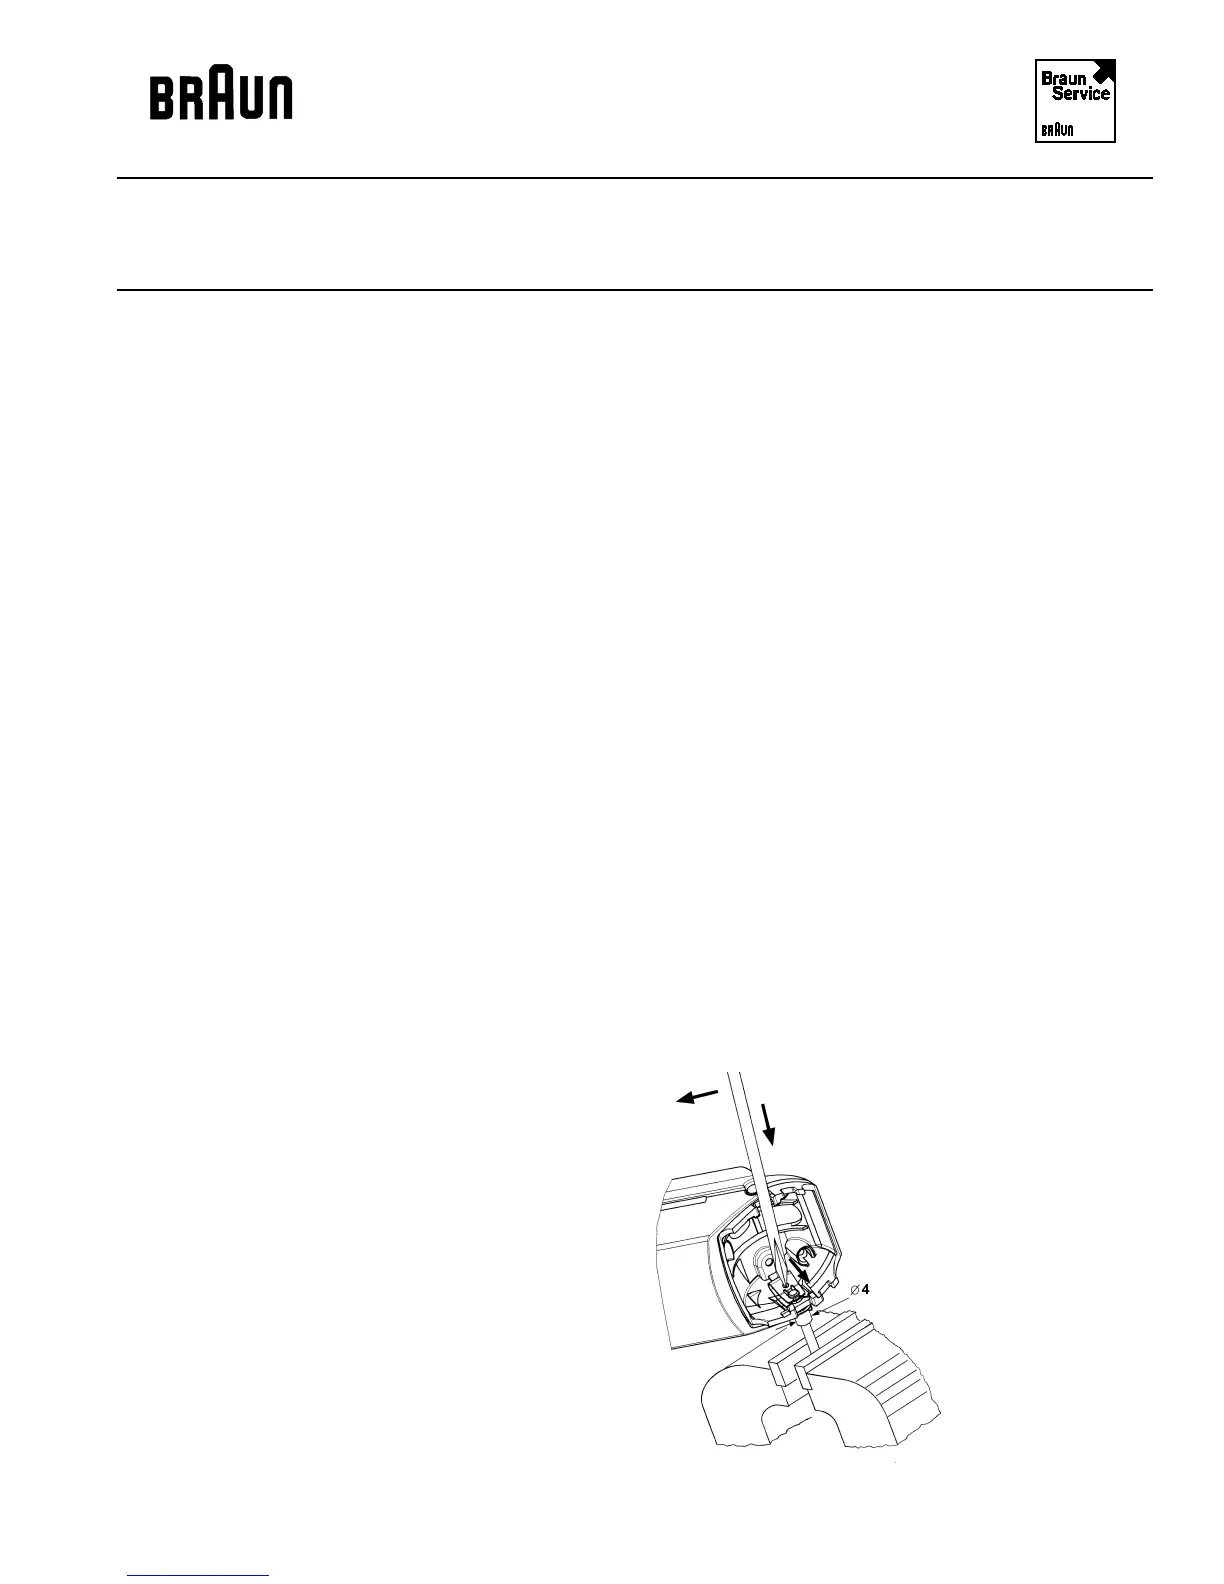
Swivel frame (4) Insert the swivel frame (4) into the pick-ups, the spring
notch "C" being on the side of the memory slider.
Insert the pin (3b).
Push the springs (3a) onto the pins (3b) from the
frame's inside.

 Loading...