5
5. When the cu is positioned properly, press the Velcro rmly against
the pile side of the cu.
6. This cu is suitable for use if the arrow heads fall within the stripe
pattern on the other side of the cu when the cu is tightened
around your arm (Fig. 5).
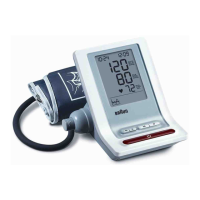
7. Sit on a chair and place your arm on the table so that the cu is at the
same level as your heart (Fig. 6).
Taking a measurement
8. Sit on a chair with your feet at on the oor.
9. Wrap the cu snugly around your arm
(see “Applying the arm cu” section above,
Fig. 3-6).
10. Do not move the unit during measurement,
or the proper measurement will not be
achieved.
11. Press power button
to begin. The measurement starts
automatically. While measurement is in progress, do not move or
speak.
Note: If necessary to interrupt a measurement, press the power
button
at any time. The device immediately cancels the
measurement, lowers cu pressure and automatically turns o.
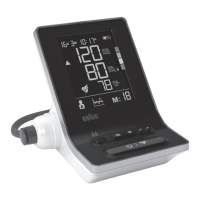
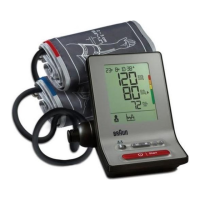
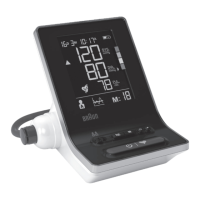
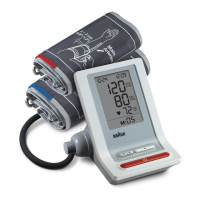
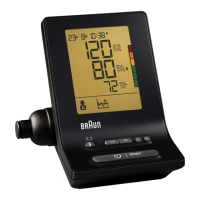
12. The cu will rst inate and then deate. At the end of the
measurement there are 2 nal beep sounds and the reading is
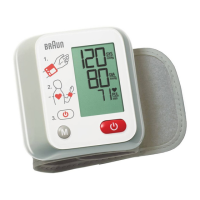
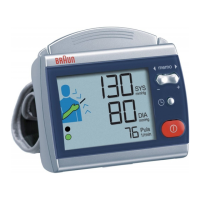
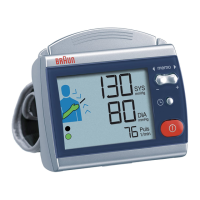
displayed:
Upper (systolic) value
Lower (diastolic) value
Pulse
13. Press the power button
to turn the product o. Otherwise the
product will turn o automatically after 1 minute. If at any time you
want to stop the measurement, press the power button
.
14. Test results will be saved into the memory automatically ( see
memory function below).
English

 Loading...