Creating Smears
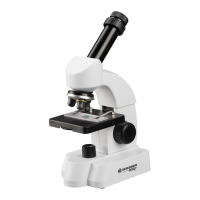
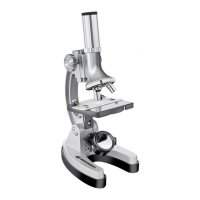
Use your scalpel (A, Fig. 1) to gently scrape off
small shavings from the surface of a freshly cut
potato.
Smear the shavings onto a clean slide. Clean the
scalpel by swishing it in the fresh water. Use your
needle to put one drop of clean water onto the
slide. Attach a cover slip to the slide and place
it on the microscope stage. Observe the slide
and write down your observations. You will see
hundreds of starch grains. Take a few kernels
from an uncooked ear of corn. Scrape off some
shavings and make a smear as you did with the
potato. Compare how the corn is different from
potato. Create smears of other foods such as
apples, bananas, peaches and pineapples. You
will observe that these items have membranes
rather than starch.
Before you make a permanent mount, you may
wish to stain the specimen.
Staining Smears
Not all specimens are easily observed in the
microscope. Staining specimens make them
easier to see. Staining is not difcult, but it does
require care. It is recommended that you keep
paper towels nearby as the process can be
messy.
First, create a fresh smear (you may use
shavings from an apple or other piece of fruit) as
described previously. Do not place any water or
a cover slip on the specimen. Set the slide aside
to dry, if necessary.
When the slide is dry, use the needle to place
one drop of Eosin Dye or Fenazo Blue Dye (M,
L, Fig. 1) on the slide. Both the Eosin and
Fenazo Blue Dye will stain your specimen.
Tilt the slide from side to side to spread the stain
over the specimen. Remove the excess uid to
the waste cup. Put down the slide and wait about
two minutes.
To ush away the excess stain and to stop the
staining action, hold the slide at an angle over
the waste cup. Using the needle, touch the slide
Start thinking like a scientist
as you perform your
experiments.
Observe carefully, take notes
(make sure you date them),
and most importantly, keep
your equipment and the
working environment clean.
Experiments work best with
clean and uncontaminated
equipment.
Parents appreciate a clean
work area.
Note:
In order to stain a slide, you
will need to prepare either the
Eosin Red or Fenazo Blue
Dyes: Without opening the
container, look closely at the
containers marked “Eosin
Dye” and “Fenazo Blue Dye”
(M and L, Fig.
1). You’ll notice a few grains
of ‘dust’ at the bottom of the
container.
These are dried grains of the
dye. Remove the container’s
lid and ll each container with
water. Gently stir the mixture.
You have now prepared the
dye for use.
Need Help? Toll Free 866-252-3811