15
GB
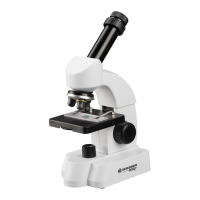
How do I adjust my microscope correctly?
First, loosen the screw (Fig. 1, 7) and turn the
microscope head (Fig. 1, 6) into a comfort-
able viewing position.
Each observation starts with the lowest mag-
nication.
Adjust the microscope stage (Fig. 1, 11) so
that it goes all the way down to the lowest
position. Then, turn the objective nosepiece
(Fig. 1, 8) until it clicks into place at the lowest
magnication (objective 4x).
Note:
Before you change the objective setting, al-
ways move the microscope stage (Fig. 1, 11)
to its lowest position. This way, you can avoid
causing any damage!
Now, insert the 10x
eyepiece (Fig. 1, 1)
into the Barlow lens
(Fig. 1, 3). Make sure
that the Barlow lens is
placed all the way into
the eyepiece supports (Fig. 1, 5) and is not
pulled out (Fig. 2).
How do I observe the specimen?
After you have assembled the microscope
with the adequate illumination and adjusted it
correctly, the following basic rules are to be
observed:
Start with a simple observation at the lowest
magnication. This way, it is easier to position
the object in the middle (centering) and make
the image sharp (focusing).
The higher the magnication, the more light
you will require for a good image quality.
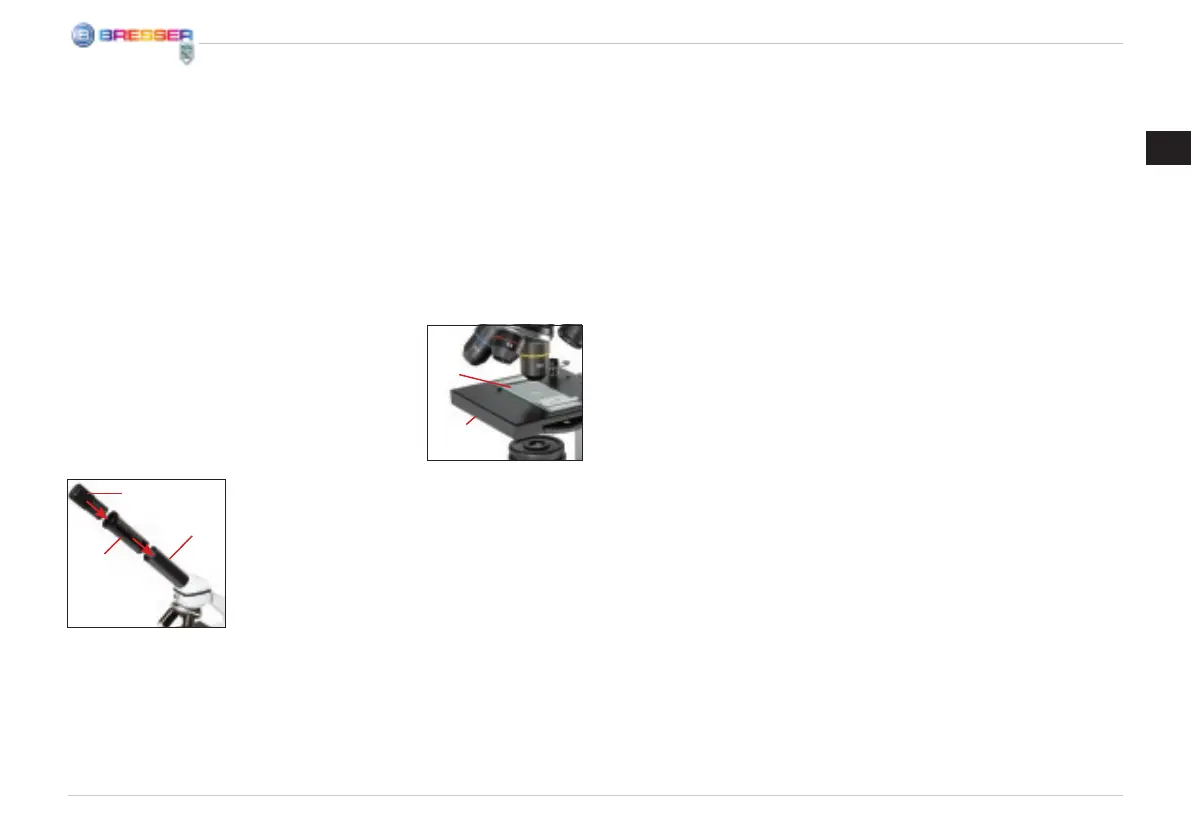
Now place the pre-
pared specimen (Fig.
6, 20) directly under
the objective on the
microscope stage (Fig.
3). The object should
be located directly
over the illumination (Fig. 1, 12).
In the next step, take a look through the eye-
piece (Fig. 1, 1) and carefully turn the focus
knob (Fig. 1, 16) until the image appears clear
and sharp.
Now you can select a higher magnication
by slowly removing the Barlow lens (Fig. 1, 3)
from the eyepiece support (Fig. 1, 5). When
the Barlow lens is almost completely pulled
out, the magnication can be increased to al-
most double.
If you would like an even higher level of mag-
nication, insert the 16x eyepiece (Fig. 1, 2)
and turn the objective nosepiece (Fig. 1, 8) to
a higher setting (10x or 40x).
Important tip:
The highest magnication is not always the
best for every specimen!
Note:
Each time the magnication changes (eye-
piece or objective change, pulling out the
Barlow lens), the image sharpness must be
readjusted with the focus knob (Fig. 1, 16).
When doing this, make sure to be careful. If
you move the microscope stage too quickly,
the objective and the slide could come into
contact and become damaged!
Which light for which specimen?
With this unit, a reected light and transmitted
light microscope, you can observe transpar-
ent, semi-transparent as well as non-transpar-
ent objects.
The image of the given object of observation
is “transported” through the light. As a result,
only the correct light will allow you to see
something!
If you are observing non-transparent (opaque)
objects (e.g. small animals, plant compo-
nents, stones, coins, etc.) with this micro-
scope, the light falls on the object that is be-
ing observed.
Fig. 3
I
2)
Fig. 2
D
f
B/C